Today on my blog, I’ll show you how to make a pocket housewife!
For those of you who have been following me forever, you’ll know I’m personally obsessed with these historically accurate sewing kits, historically called housewives, or “husswifs”.
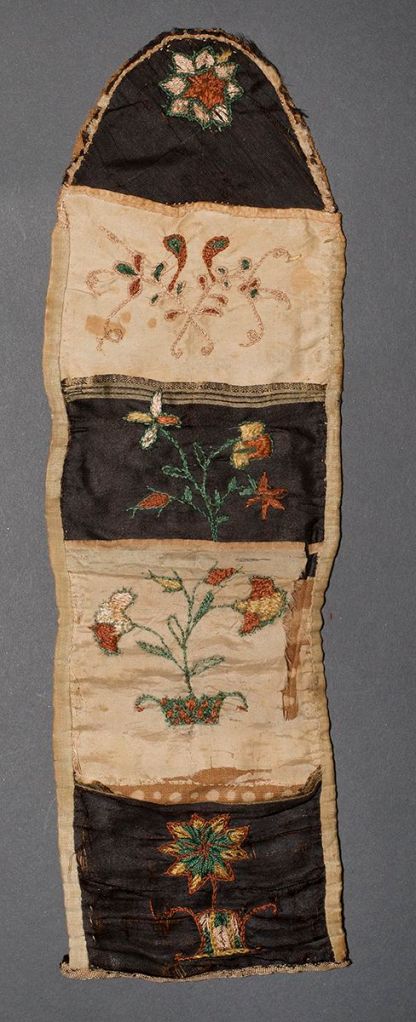
So let’s just start with this simple question: What is a housewife?
It’s an older word for “sewing kit”. Even if you look at a modern dictionary today, you’ll see that the second definition of “housewife” reflects this. While we think of a housewife as a person, who stays at home and takes care of the home, kids and family, in the past, it referred to a portable sewing kit. It’s not the most thorough of definitions, but it’s definitely something to work from.
Believe it or not, as much as we think of sewing as “women’s work” today, something that I’m sure all my male sewists would strictly disagree with, these portable sewing kits were frequently carried around by soldiers, sewn for them by a sister, or a beloved family member, so that they could mend their uniforms along the way. This became such a common definition for the housewife, that the Collins dictionary defines the secondary definition of a housewife as exactly this.
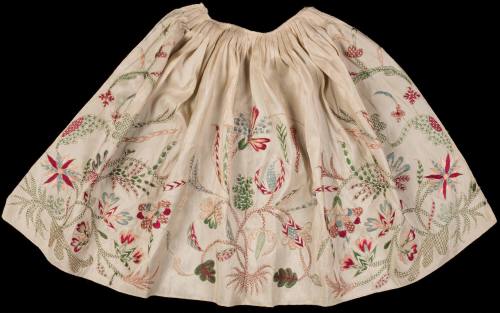
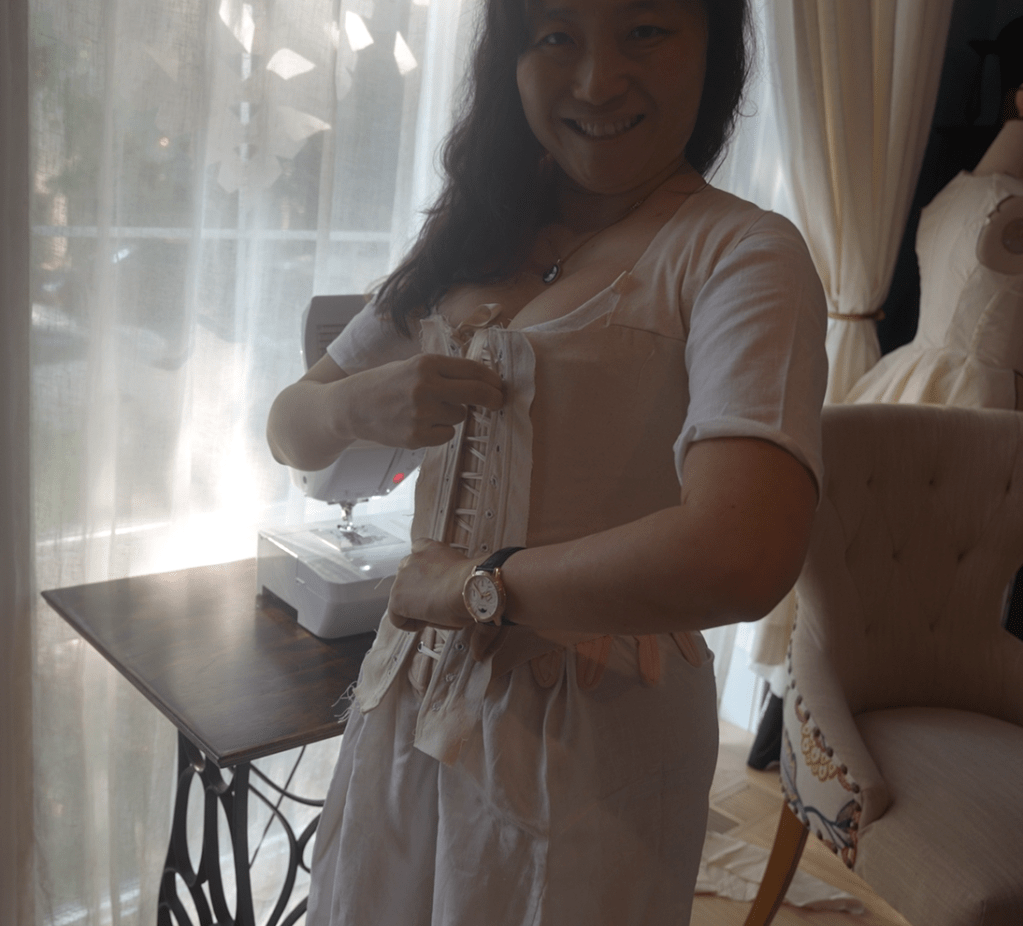
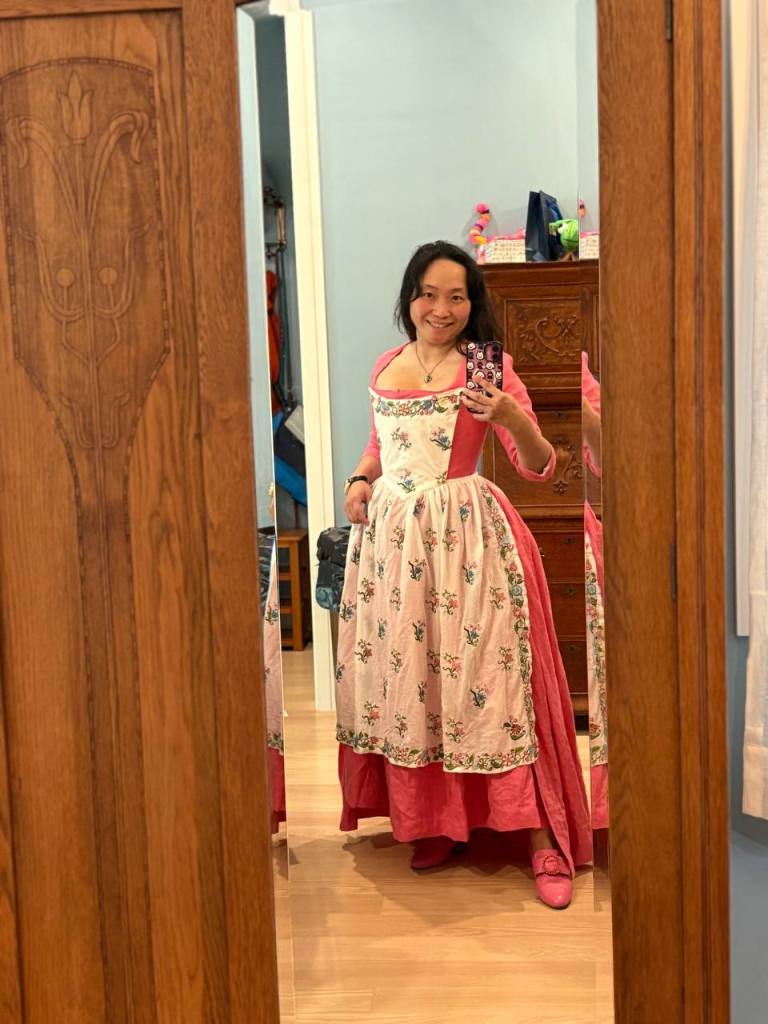
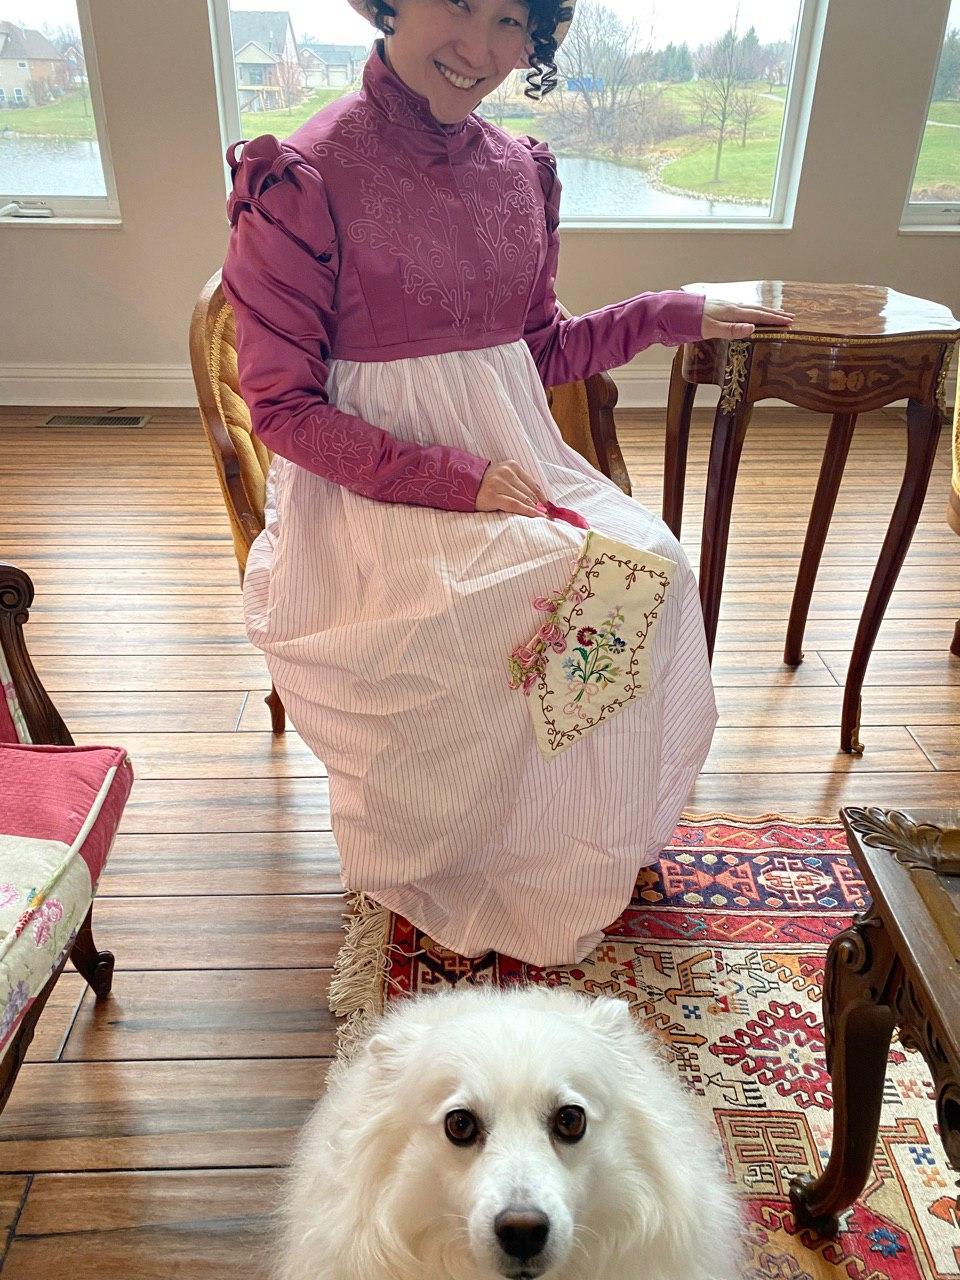
So I have several of my own. Personally, I like to make myself a new one every couple of years since these go with me everywhere and are liable to start getting worn at the edges.
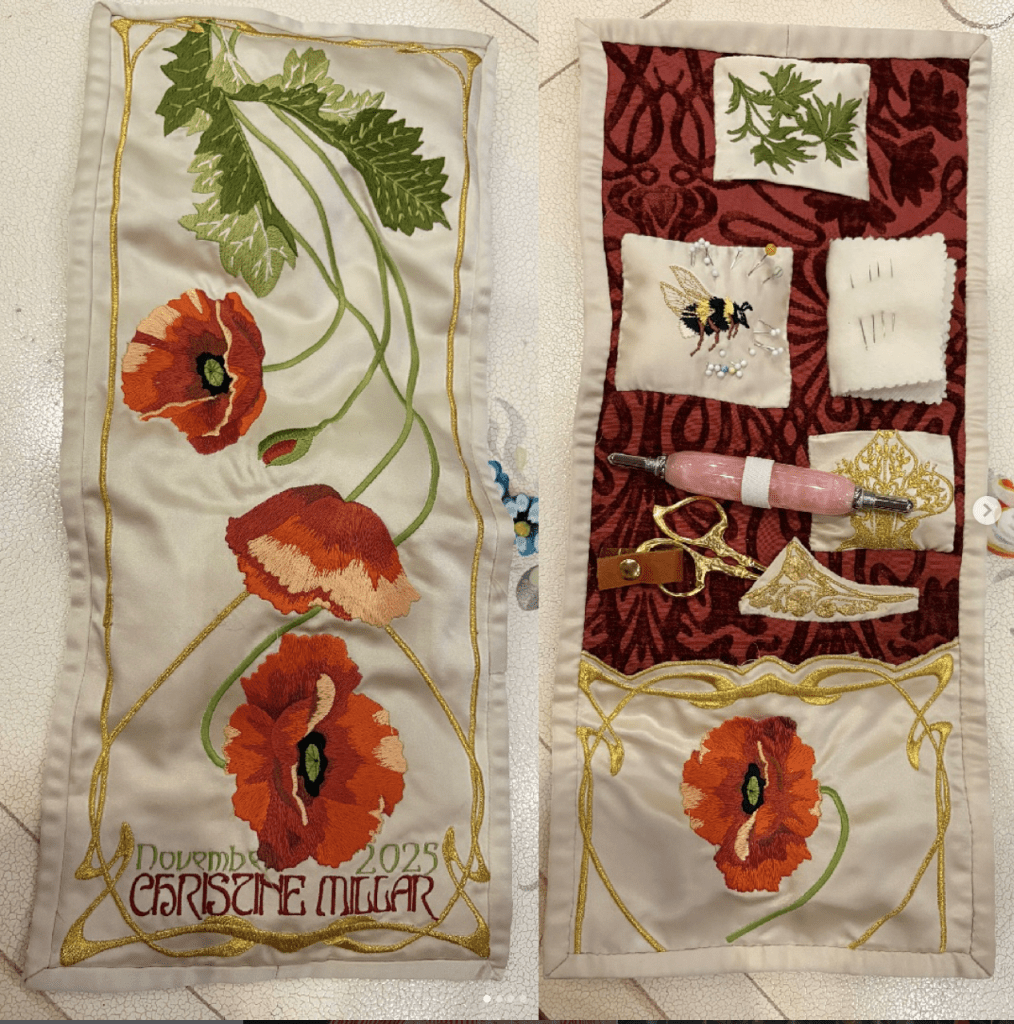
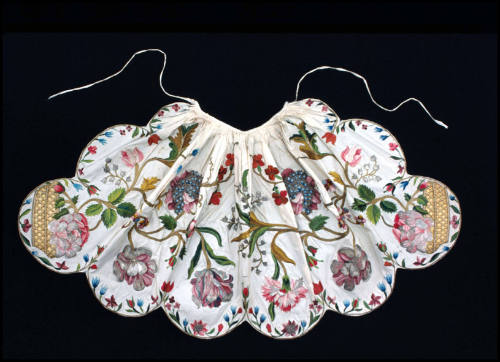
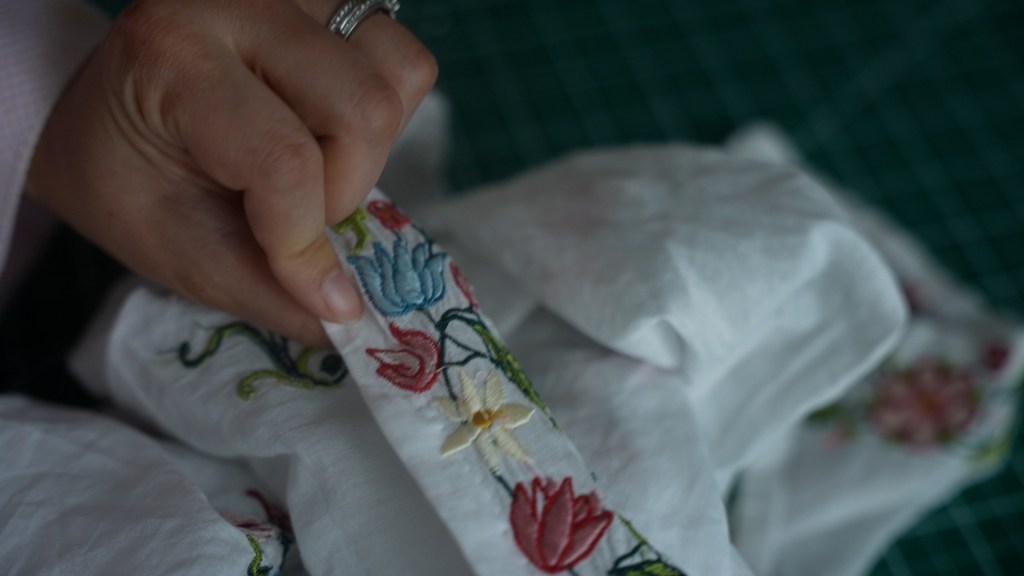
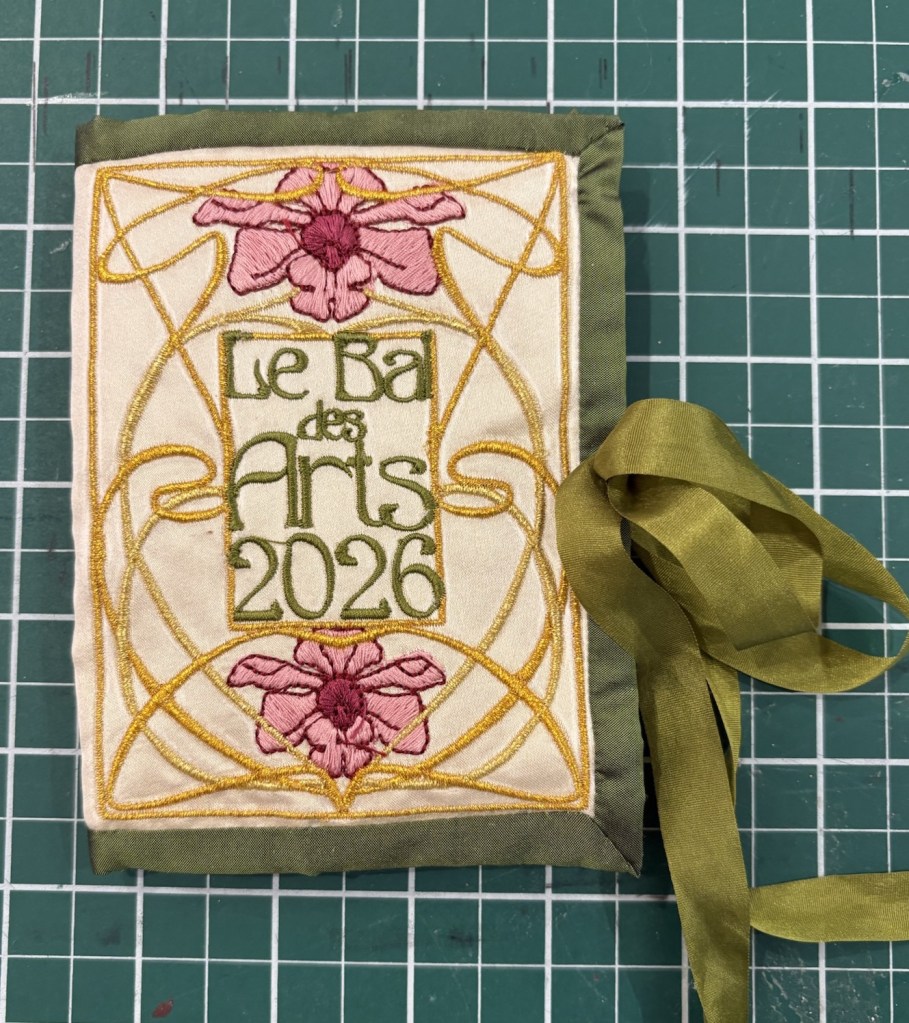
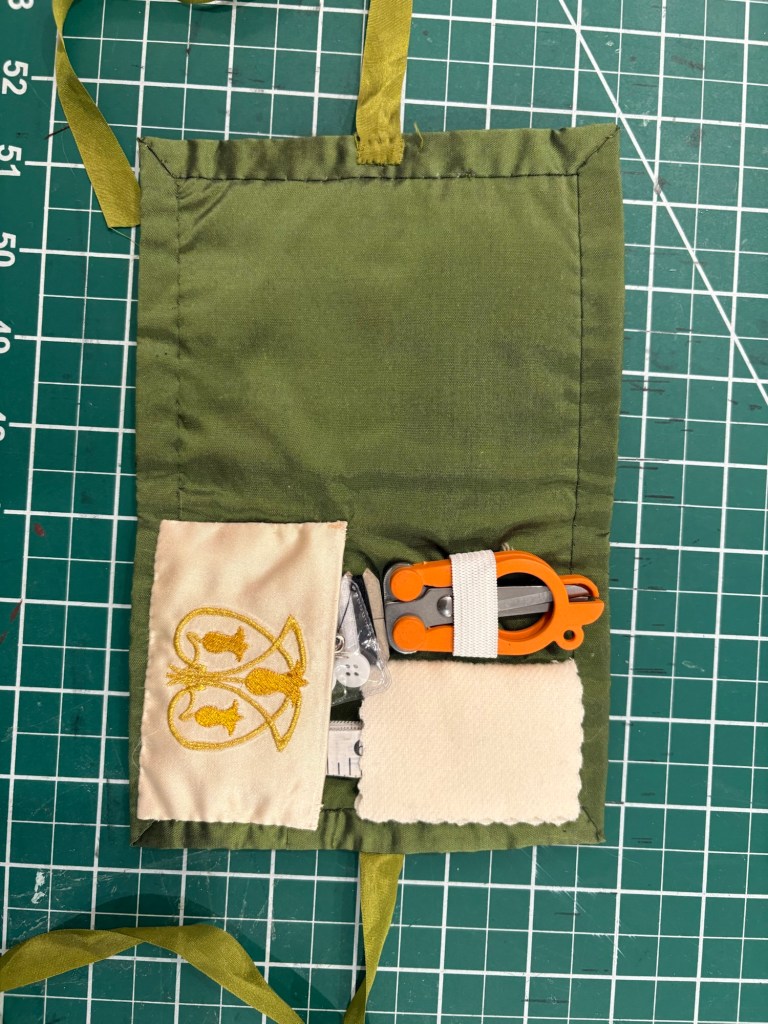
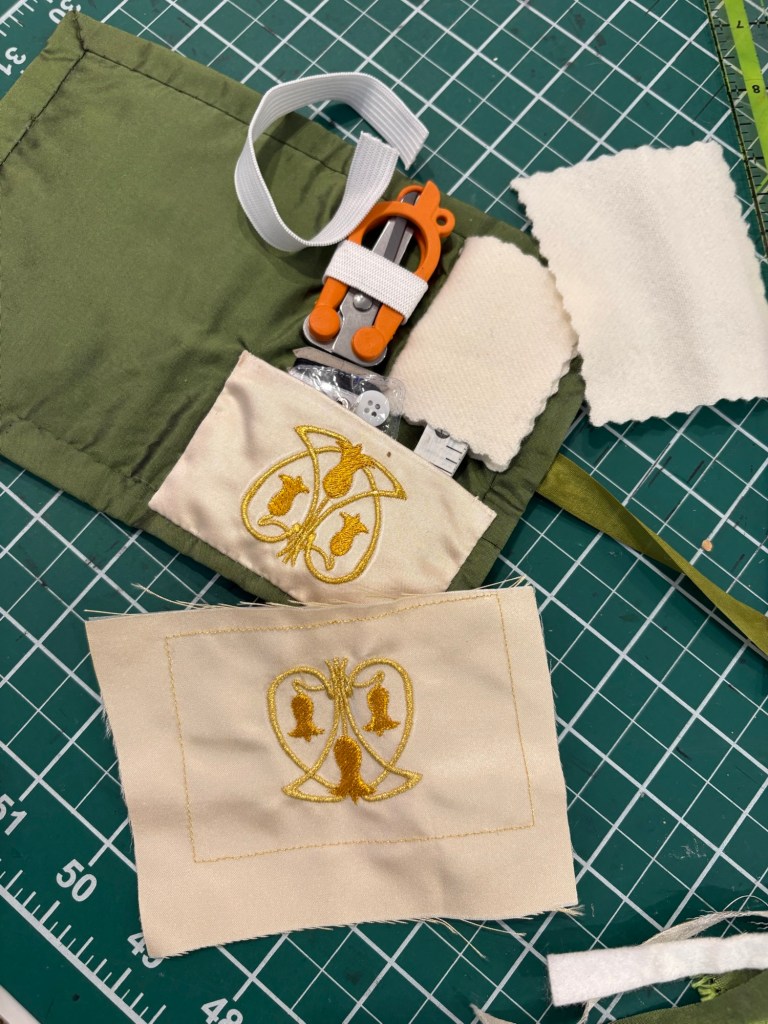
This is currently my main one, but today, I’ll be giving instructions on how to sew a miniature one! My big one is bulky and doesn’t really fit for my “on the go” life, or even fit in my animal shaped handbags. So I created this tiny one, with some very pretty embroidery. It has a pocket to hold thread, thimbles or wax, or whatever you find useful, a little felt booklet for your needles and pins, and an elastic to hold your foldable scissors.
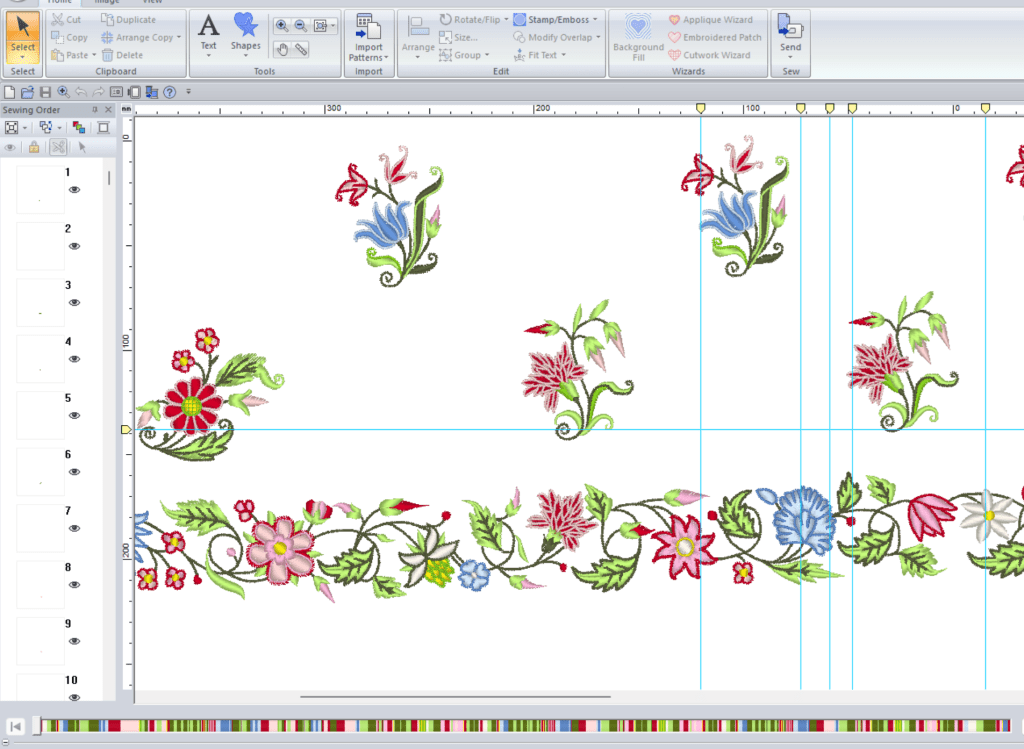
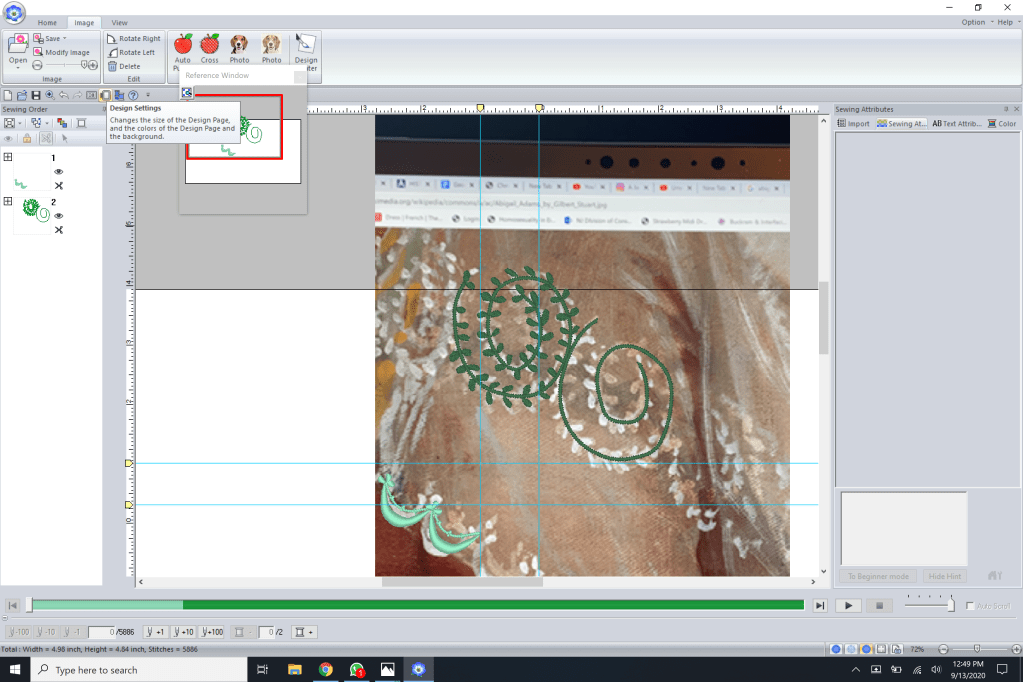
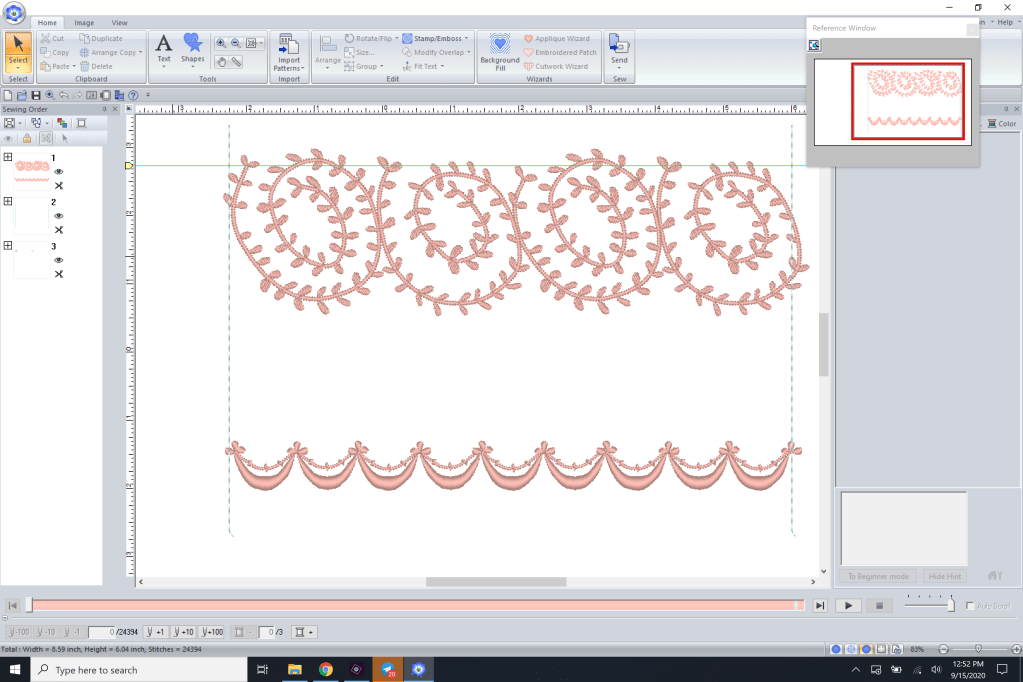
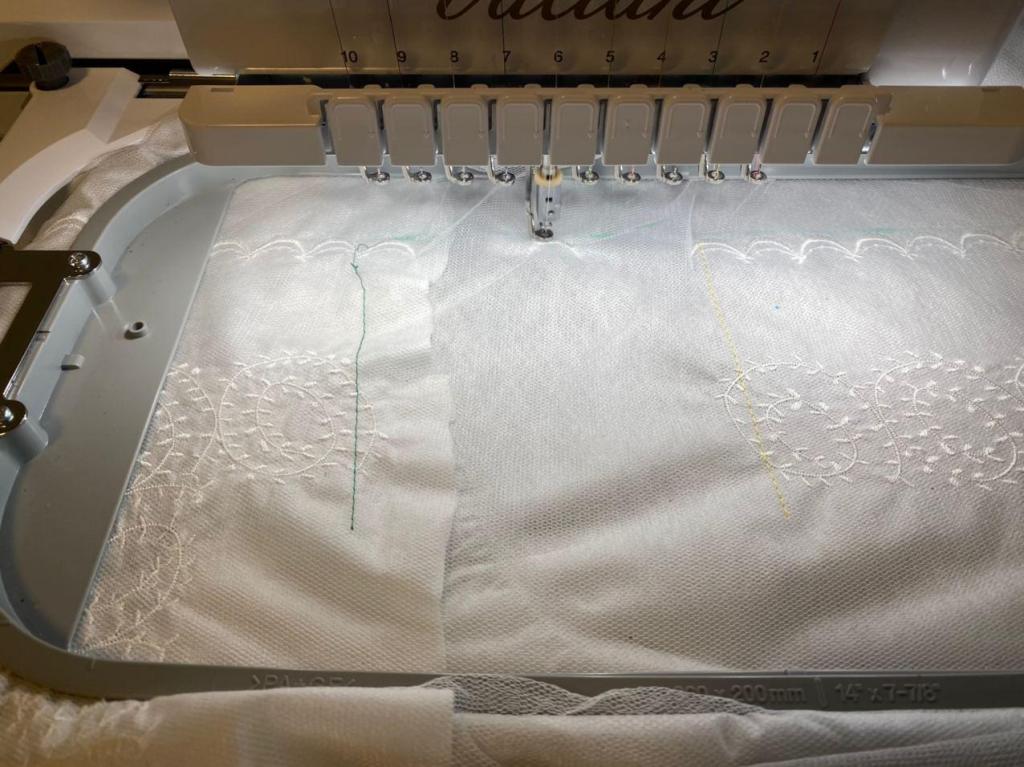
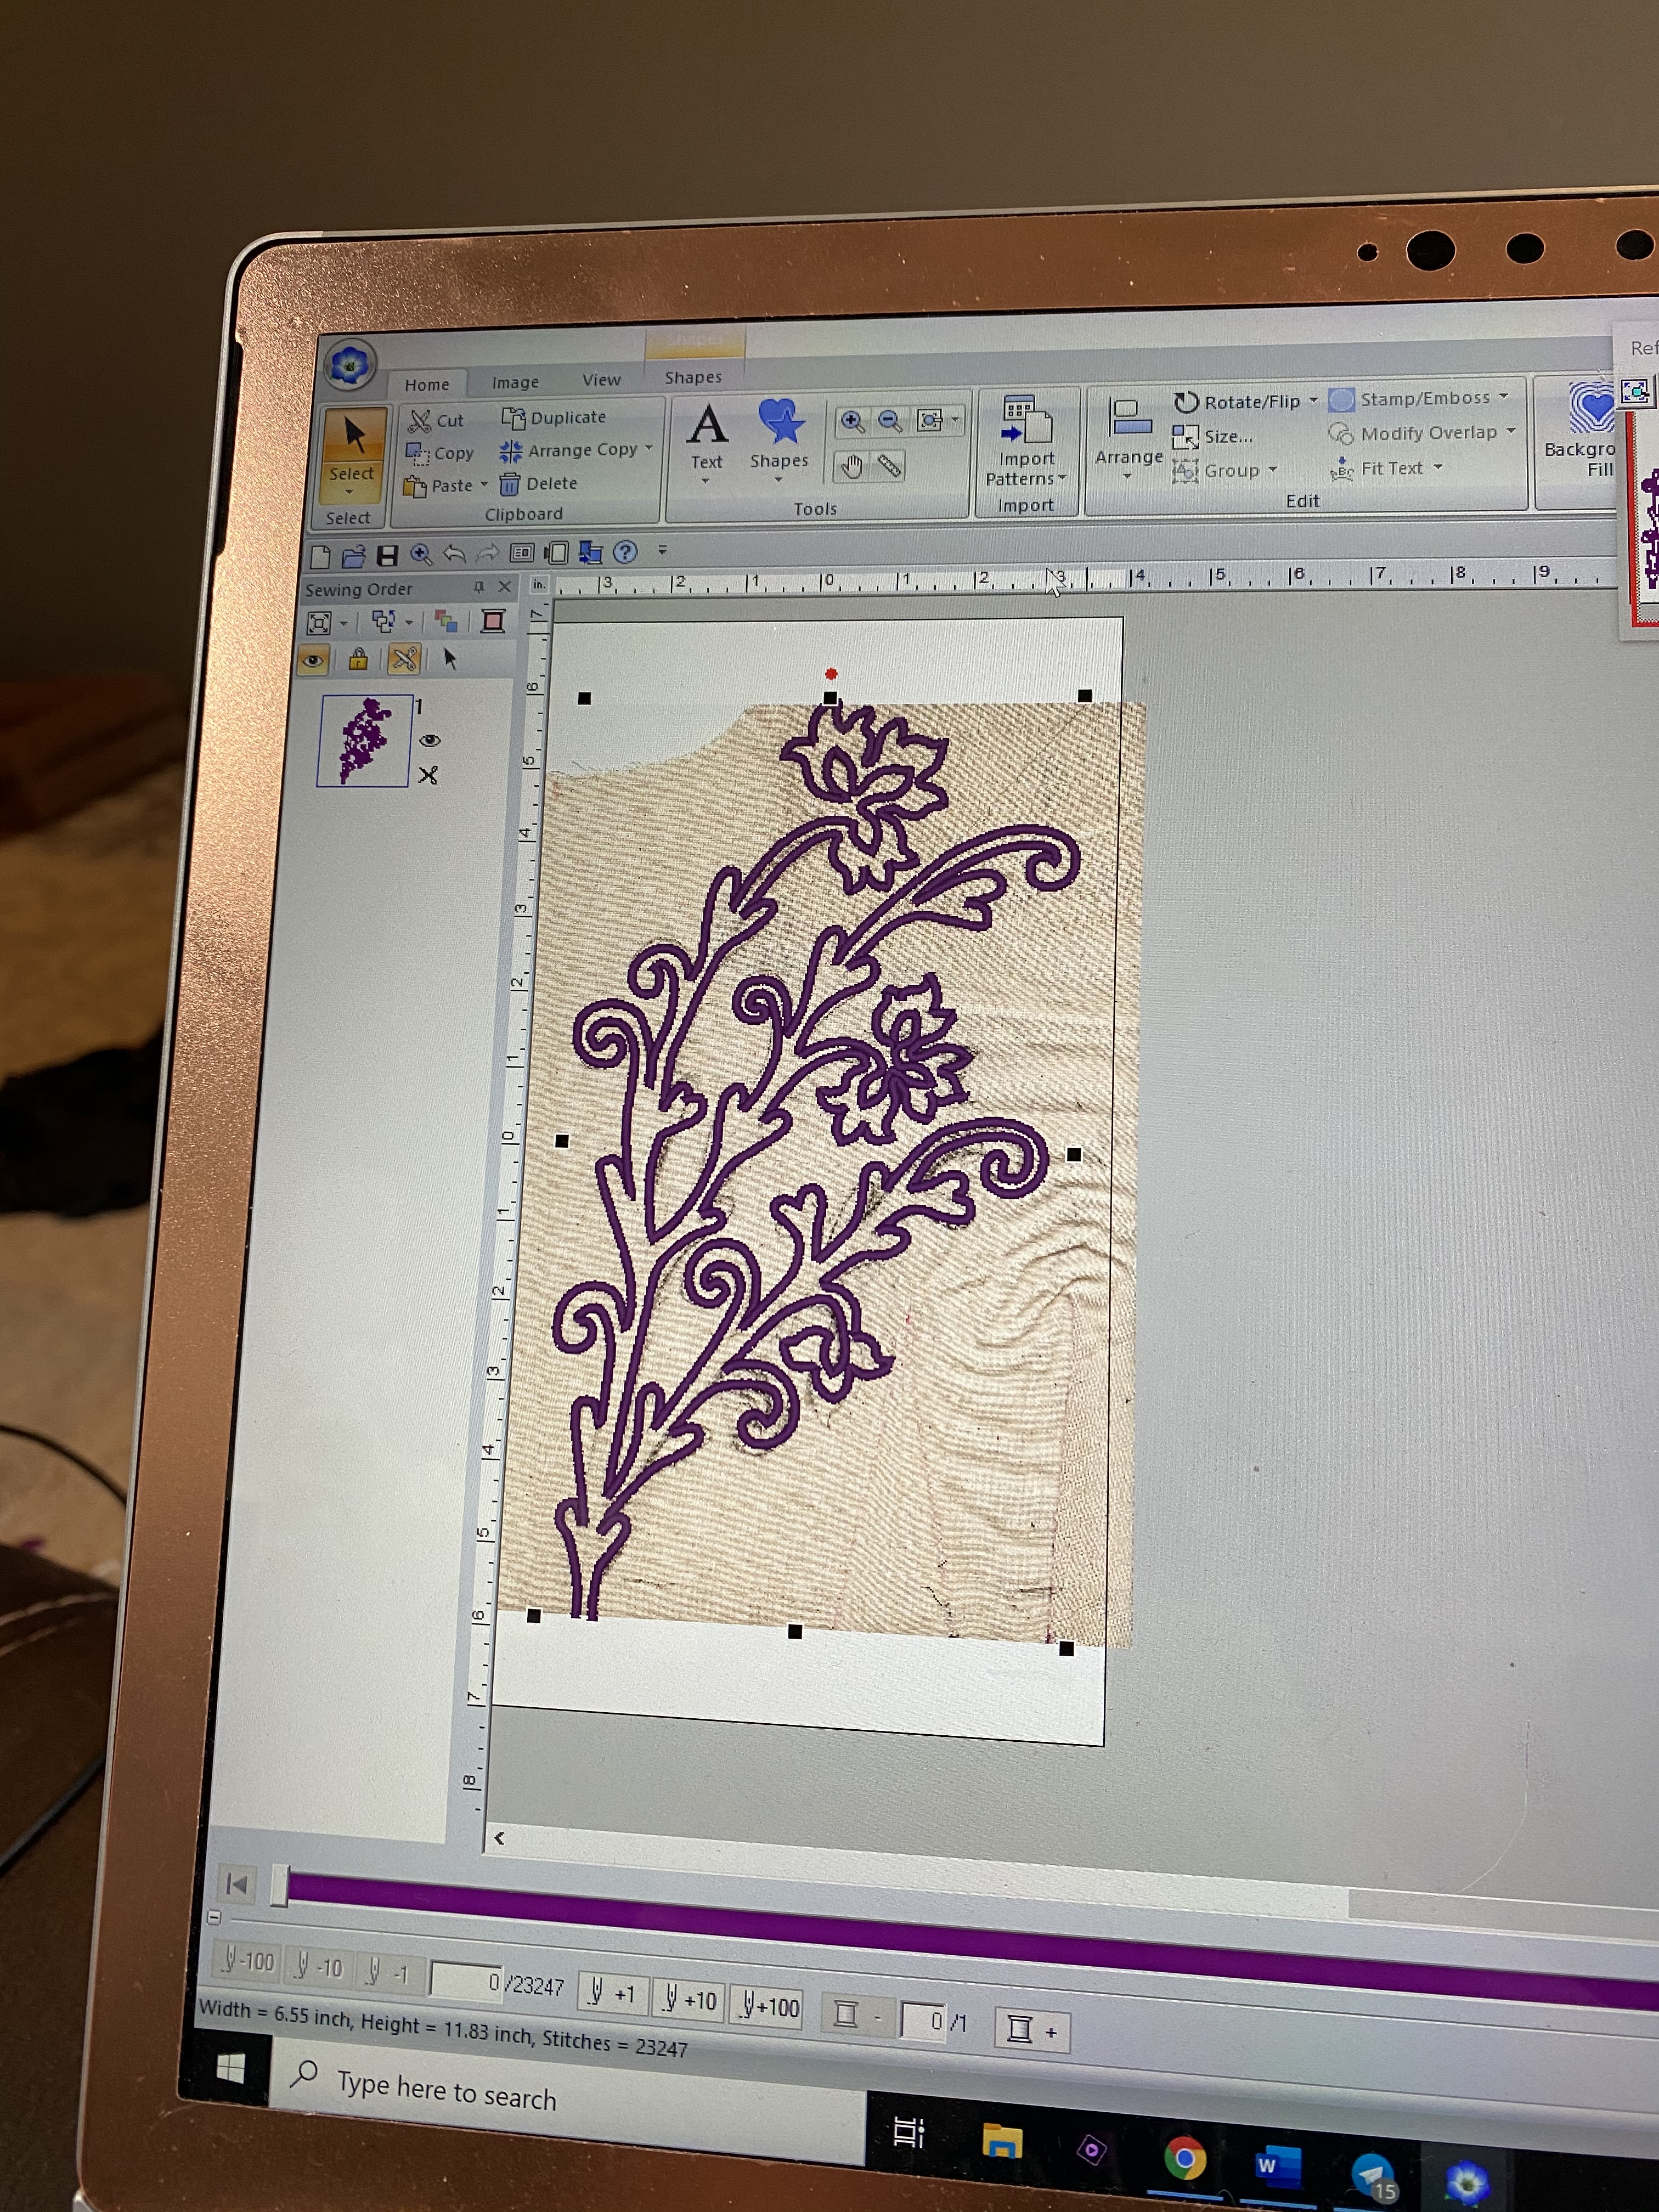
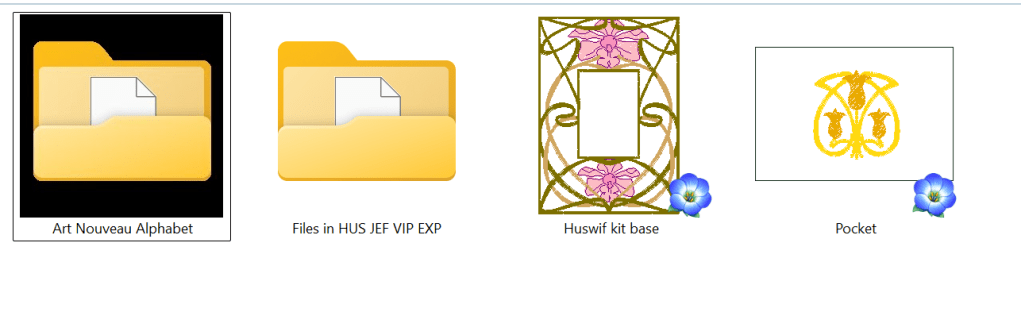
For those of you with embroidery machines who want to make your own, you can download the files here at the Baby Lock website. I’ve enclosed files in many formats so even if you don’t have a Baby Lock machine, you should be able to download it and sew it.
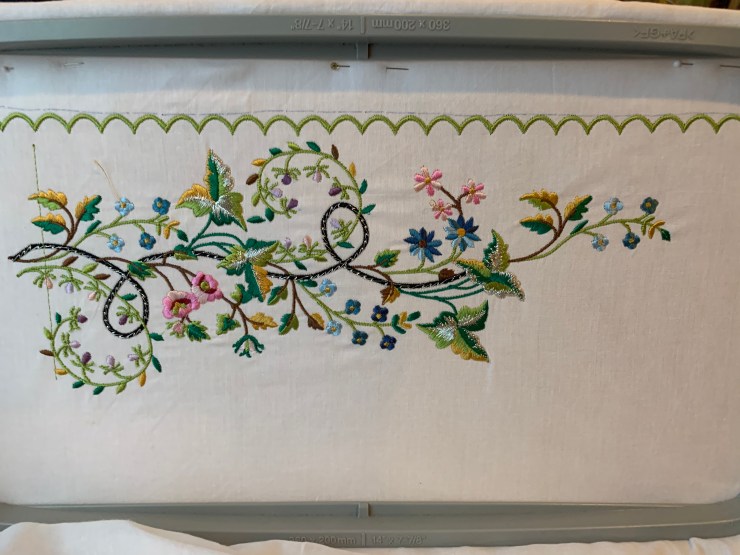
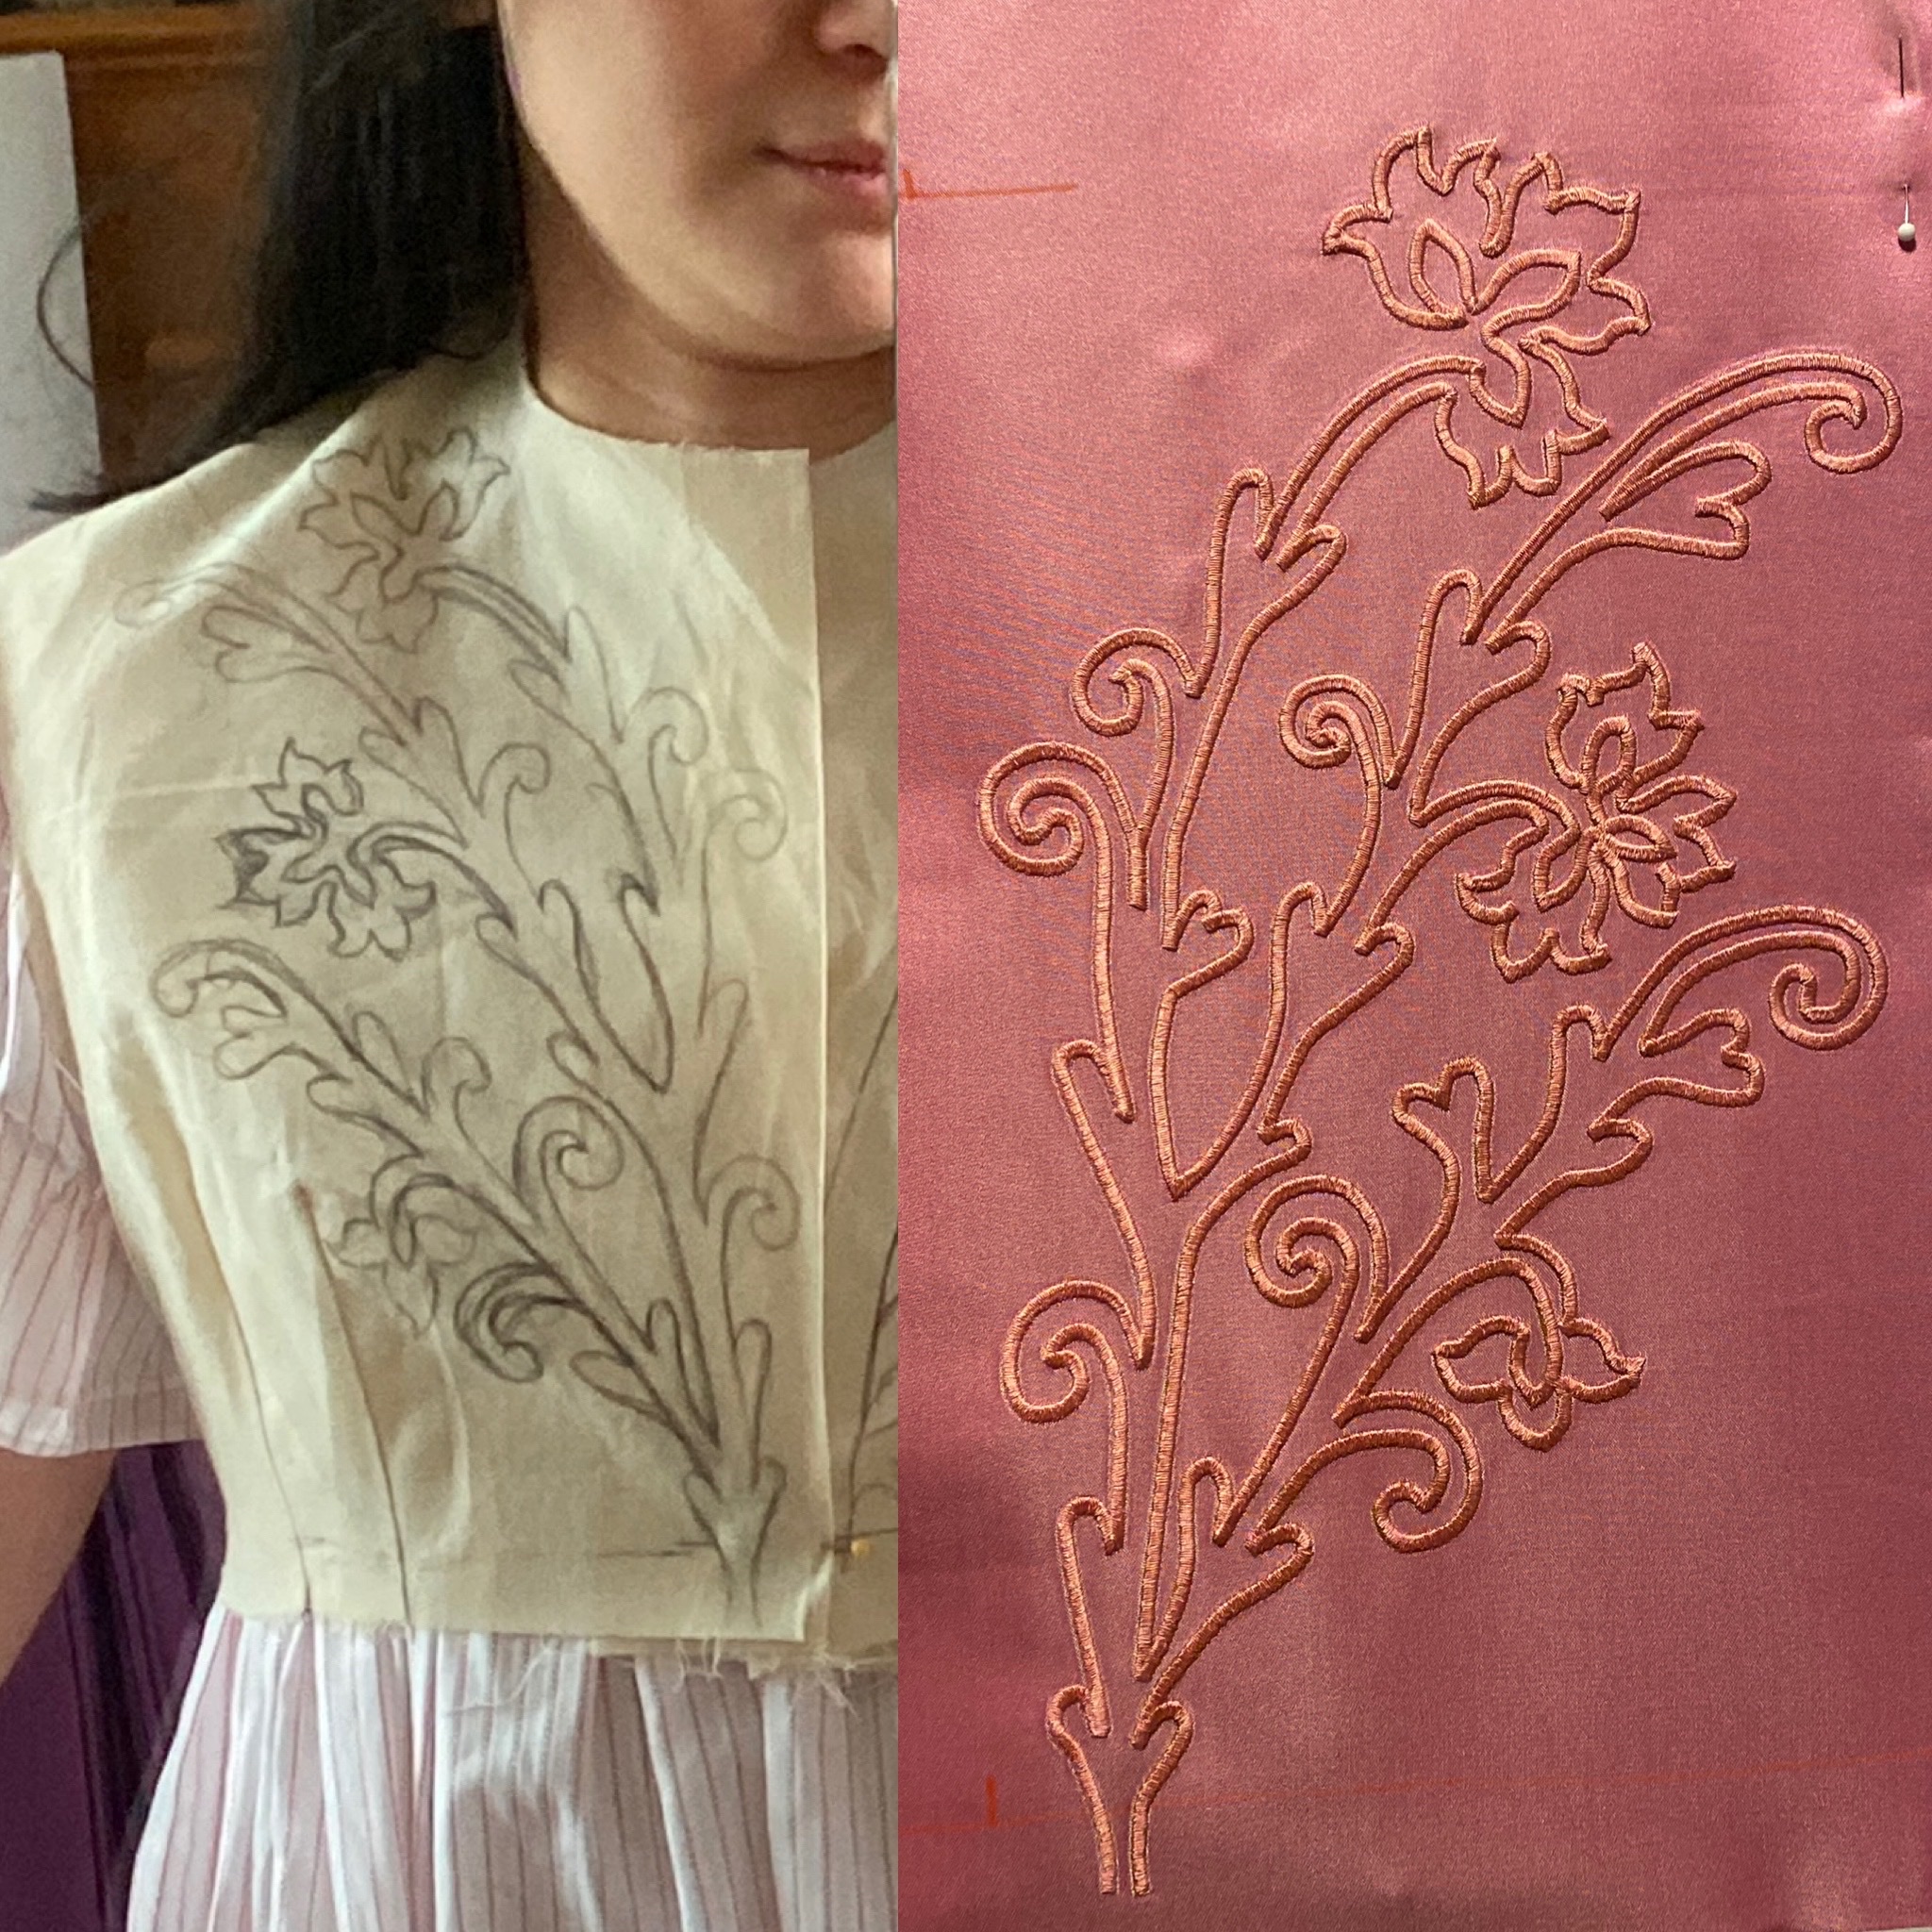
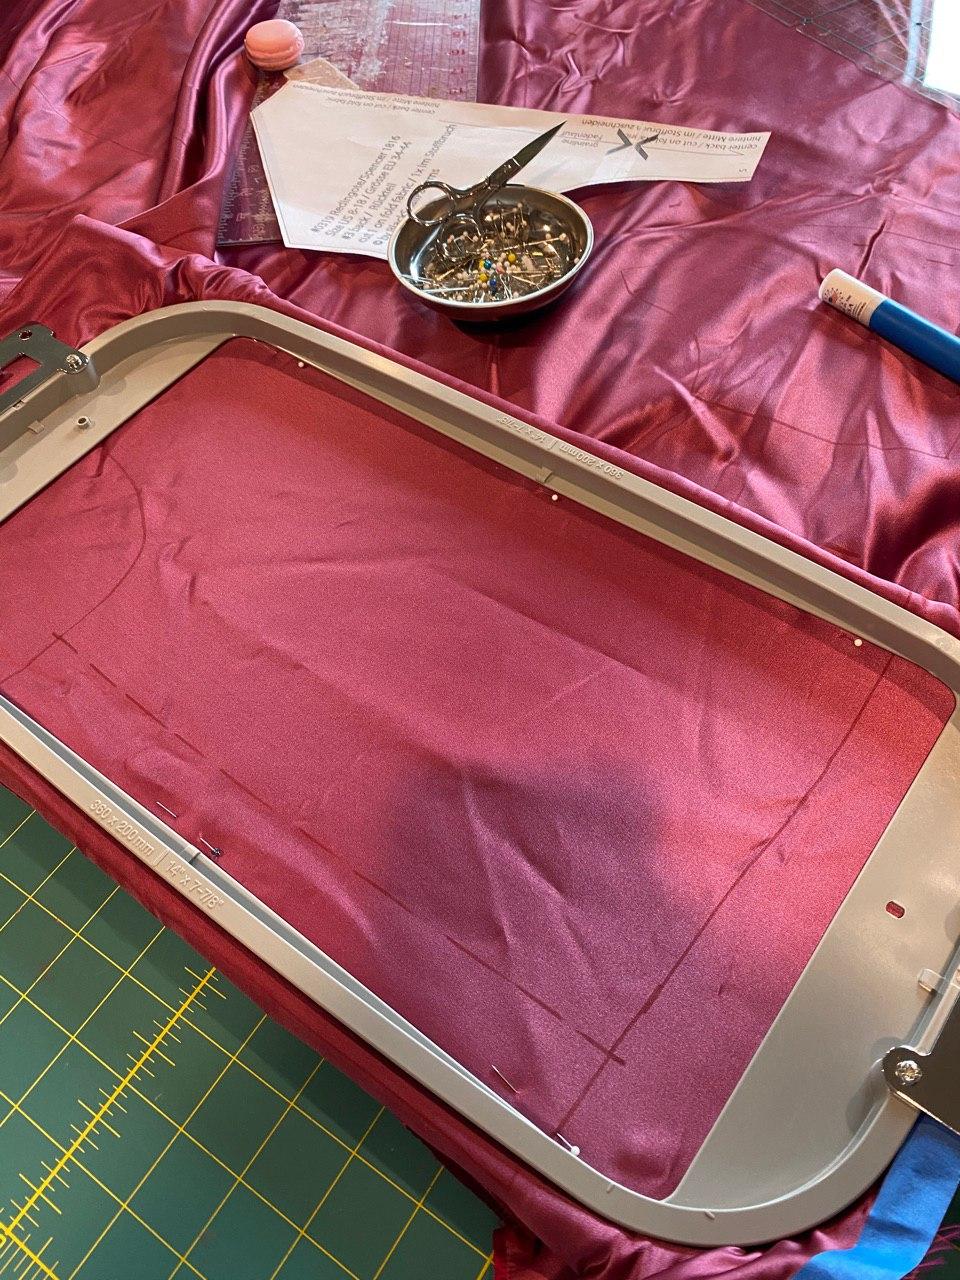
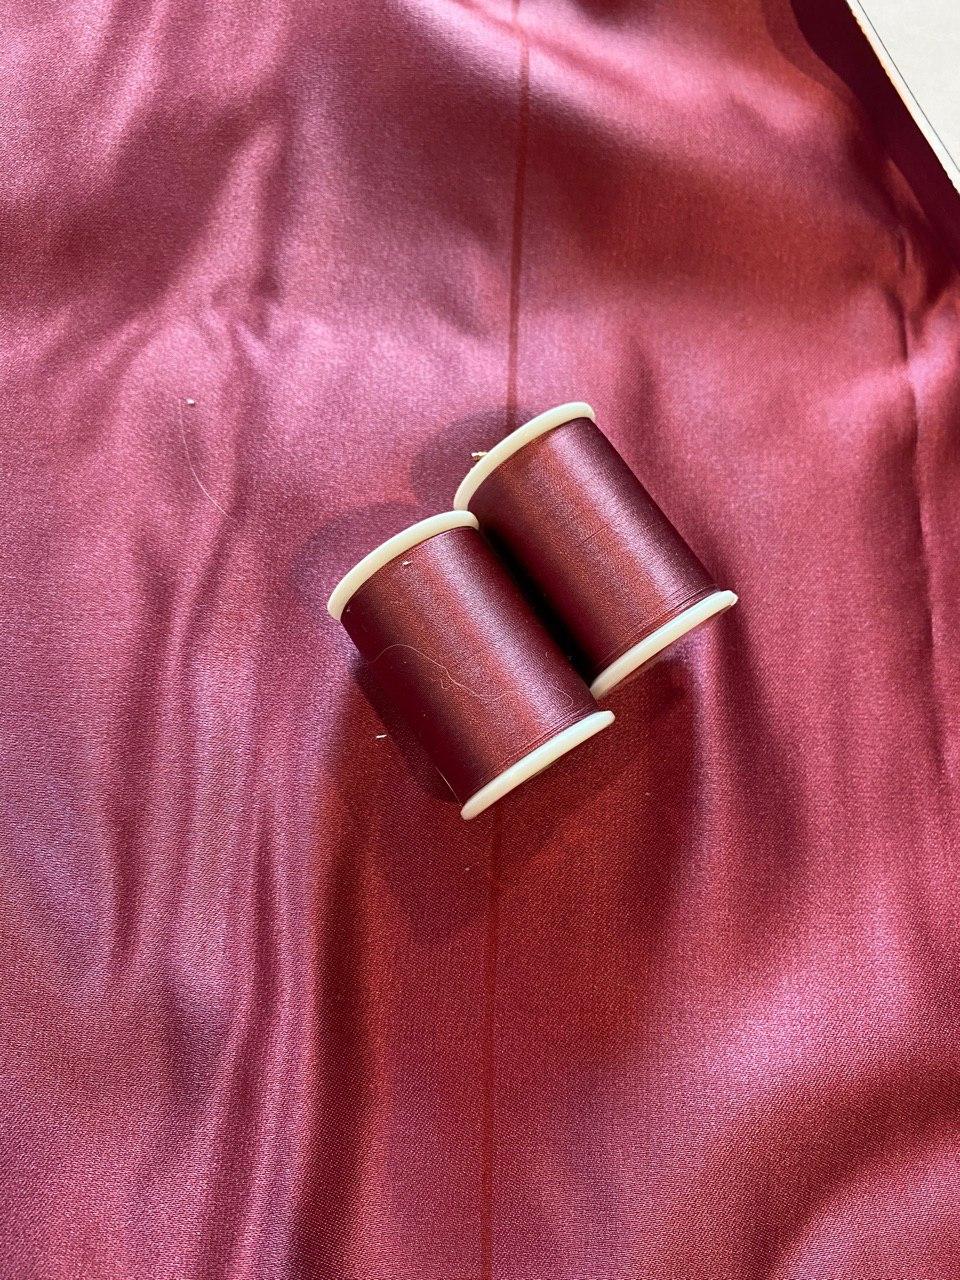
Tips for embroidering: I used a 50wt silk thread but I think any 50wt thread will do well. I used 40wt Madeira metallics for the metallic portion, a nice thick silk satin for base with a tearaway stabilizer.
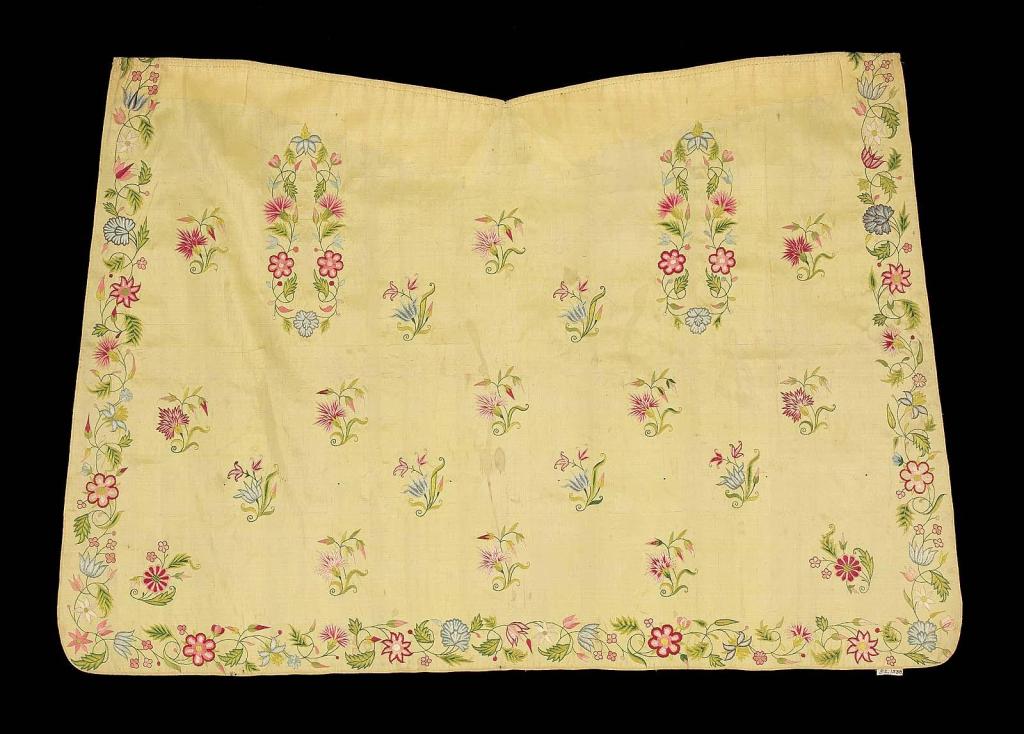
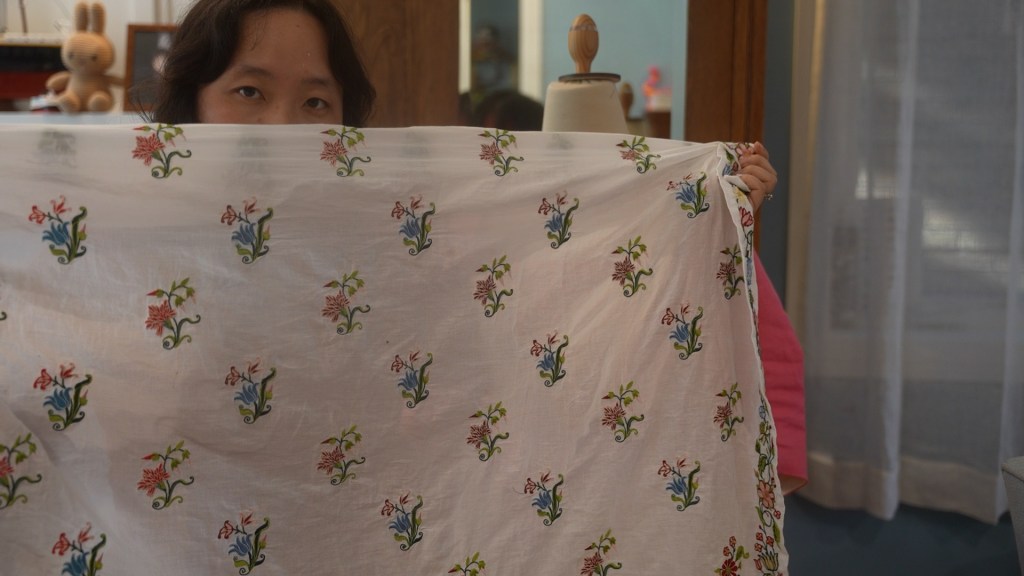
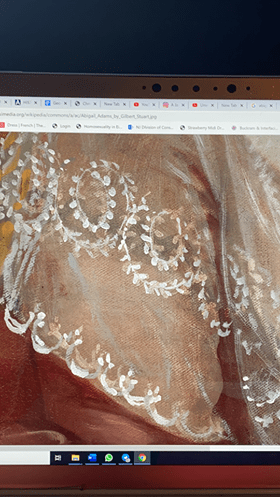
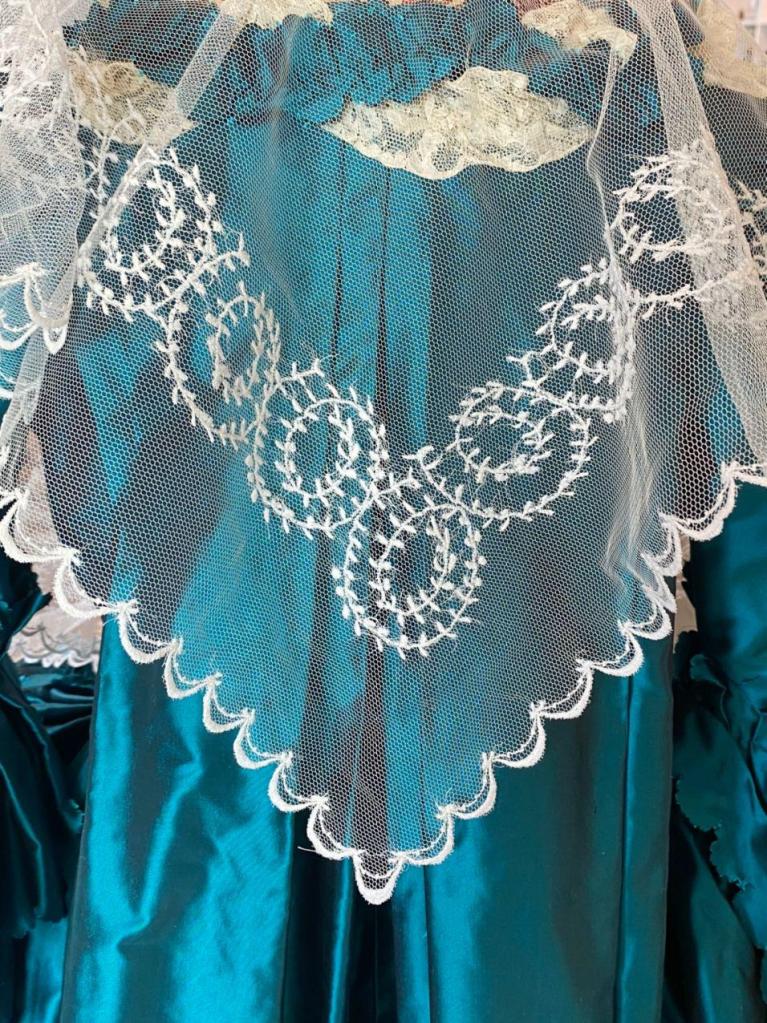
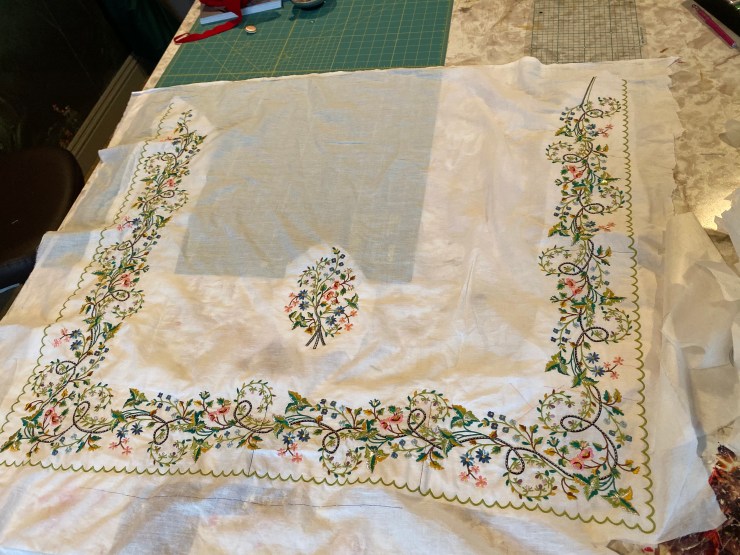
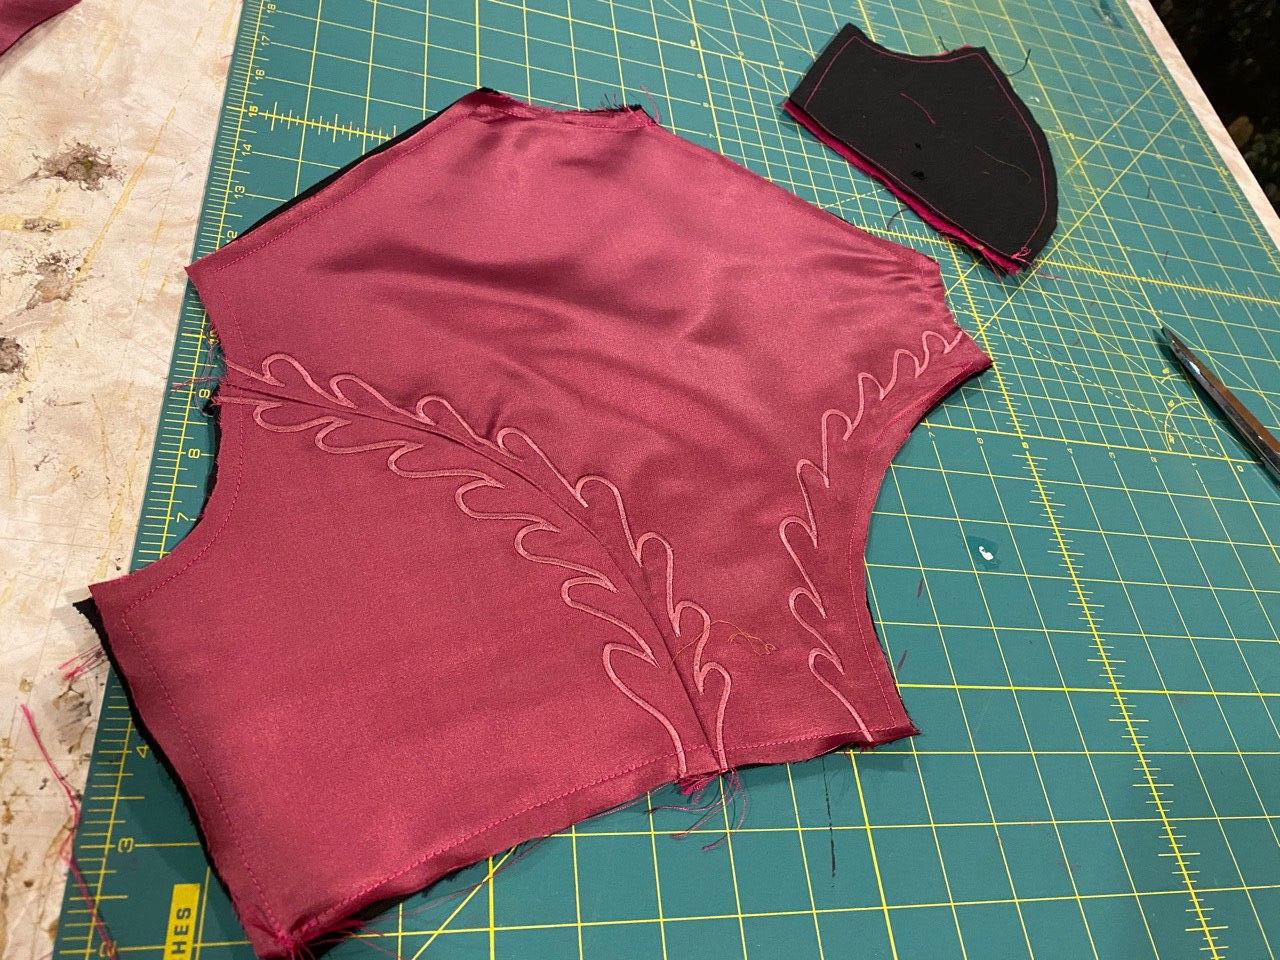
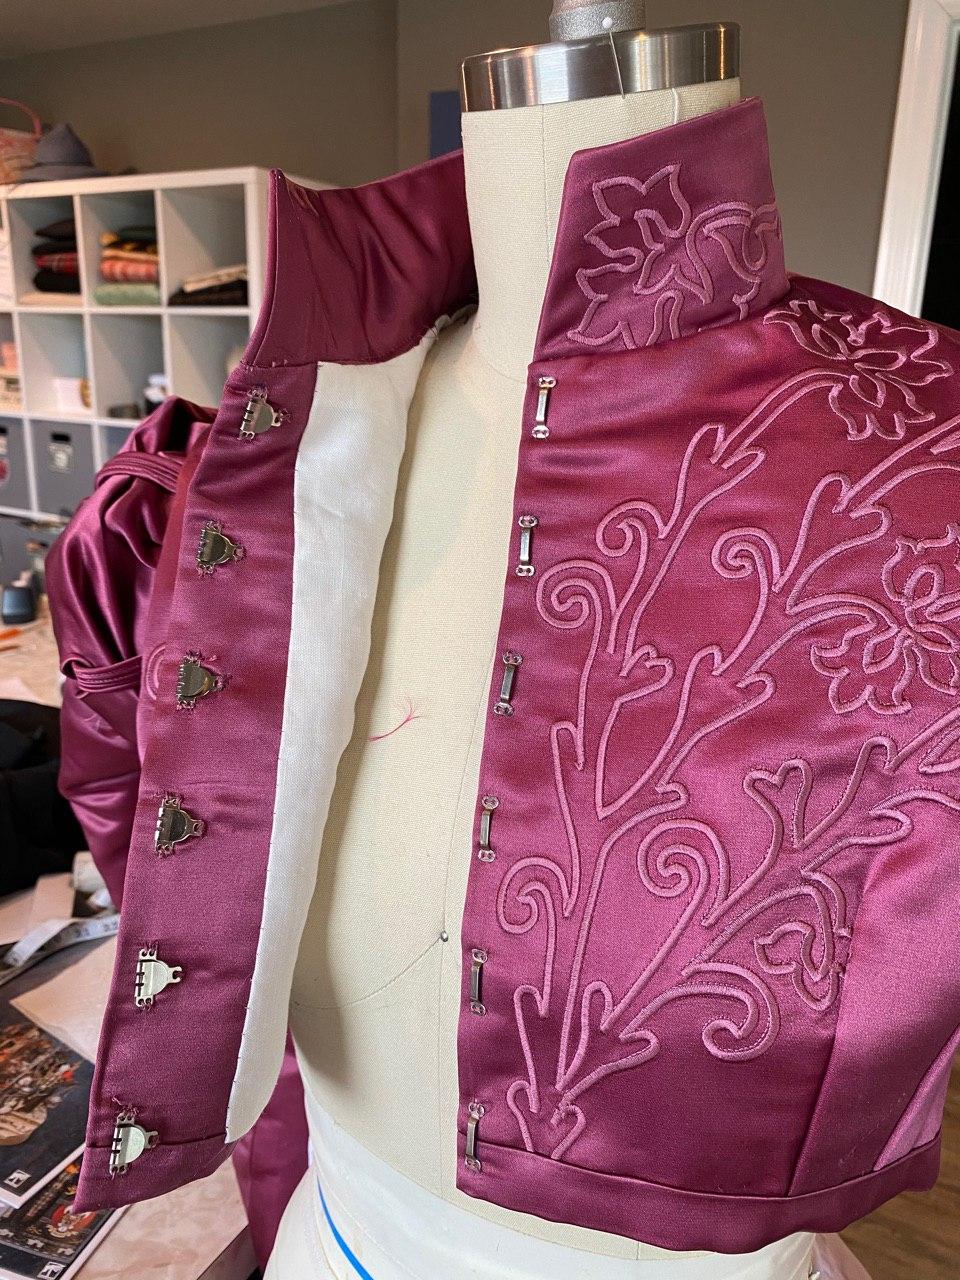
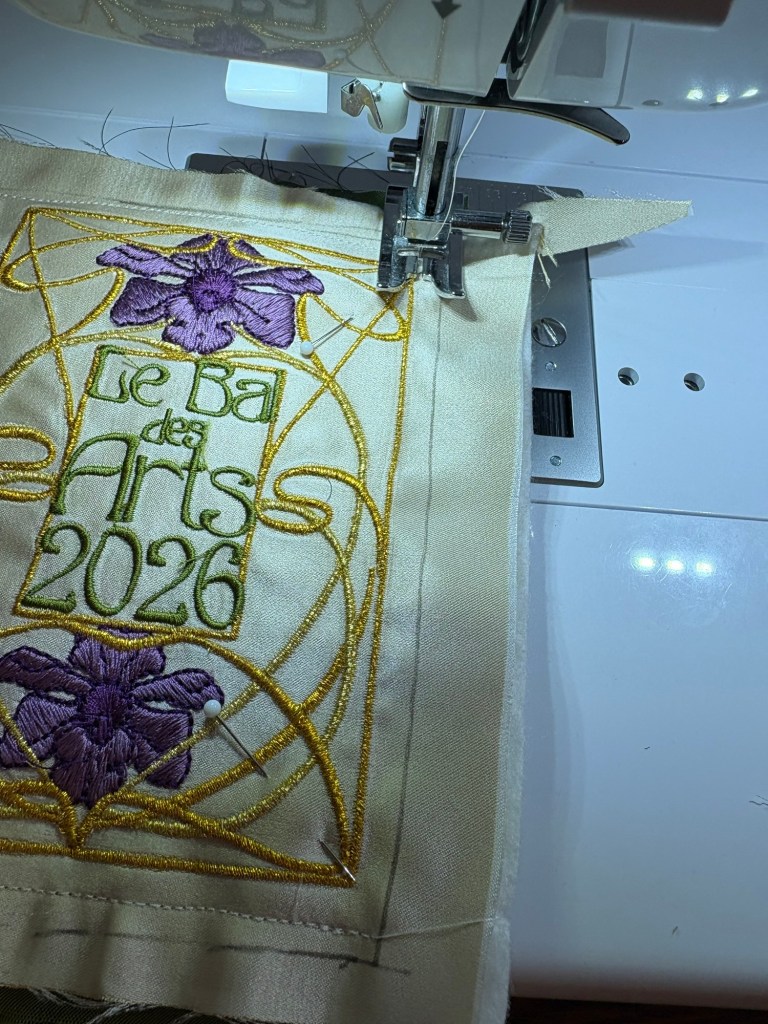
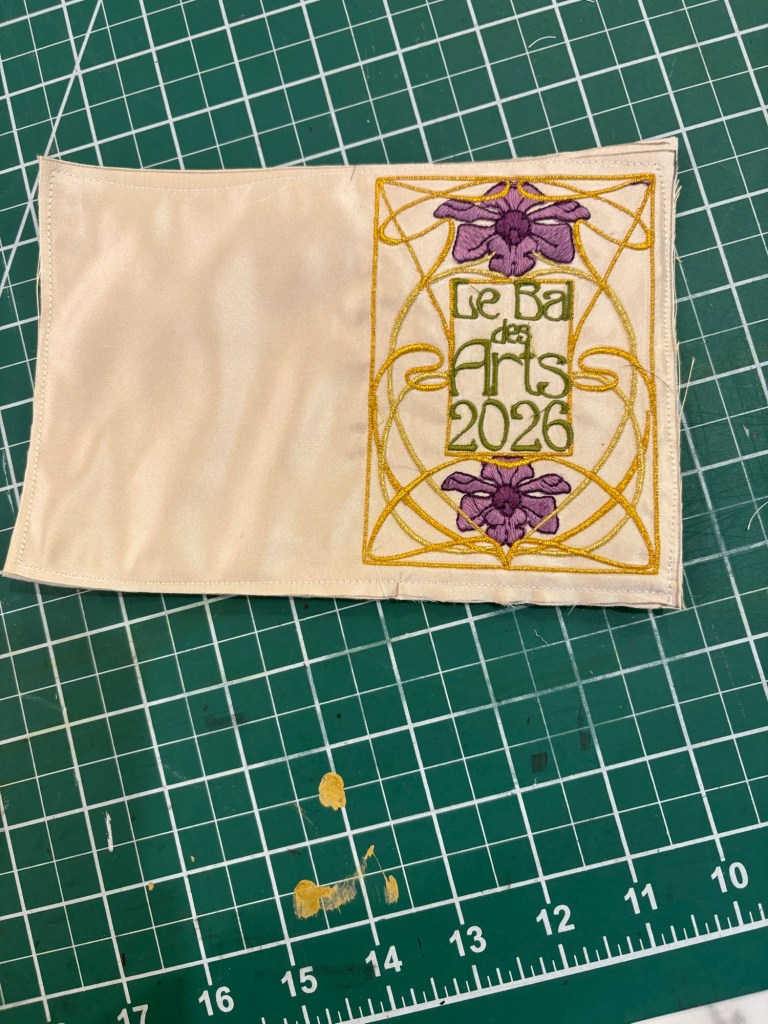
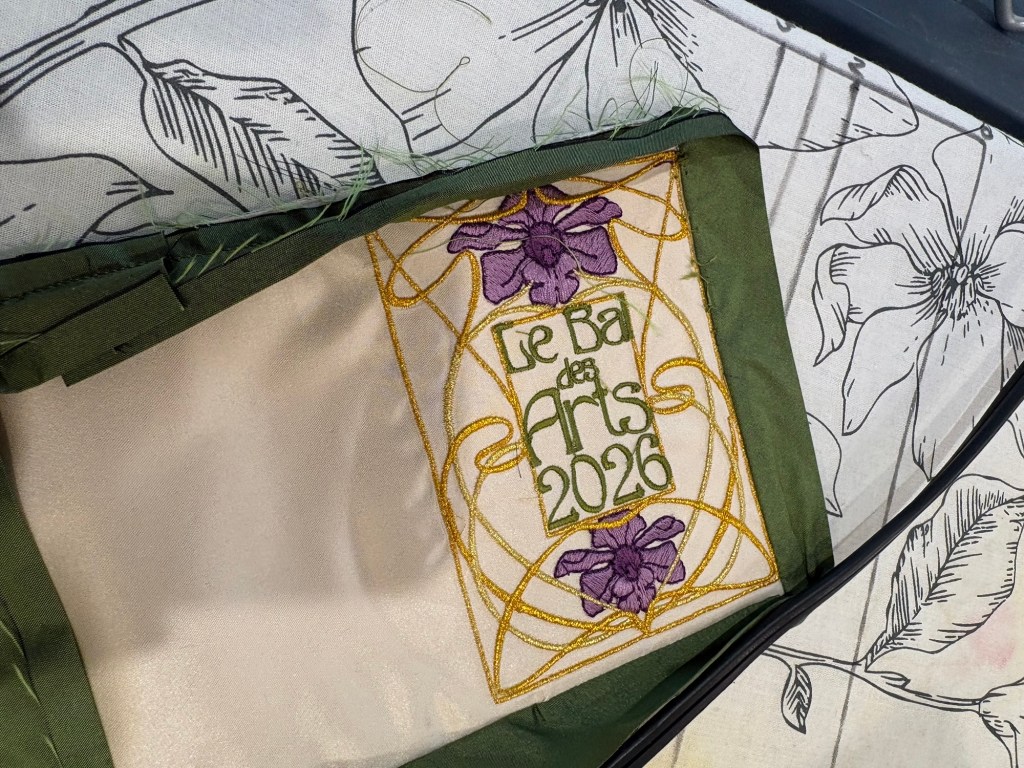
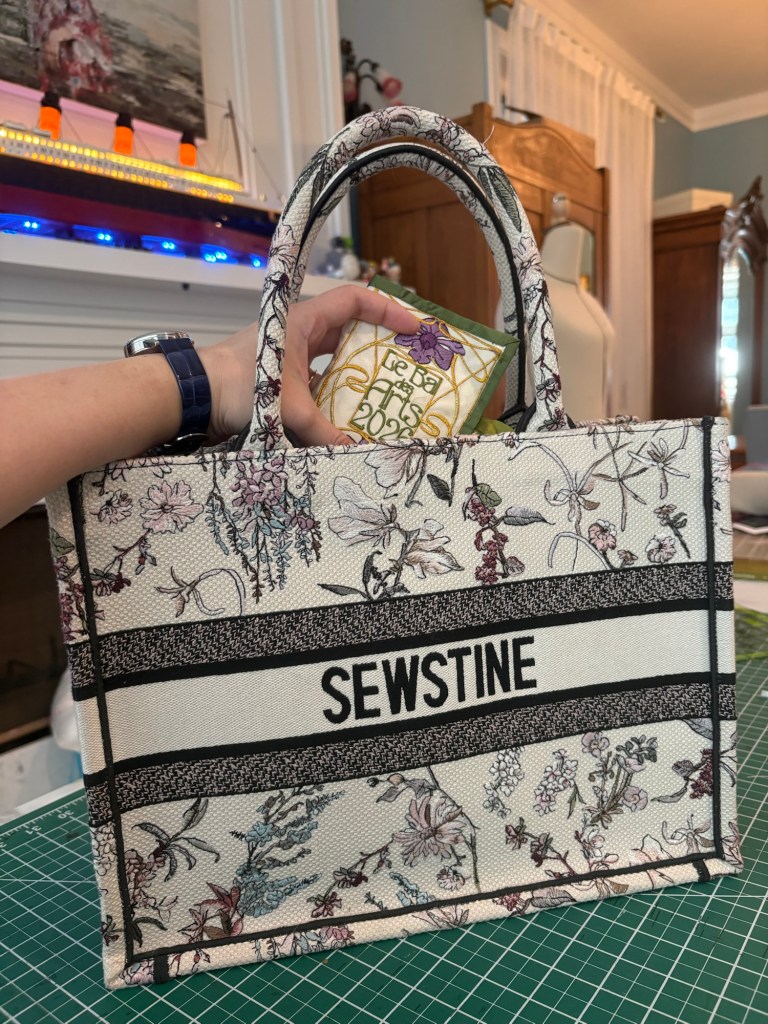
The original design is based on a book cover from the early 1900s, which I thought was absolutely stunning with its clearly Art Nouveau motifs. In the version I’m making, you’ll see it is a motif for Les Bal des Arts, which is a ball I’m throwing March of this year. However, feel free to put in any letters you’d like. I’ve enclosed capitals for A-Z in Edda font, a very art nouveau font, so you can insert your initials if you’d like.
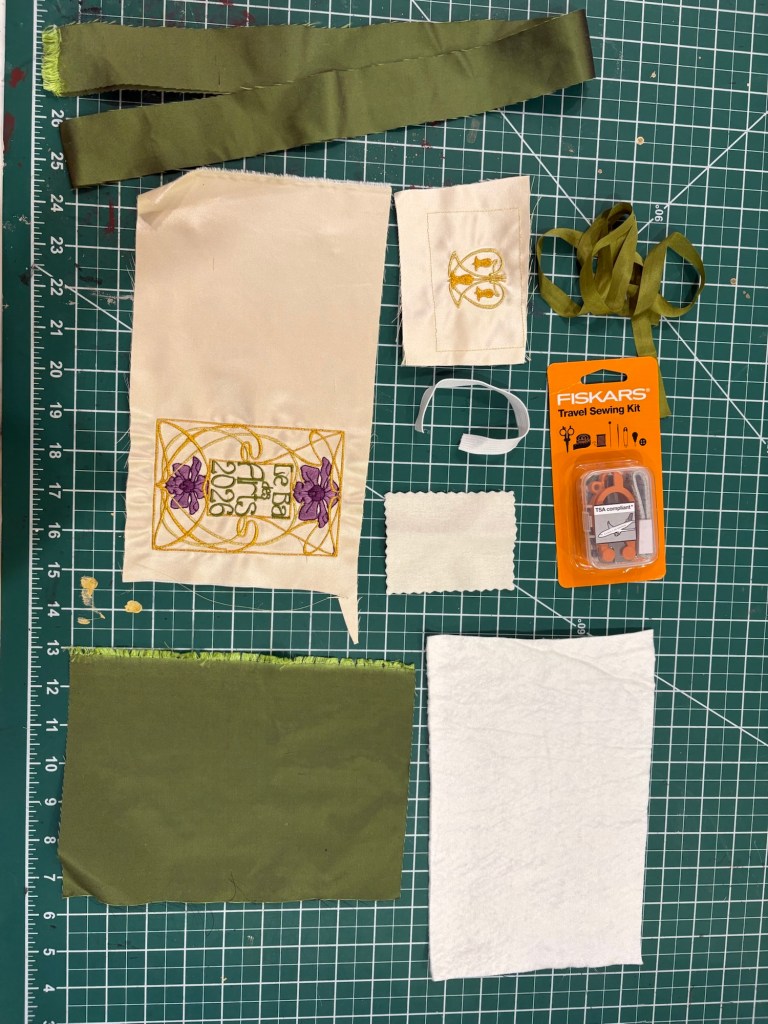
Material List as follows:
- Embroidered Panel for the exterior – pattern can be downloaded here as a PDF
- Embroidered panel for interior pocket
- Some sort of batting material for the inside (I used poly)
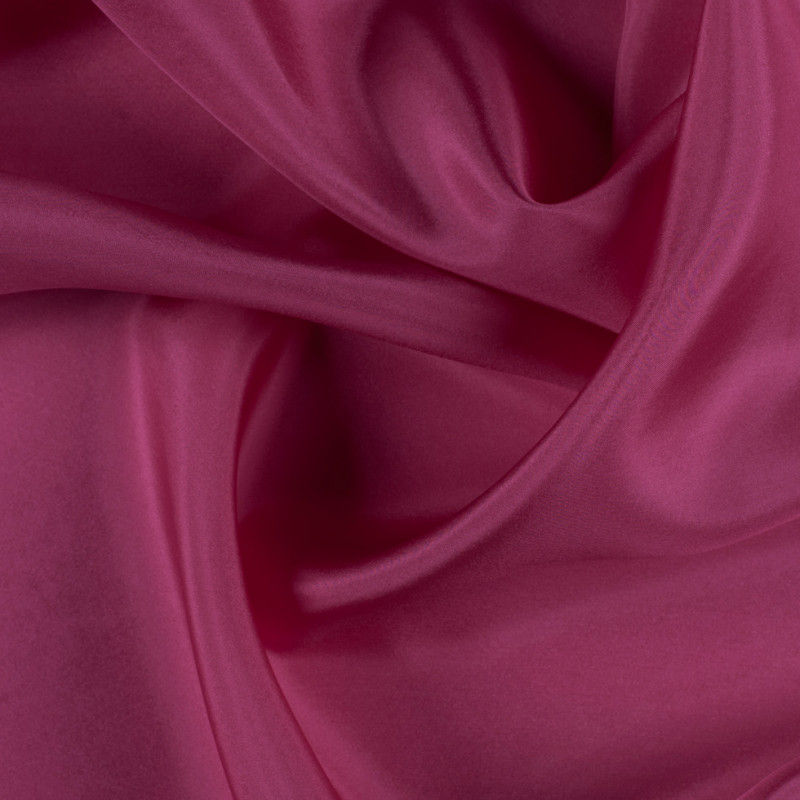
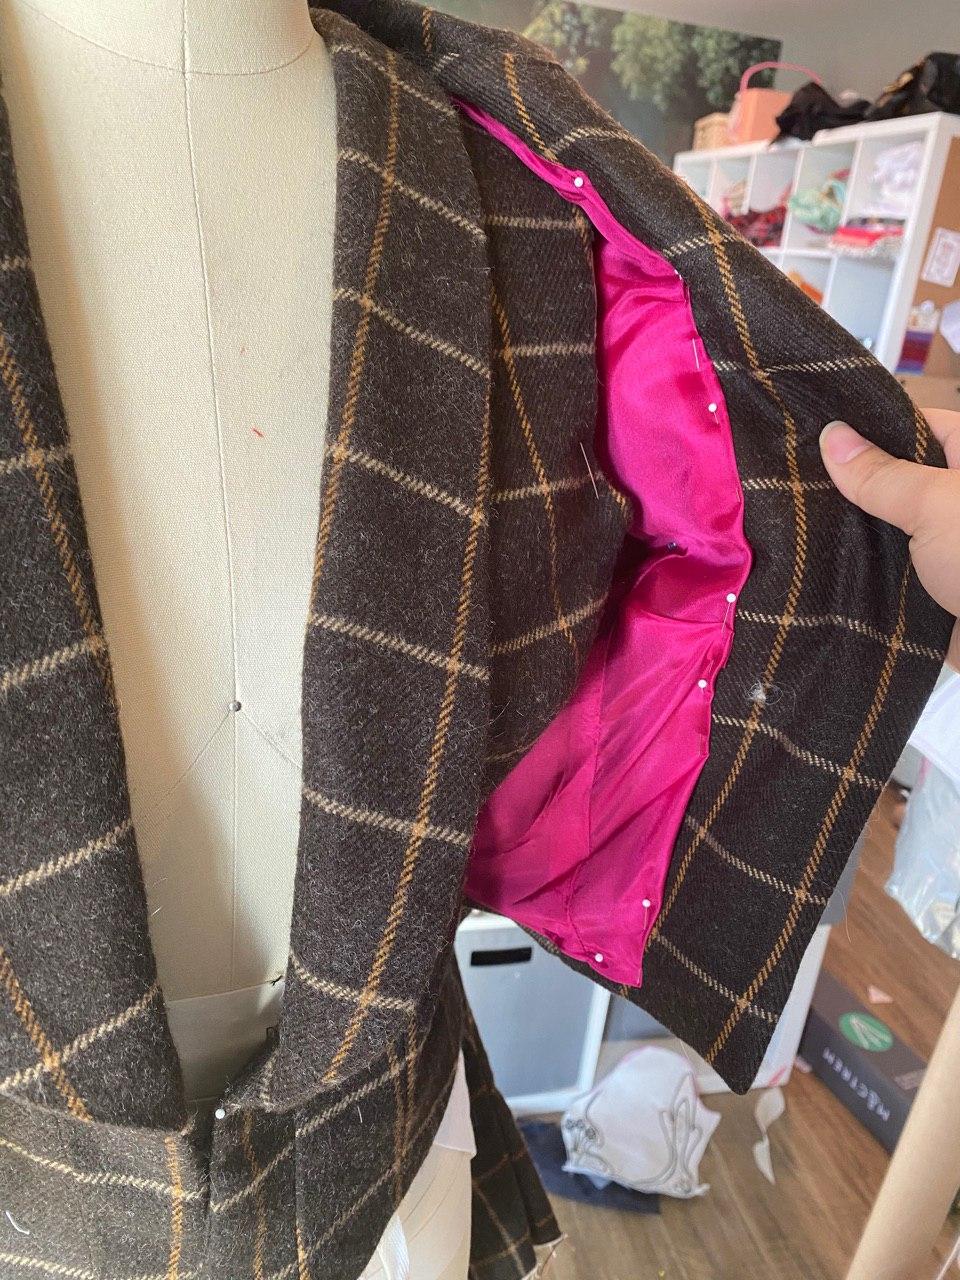
- Some lining material the same size as the exterior
- 1.5” x 32” strip of fabric for the binding
- A little piece of wool to use as the needle holder. I use wool broadcloth bits, pinked on all four sides with pinking scissors.
- 4-8” of elastic
- Some ribbon to use as a closure
- Things to put in it (I used the Fiskars Travel Sewing kit since it’s TSA safe)
- Pattern for huswiff
Step by Step directions:
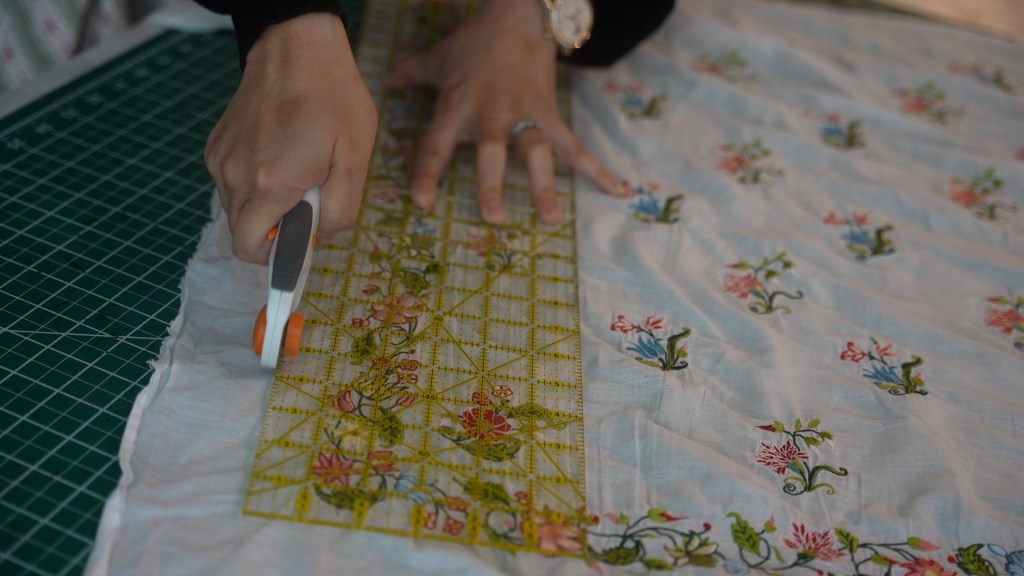
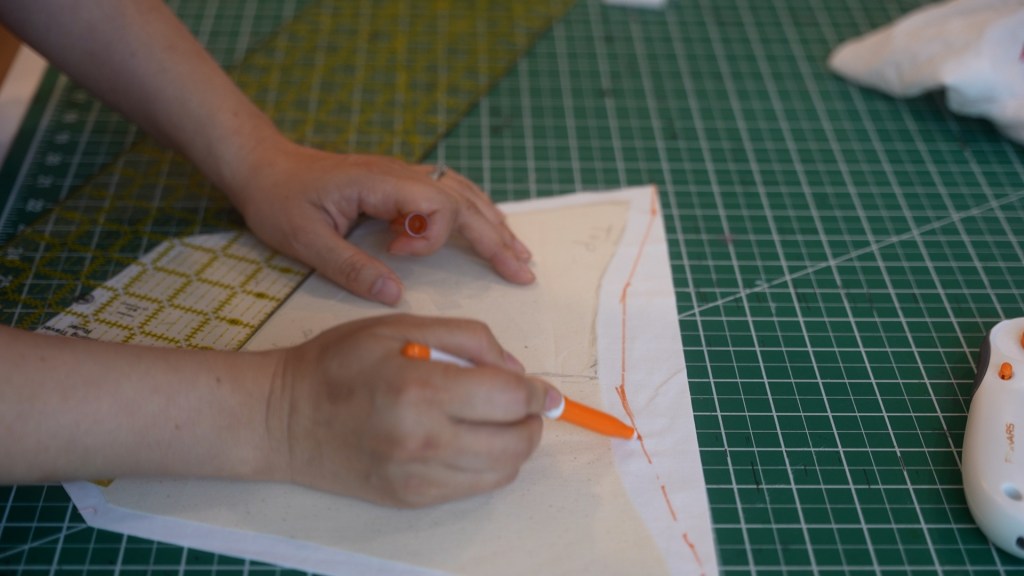
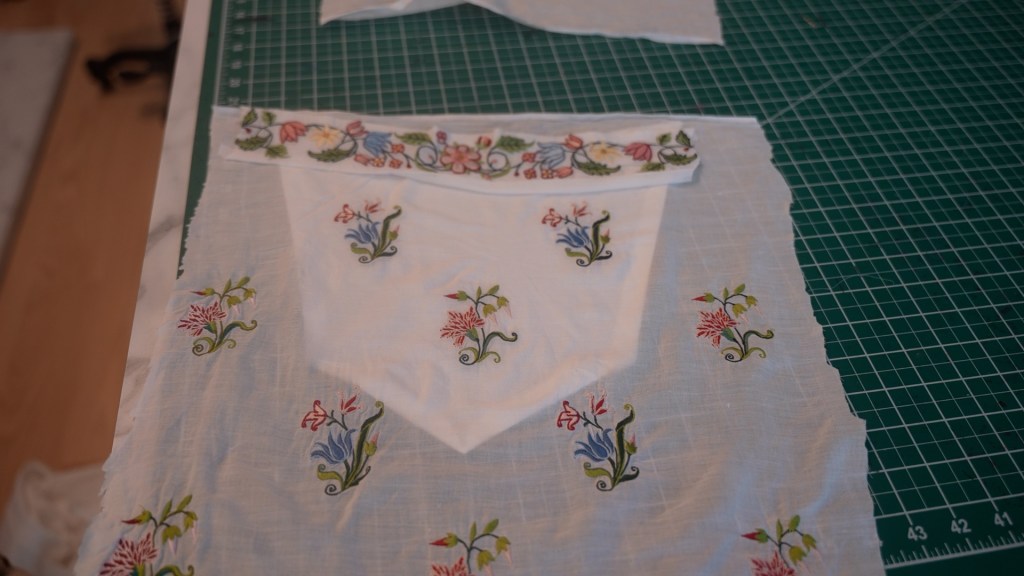
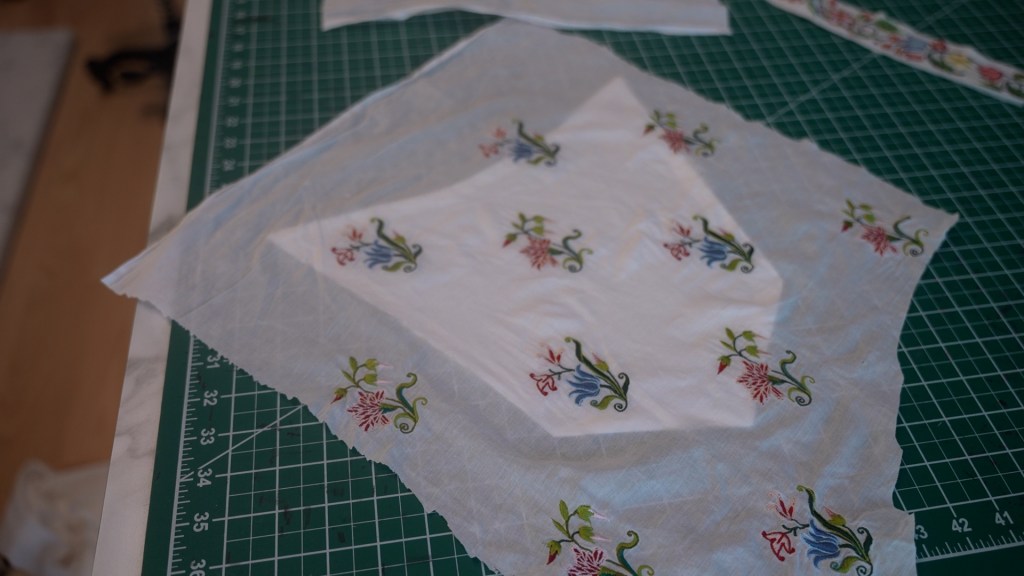
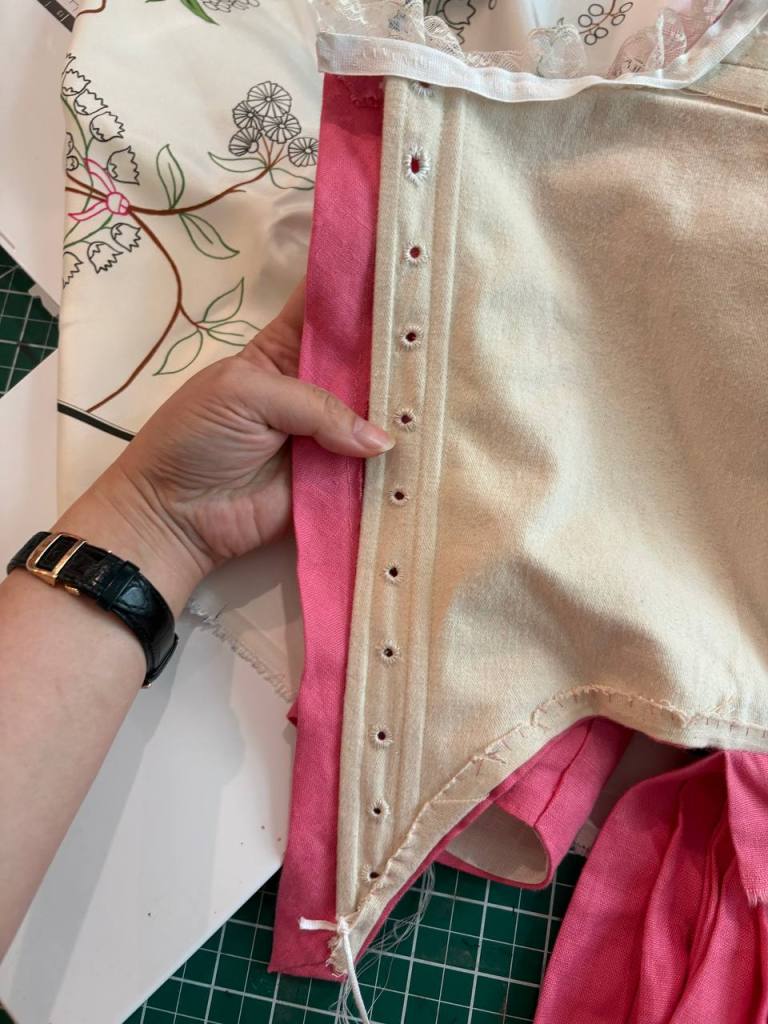
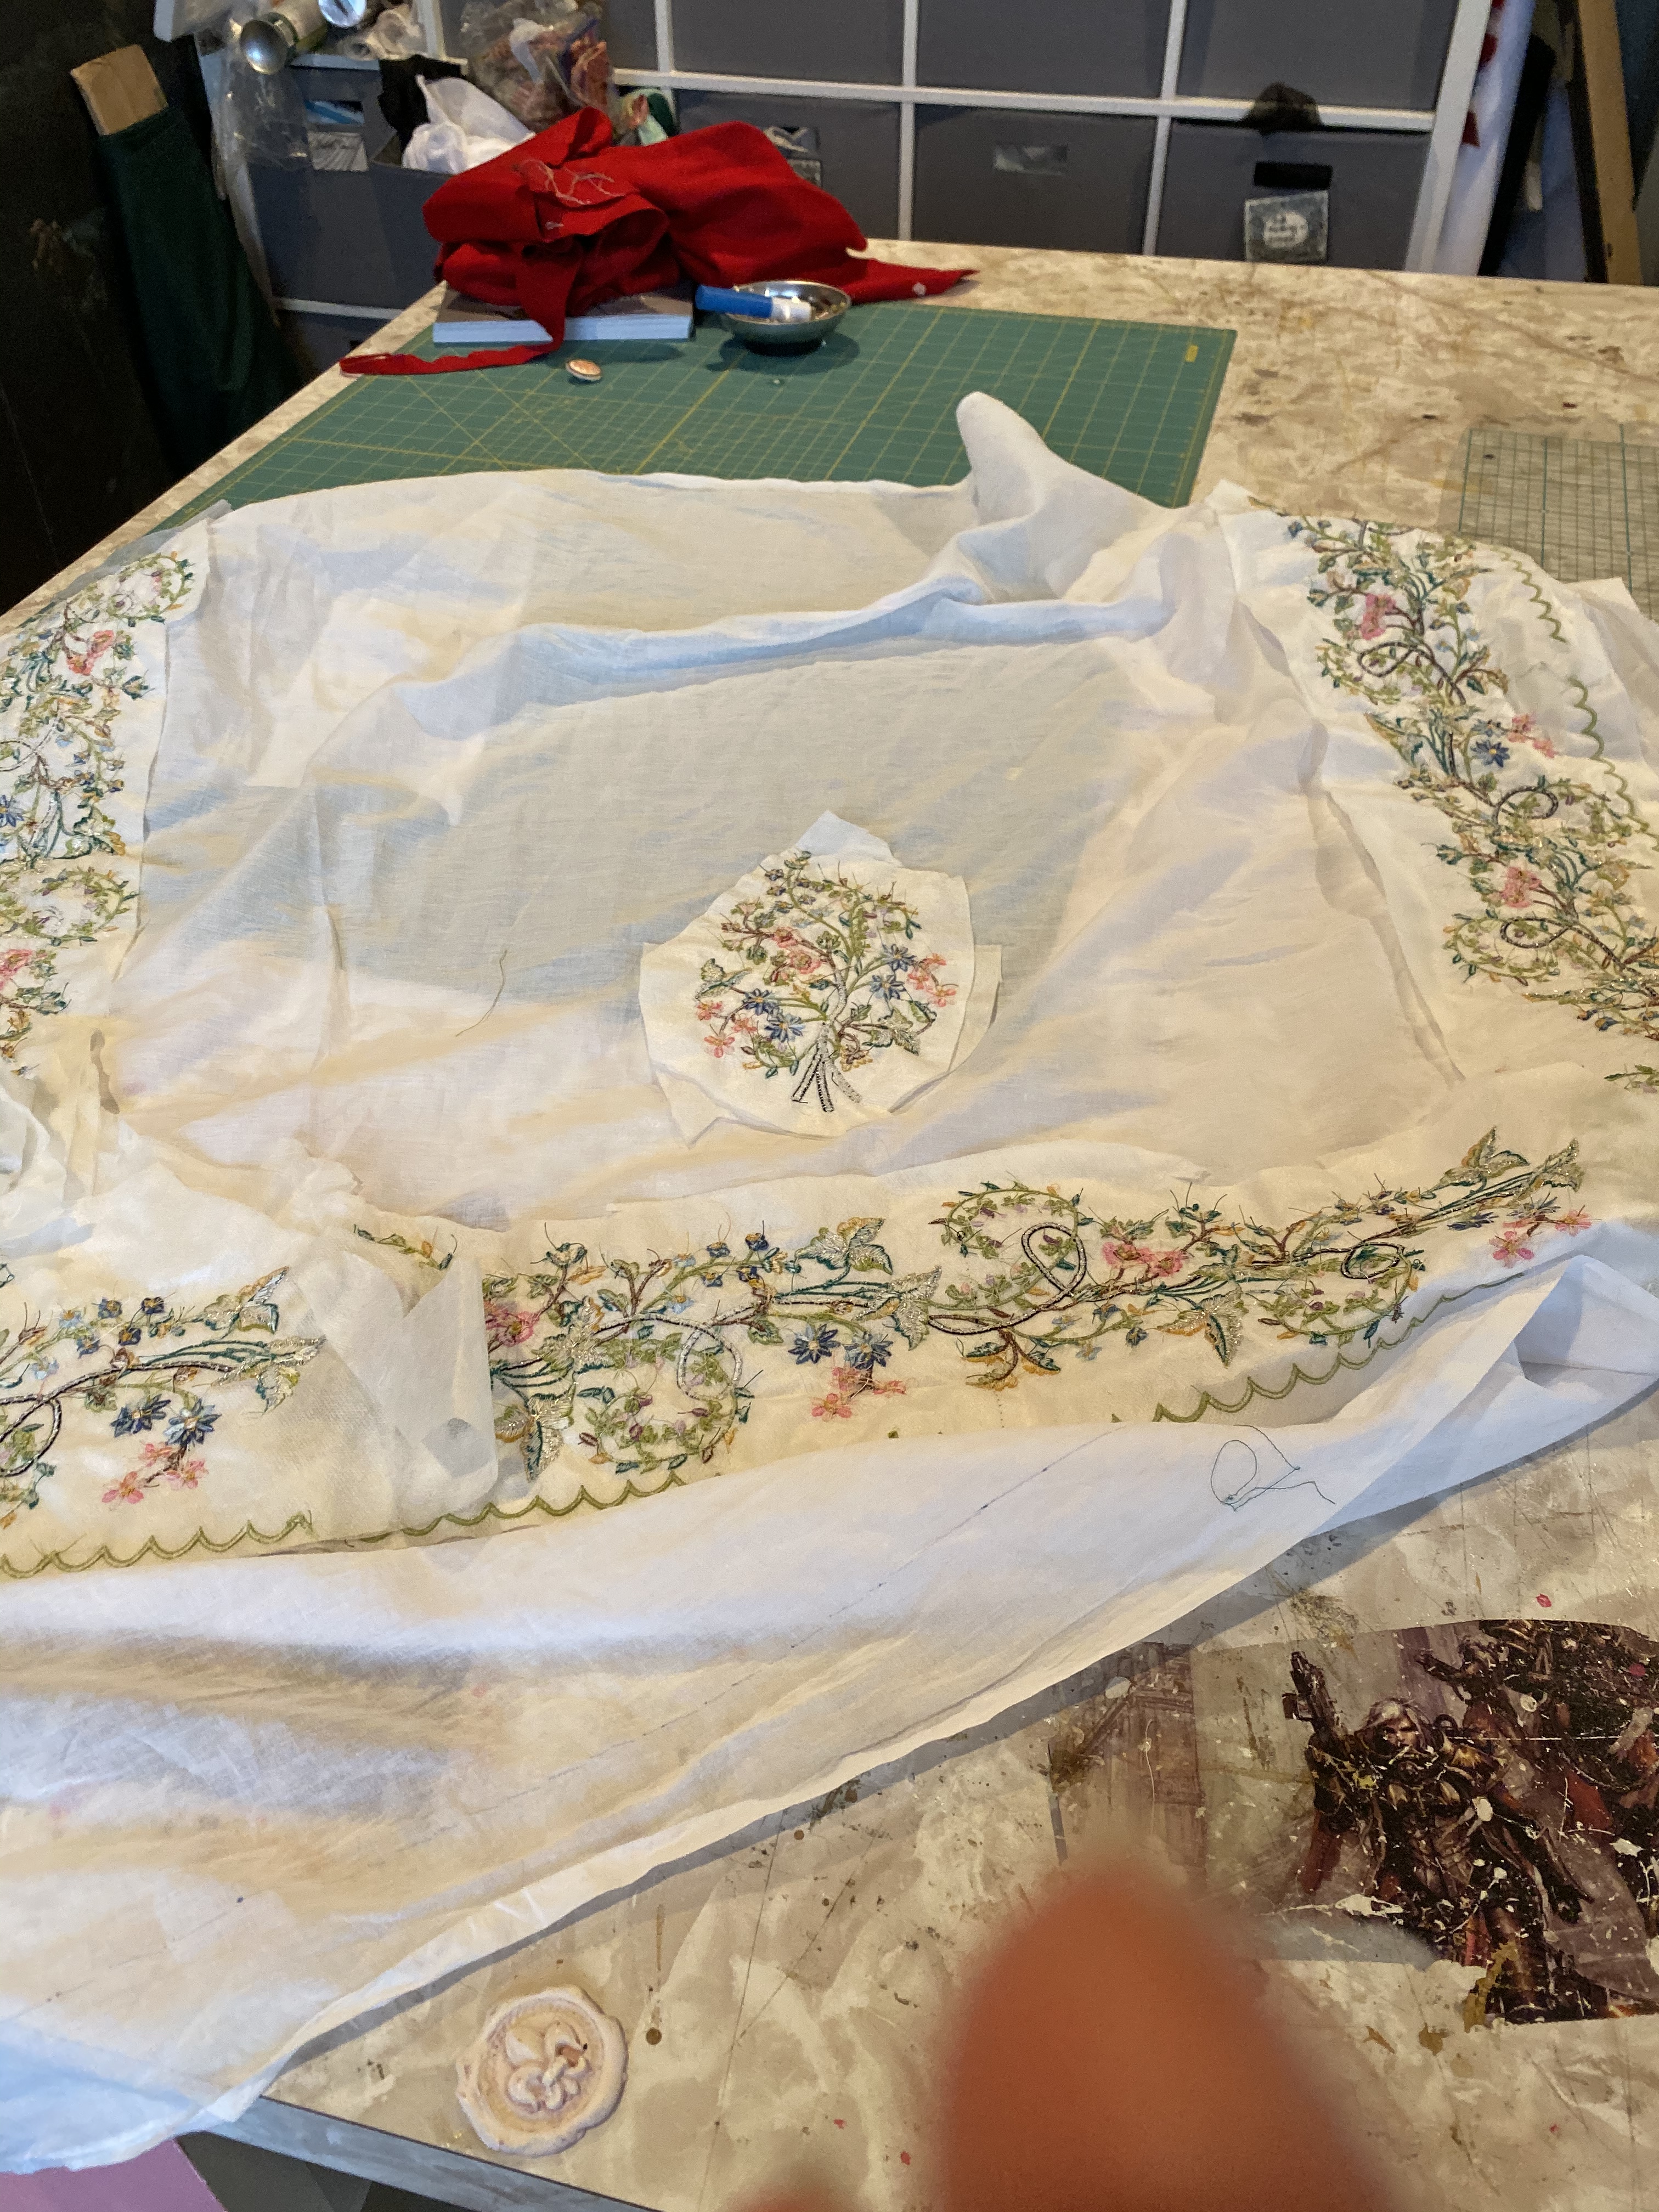
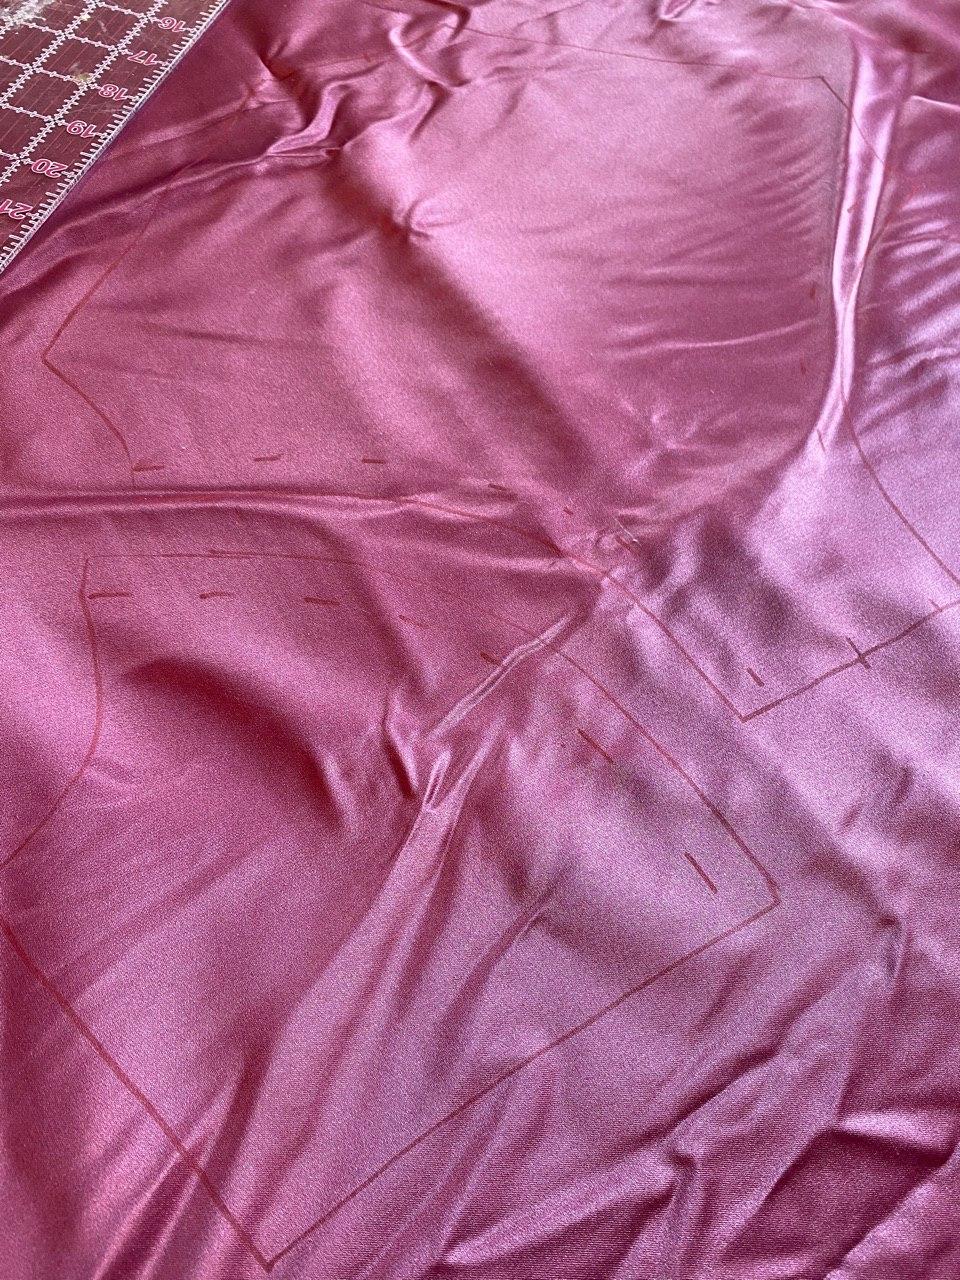
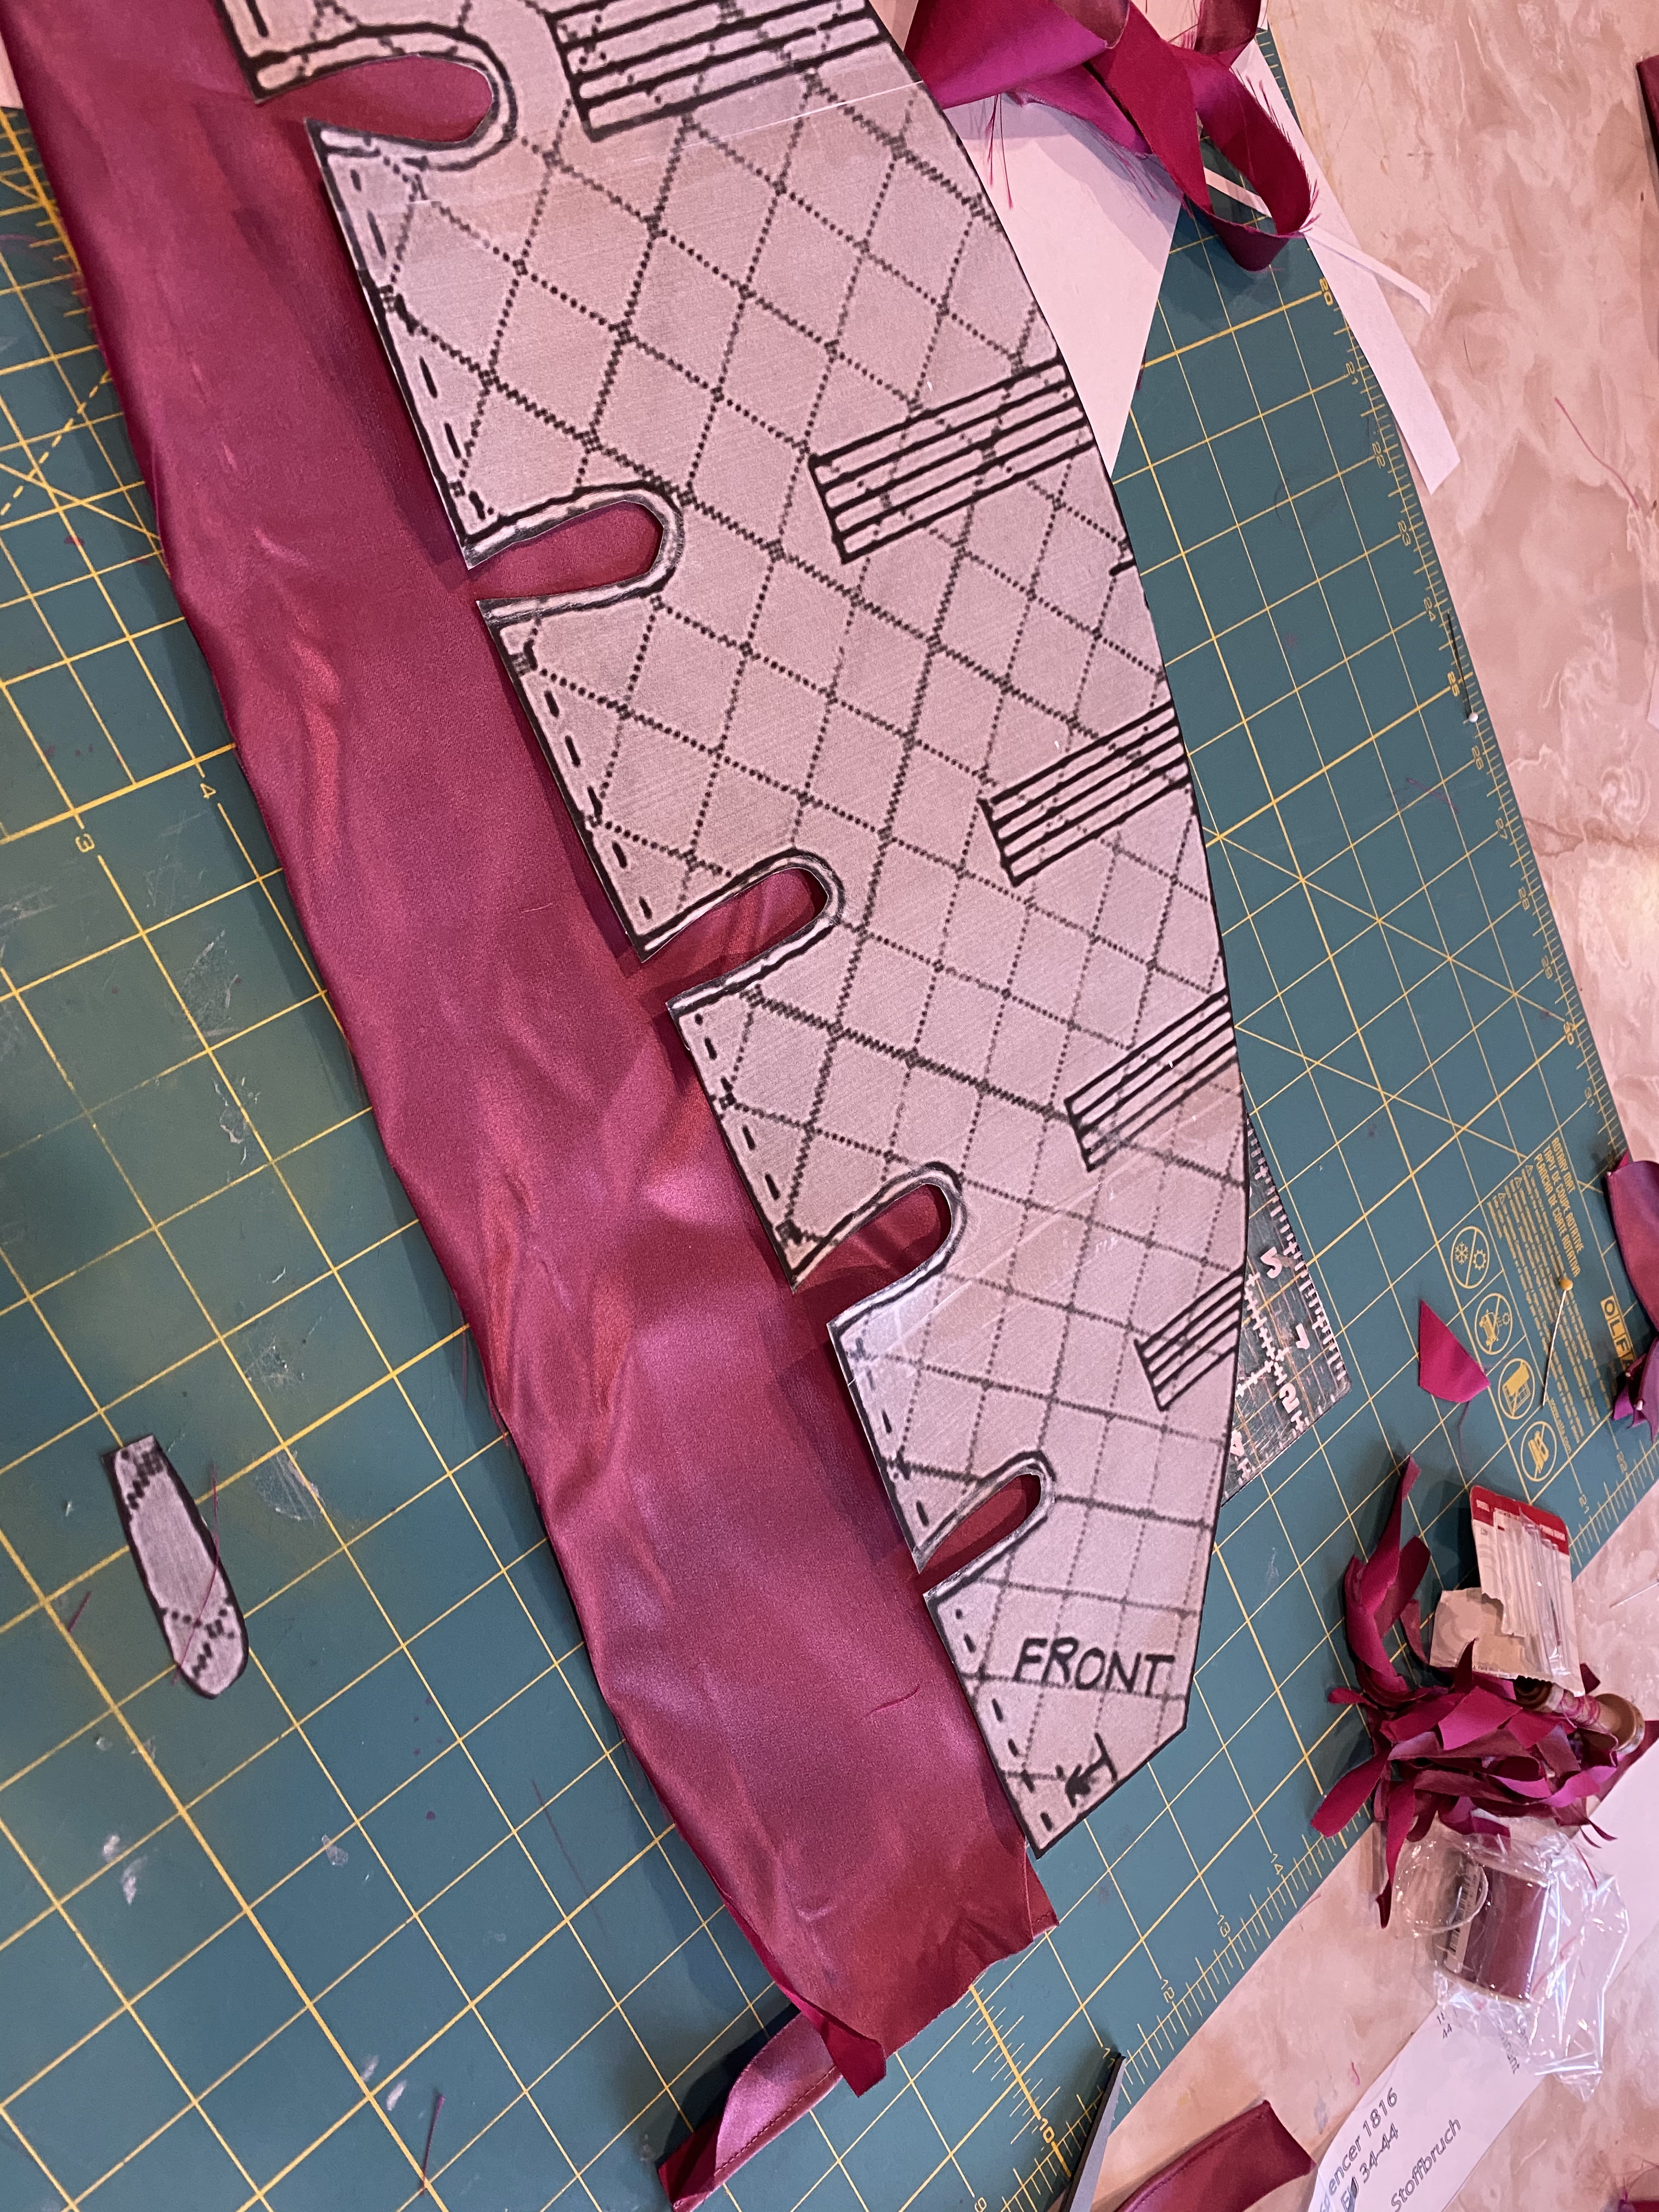
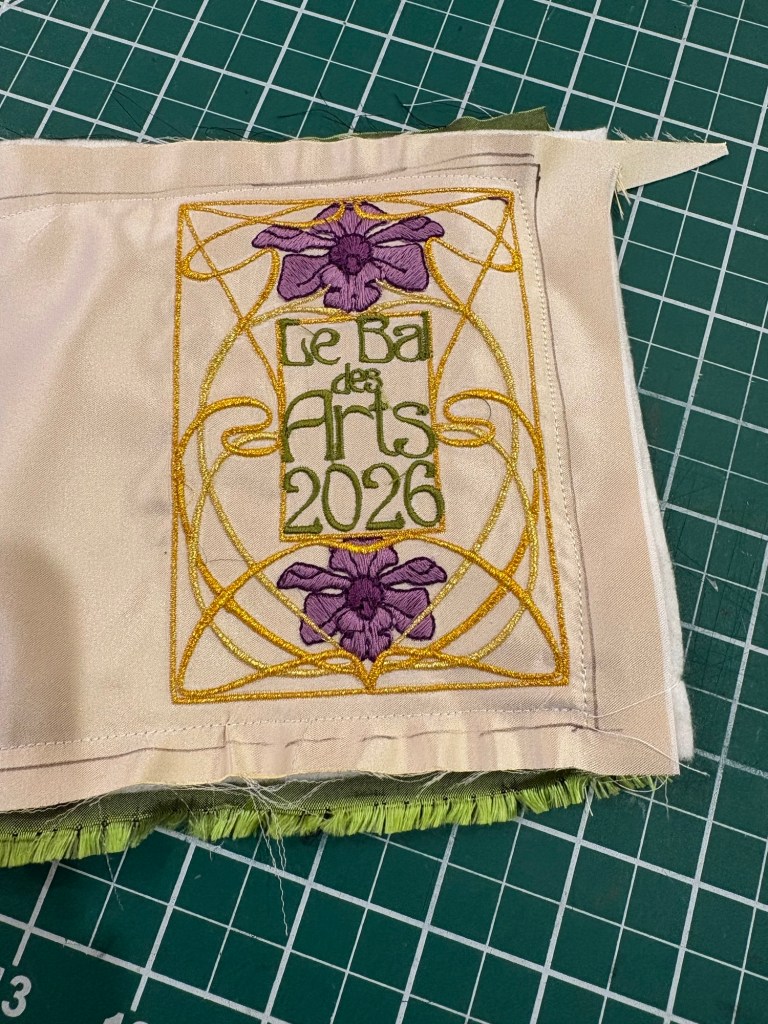
Step 1. Cut out the Embroidered panel for the exterior, the batting and the lining. Cut it out around loosely bigger than the pattern itself by around a quarter of an inch.
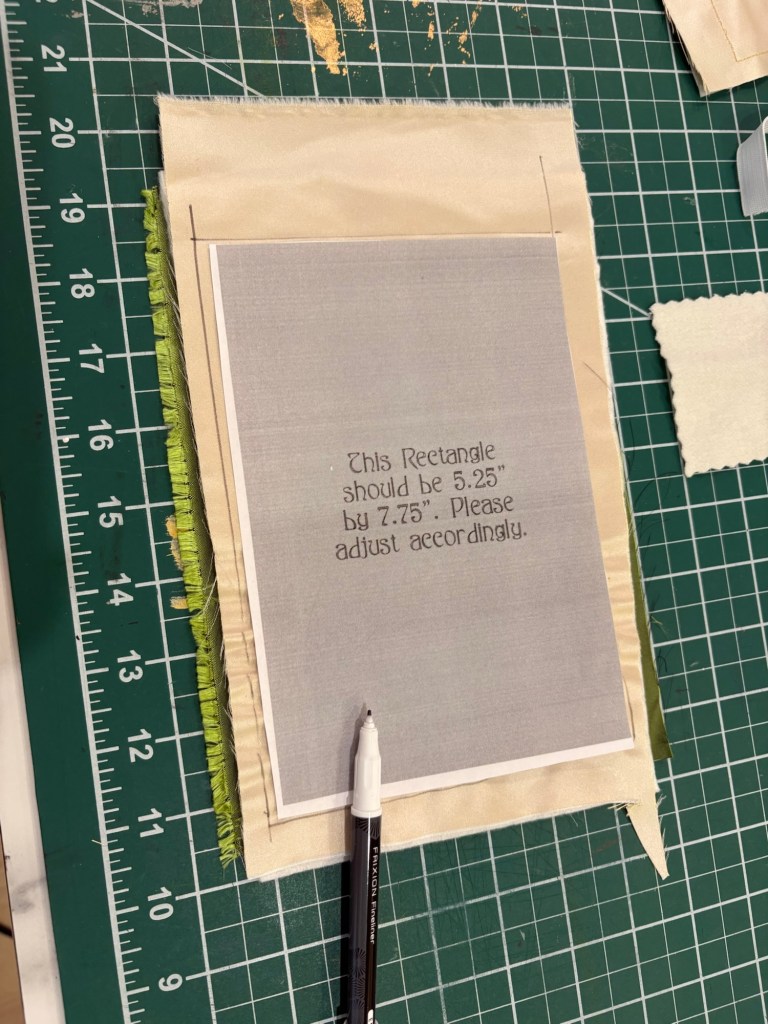
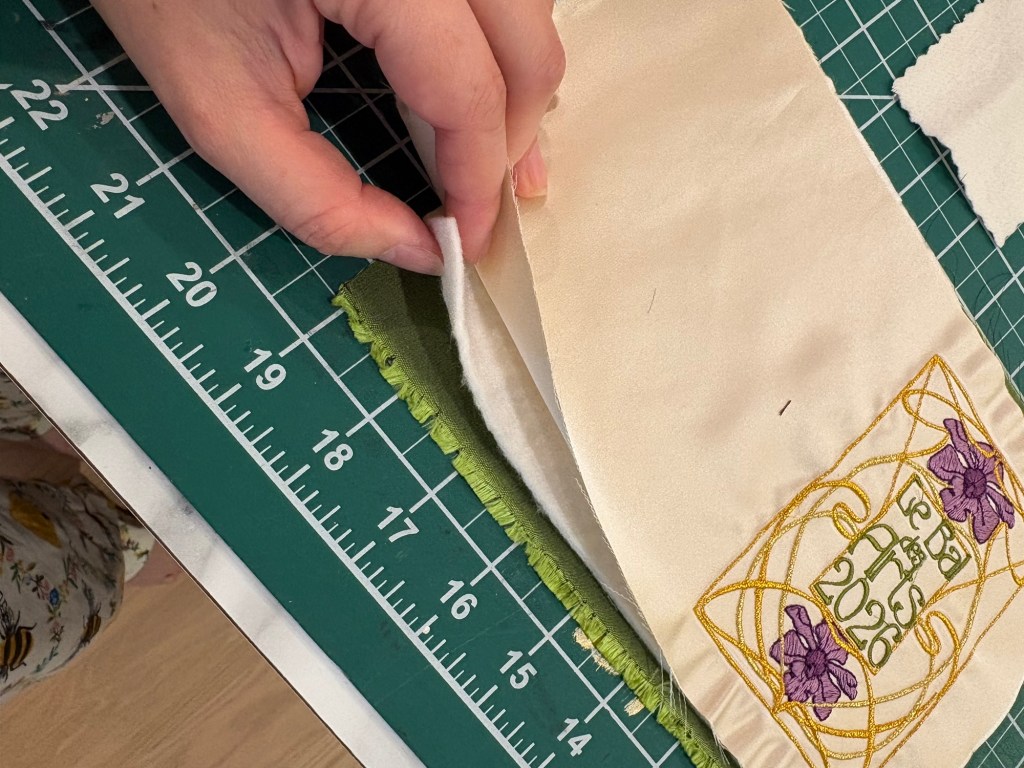
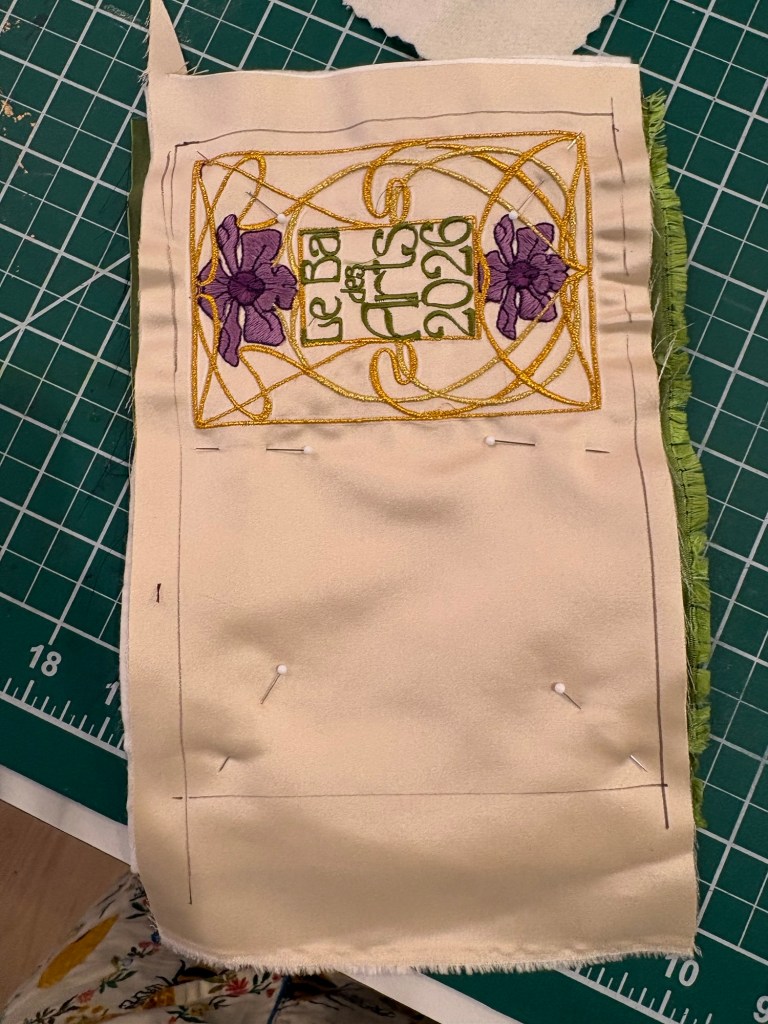
Step 2. Layer the embroidered panel on top of the batting on top of the silk. The two silk pieces should be sandwiching the batting, with the embroidered sides out. Trace the pattern onto the fabric pieces.
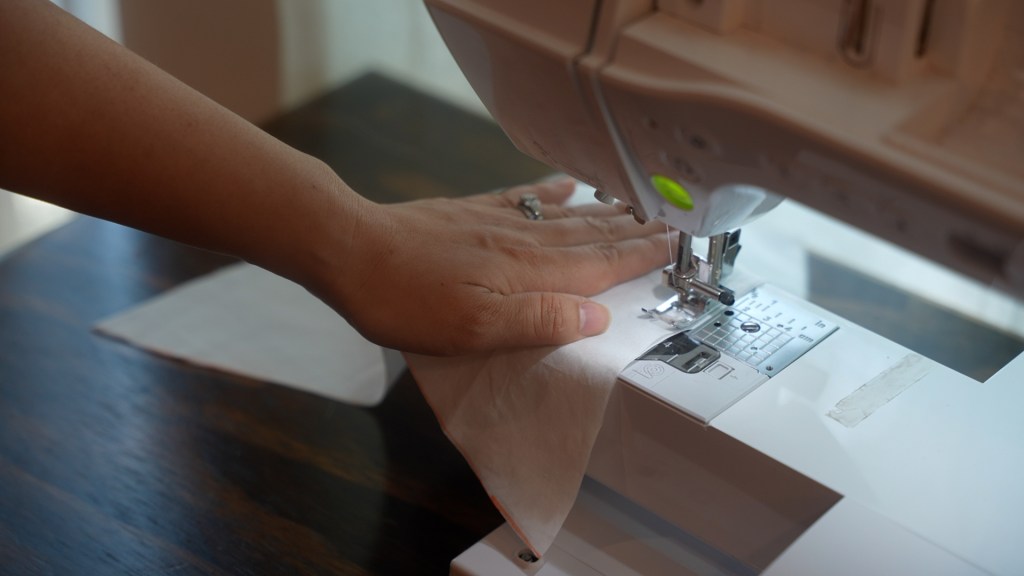
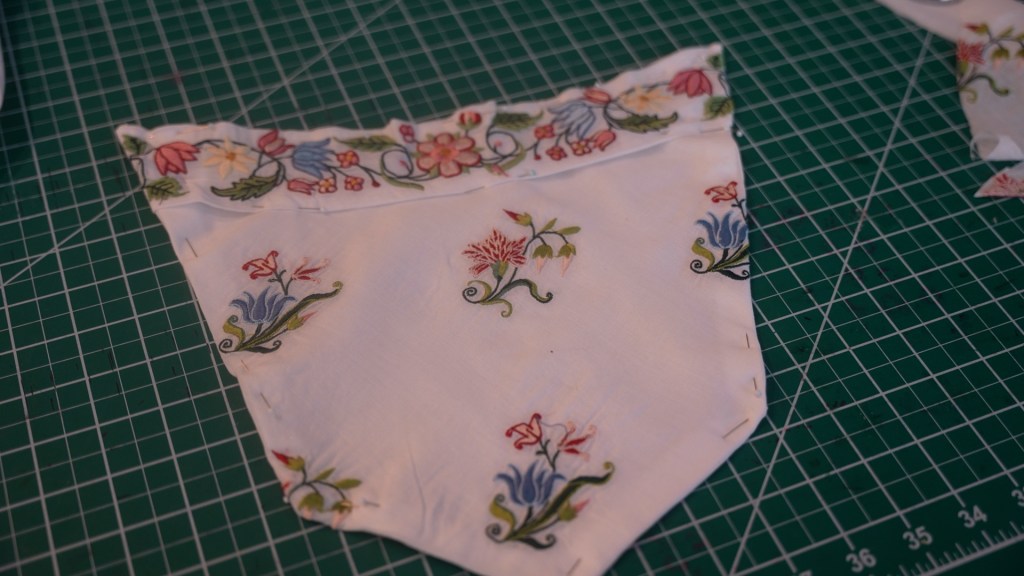
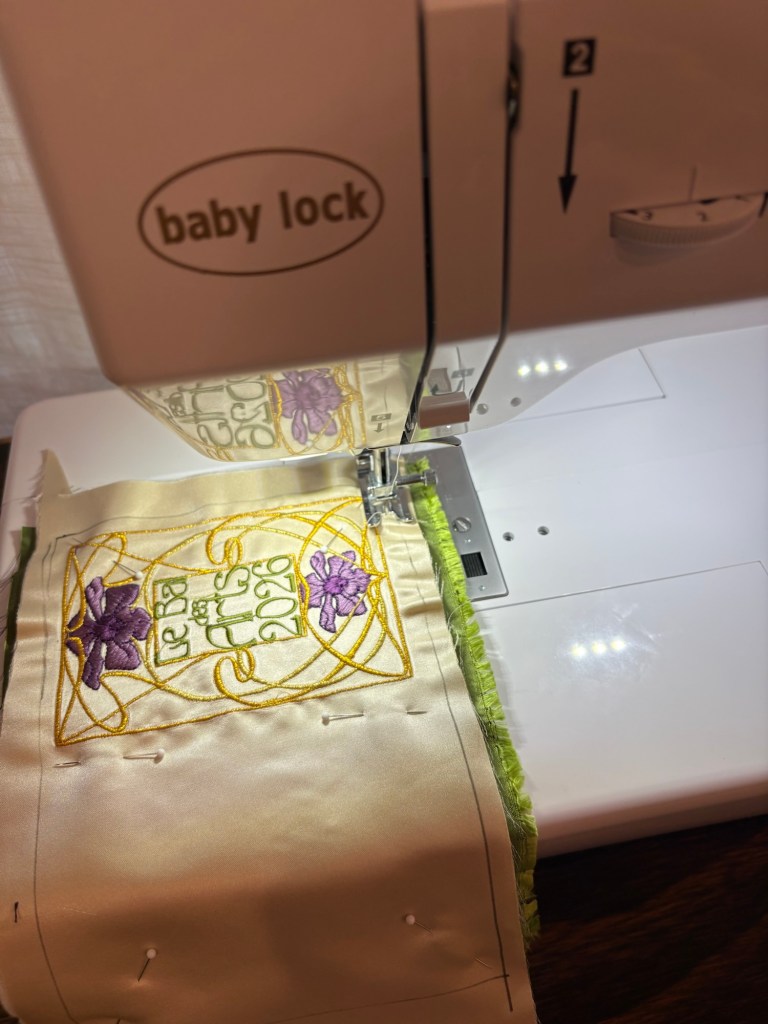
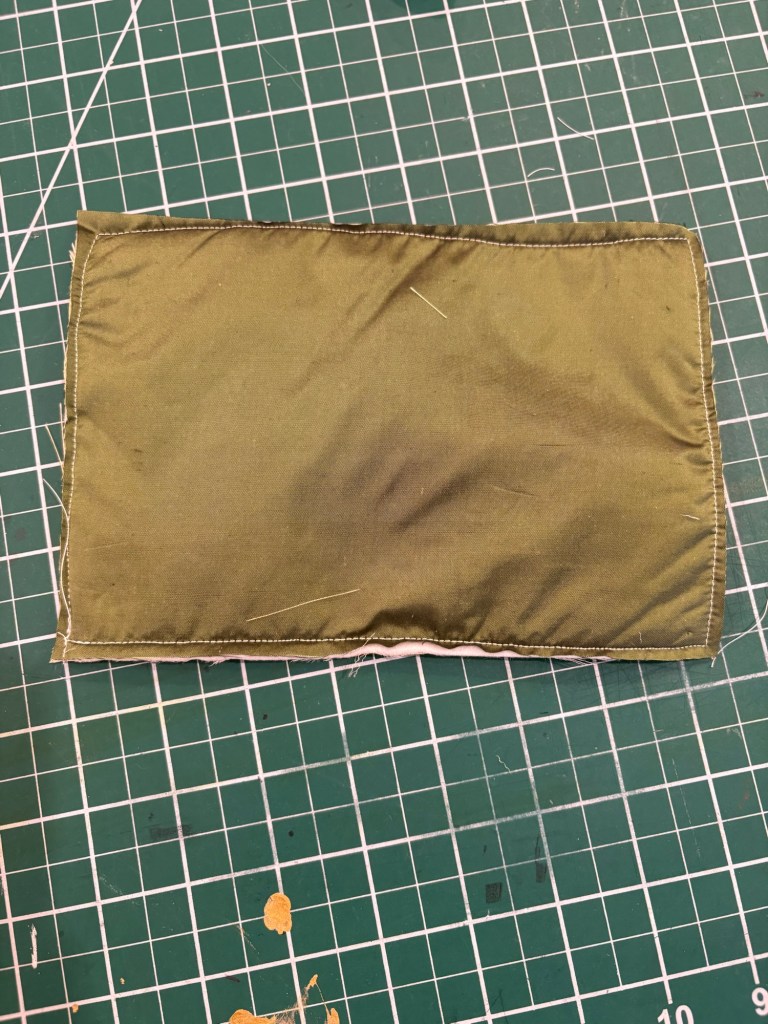
Step 3. Sew all 3 together using a quarter inch seam allowance INSIDE of the line that you have drawn.
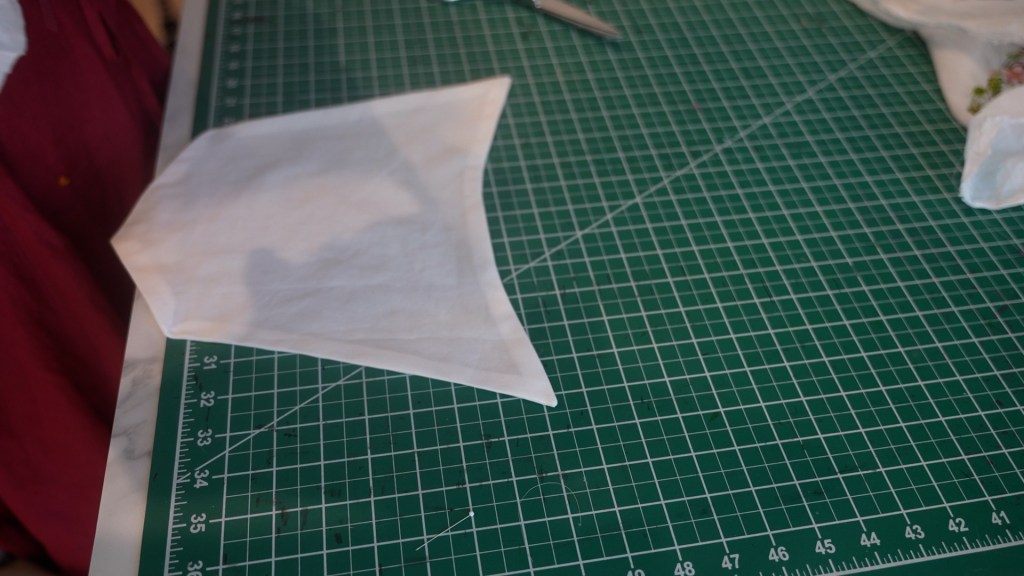
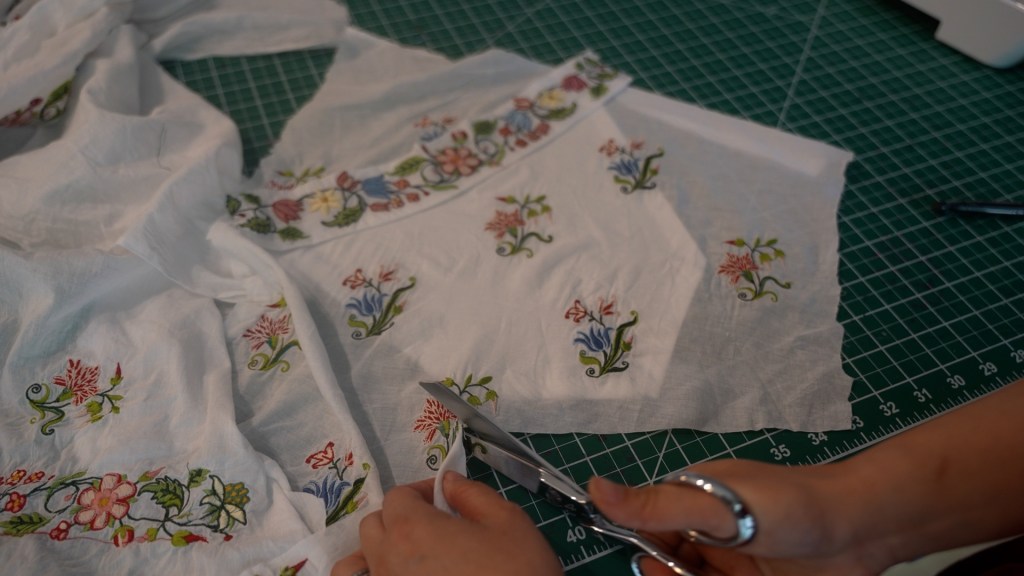
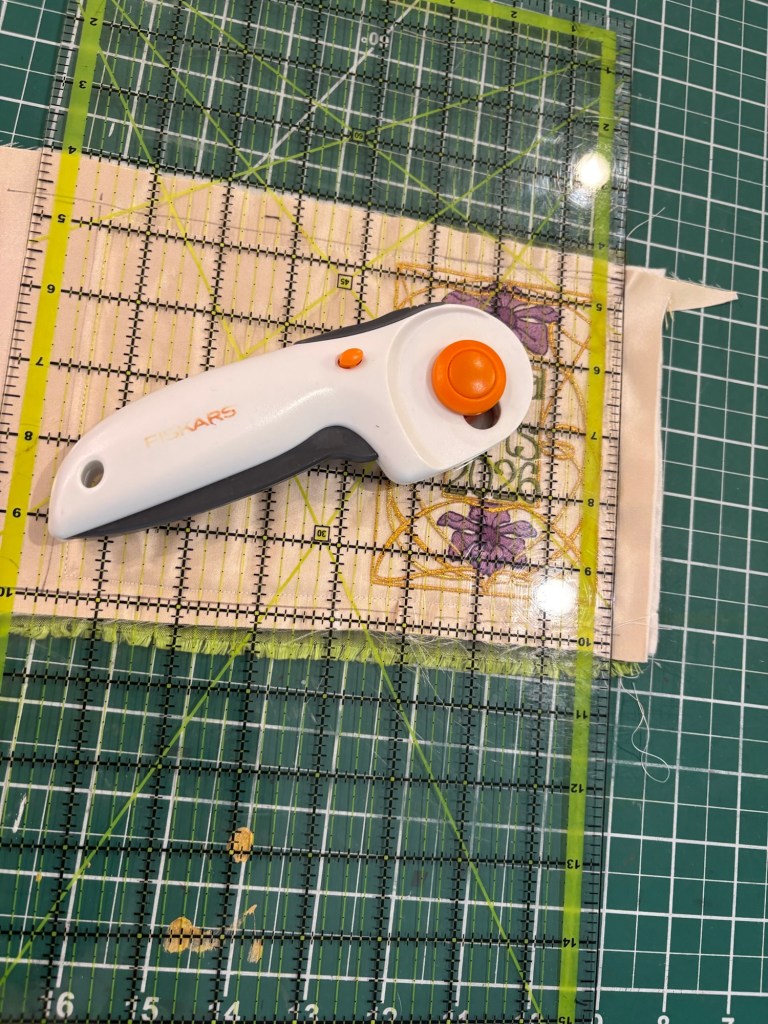
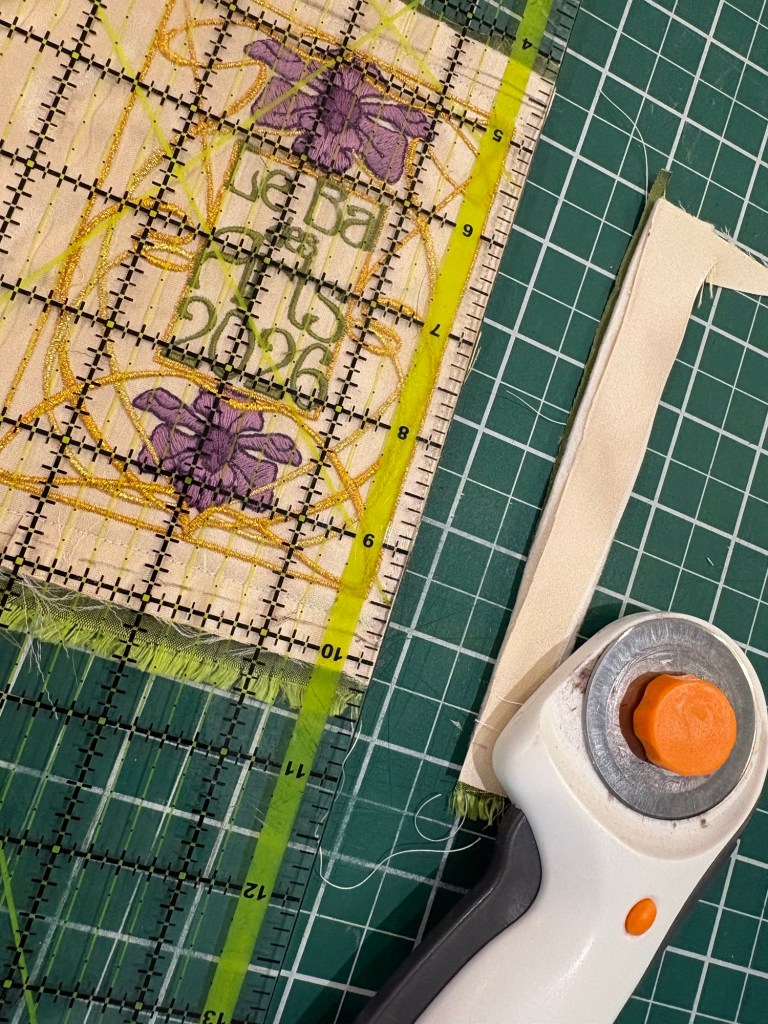
Step 4. I trim the edges to the housewife pattern that you have drawn. I personally use a rotary cutter, but sharp scissors/shears will also work well.
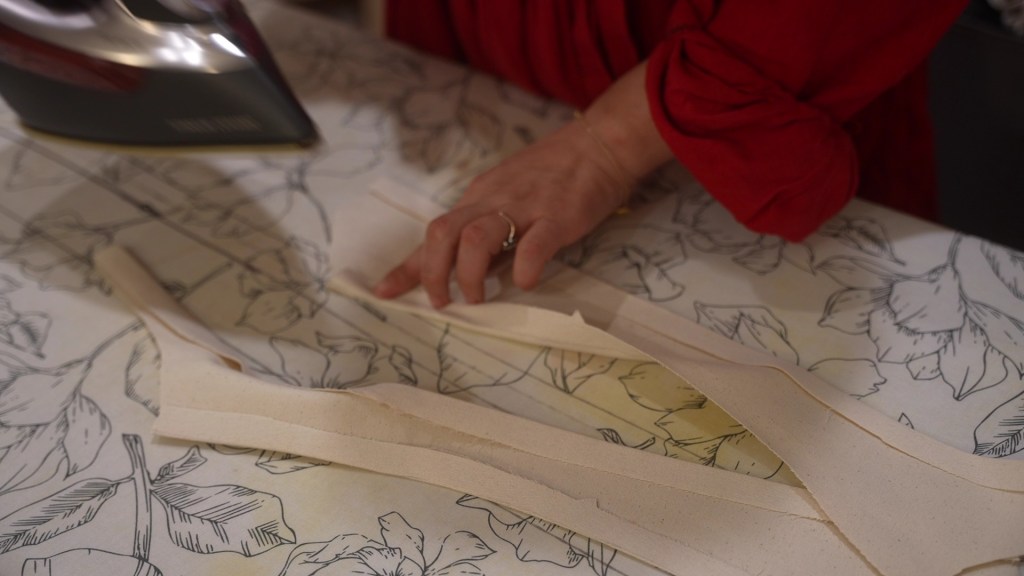
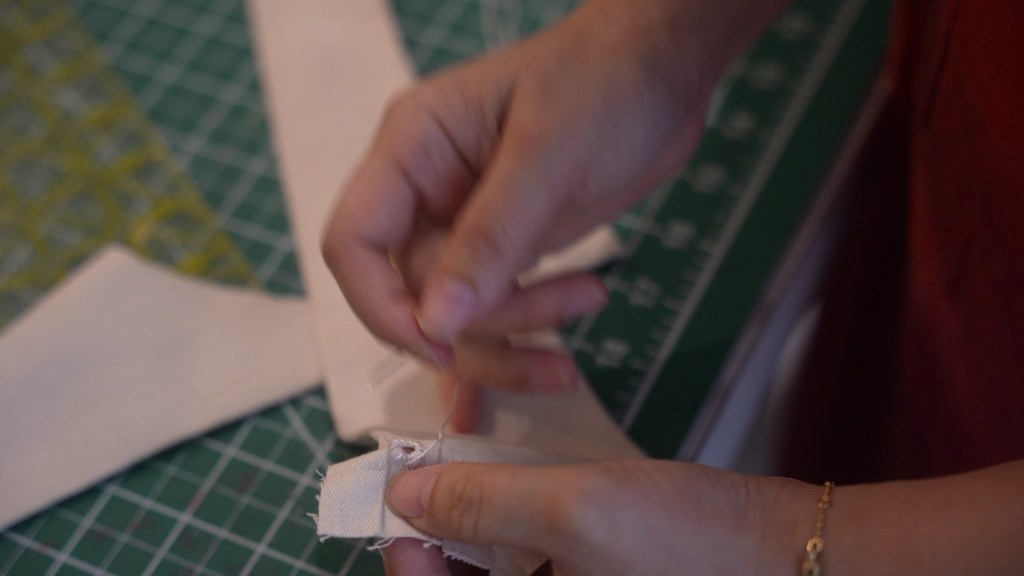
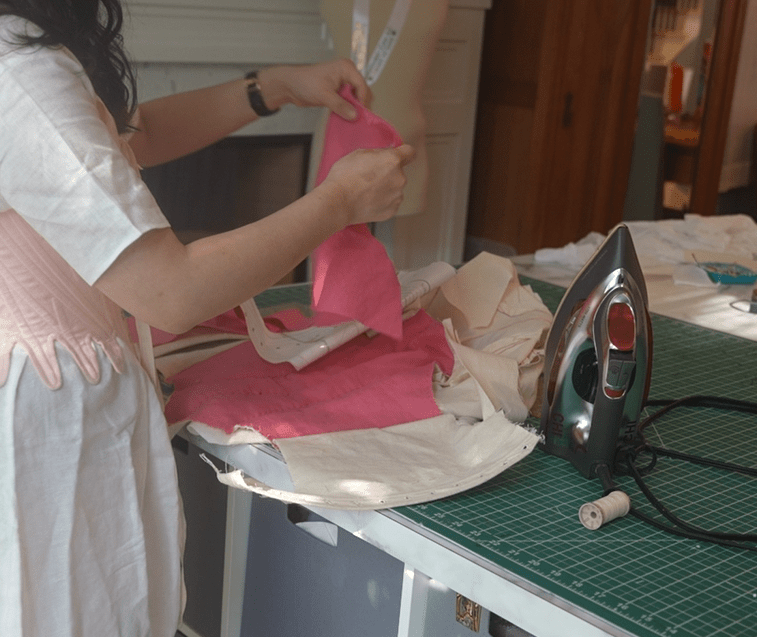
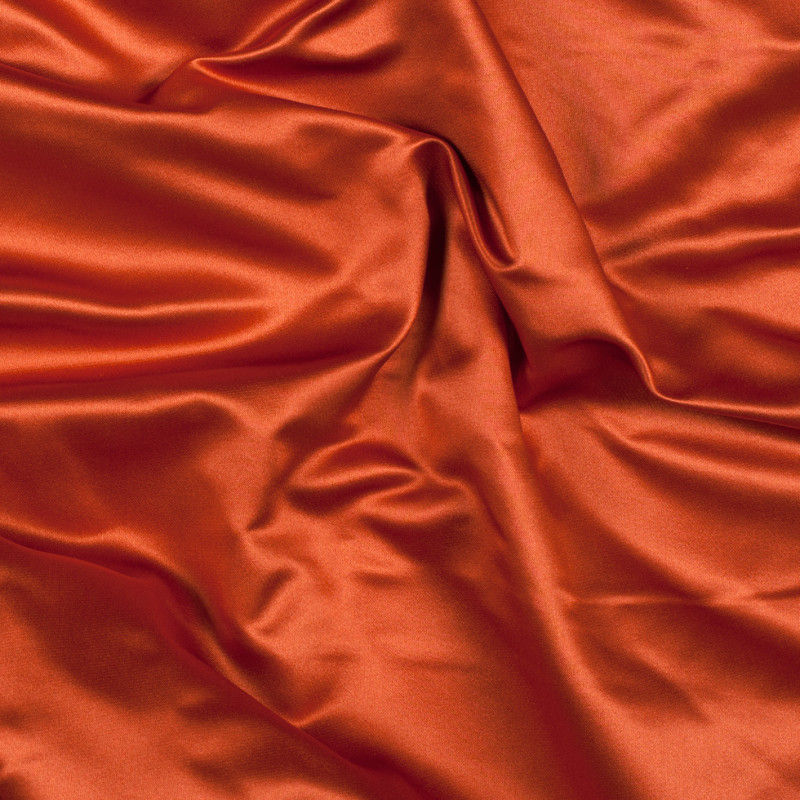
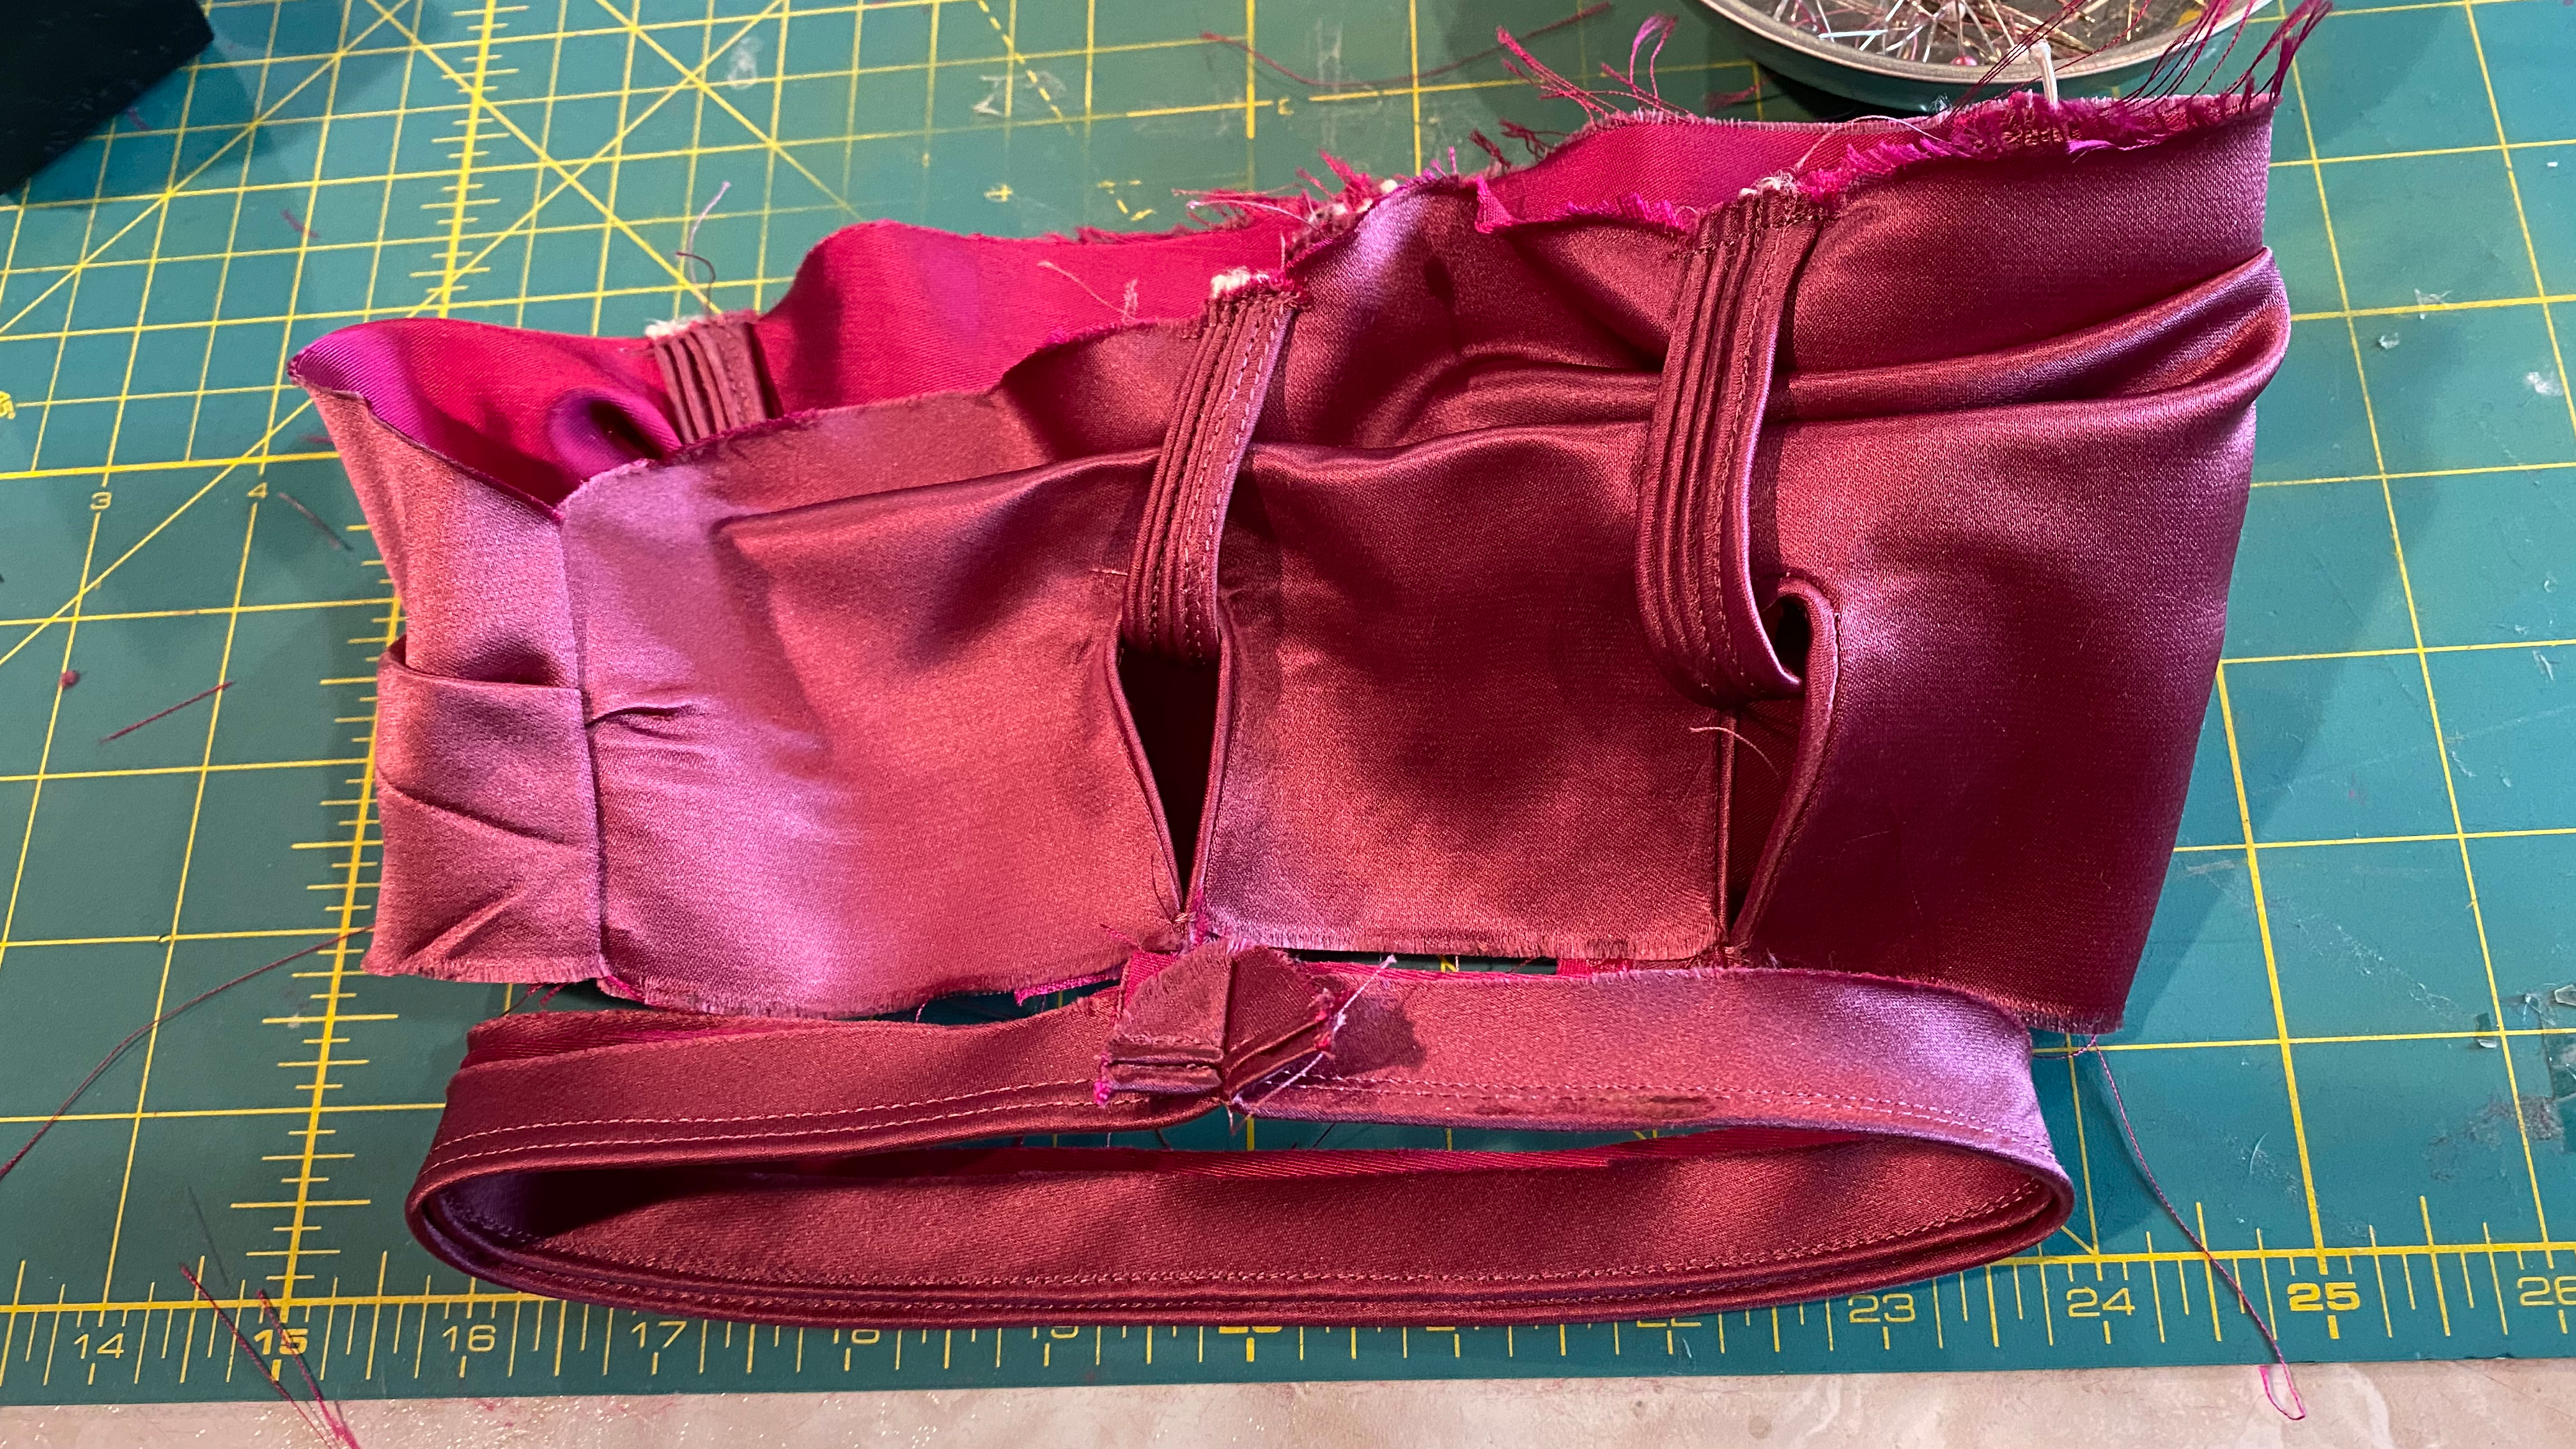
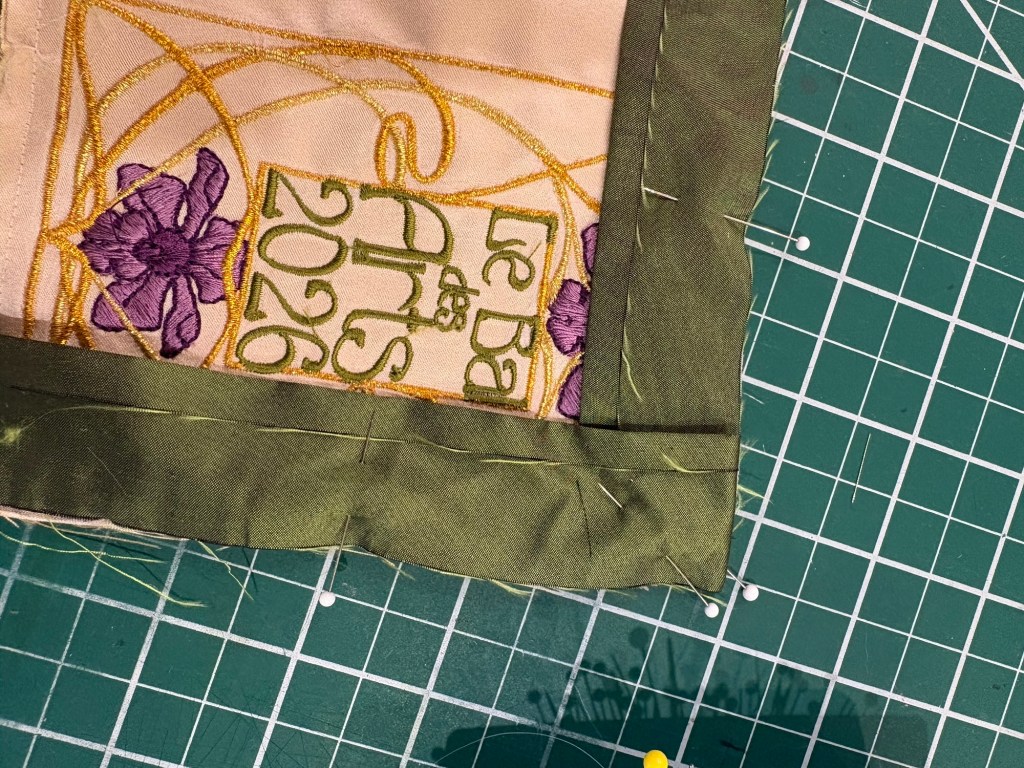
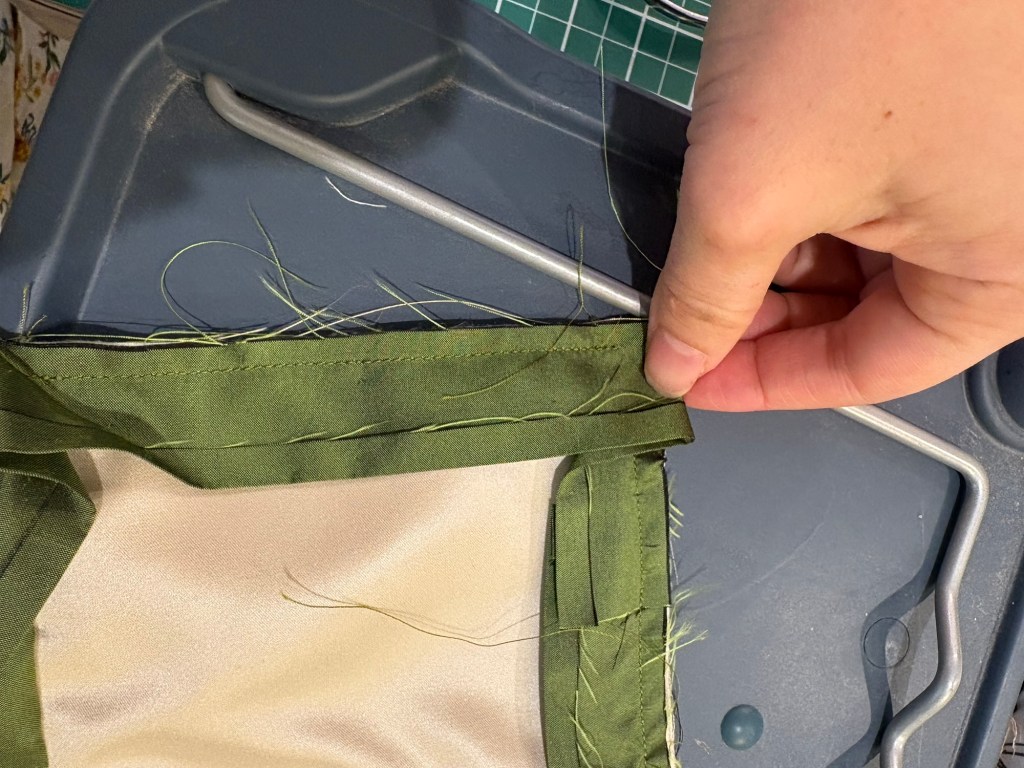
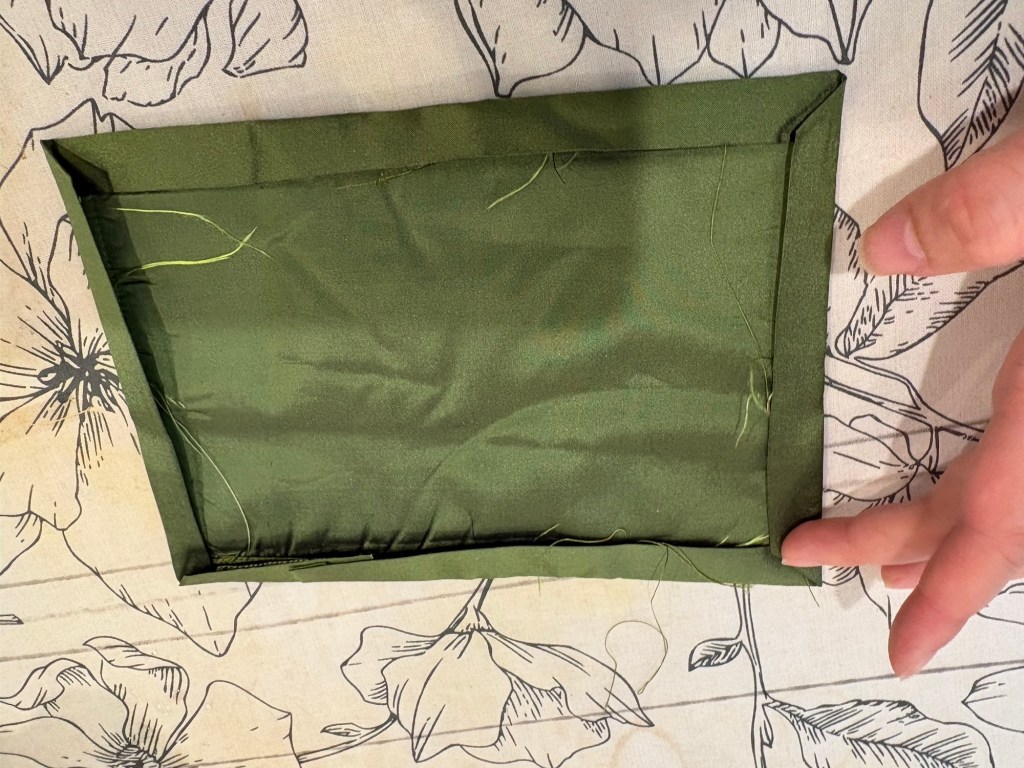
Step 5. Bind the edges. Get the long piece of silk taffeta and carefully iron down one long edge by around ⅜” of an inch. Also iron about ½” from one edge of the silk.
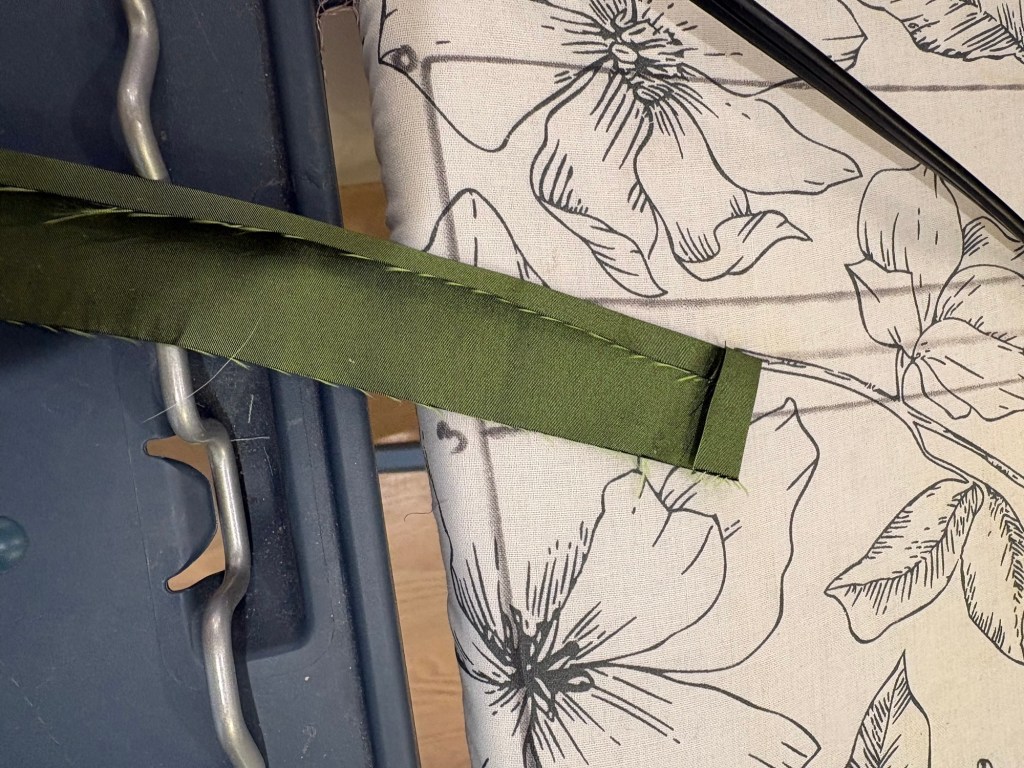
Pin that ½” folded edge down to the huswiff edge on one side, raw cut edge to raw cut edge, and start pinning the edges together, with the silk taffeta facing the embroidered panel side.

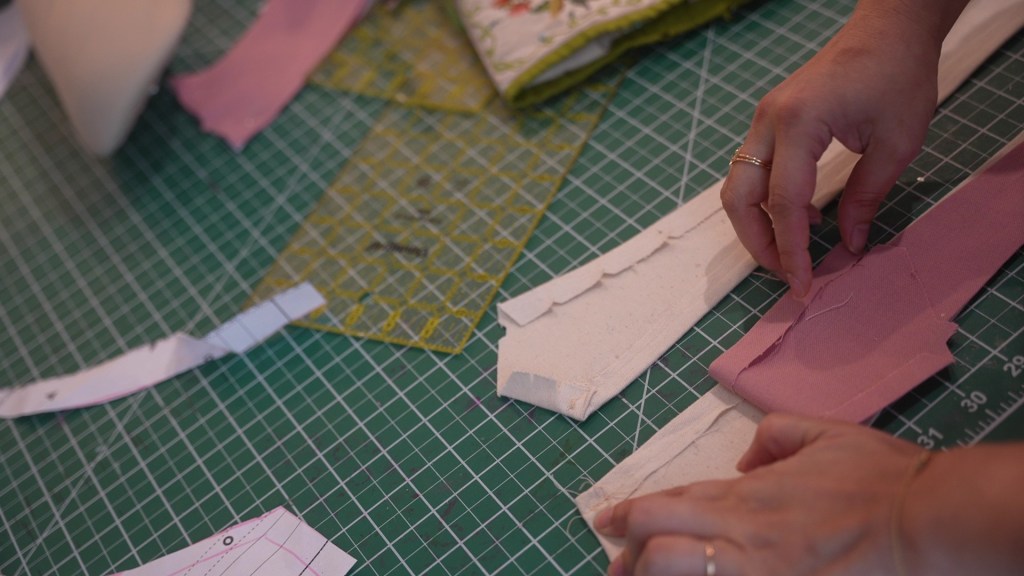
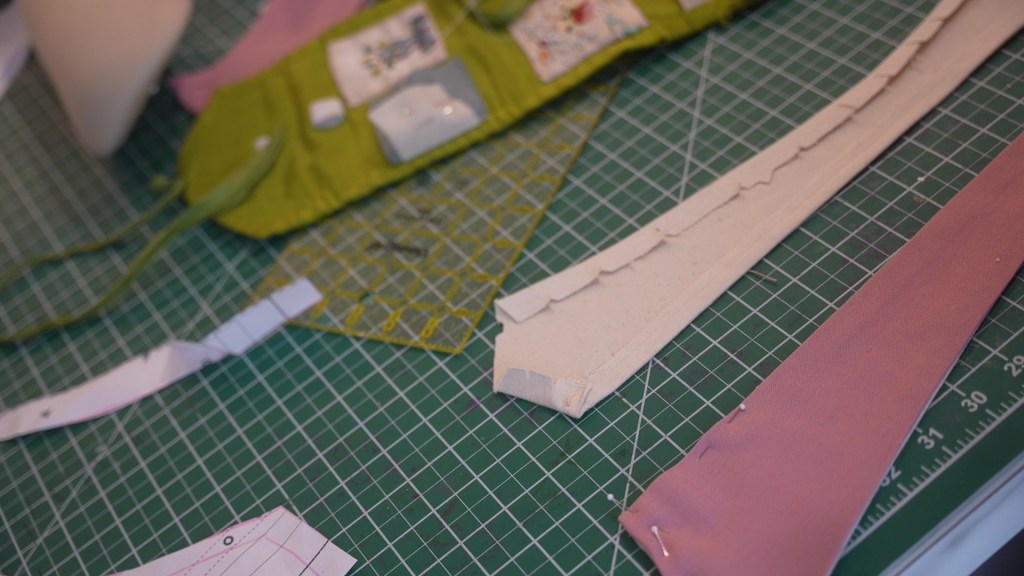
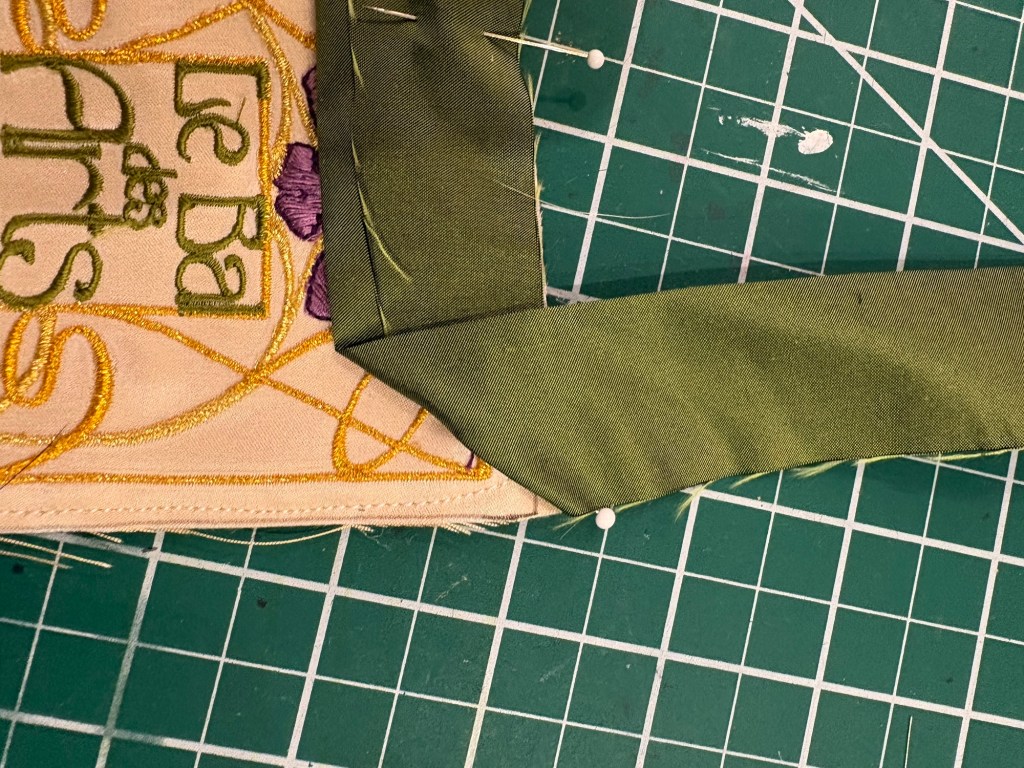
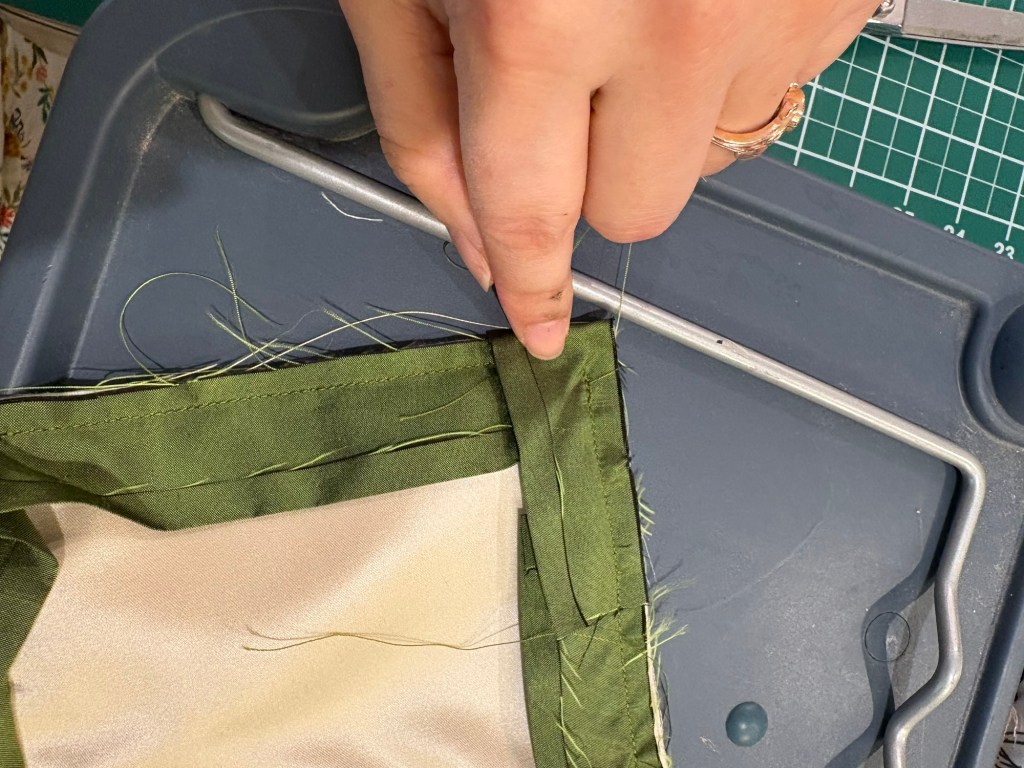
When you get to a corner, fold the silk in a 45” angle as shown, and then again, in order to go around the corners. Fold down the entire silk edge so that it goes all the way around. Make sure that the silk overlaps where you started by around half an inch.
Step 6:
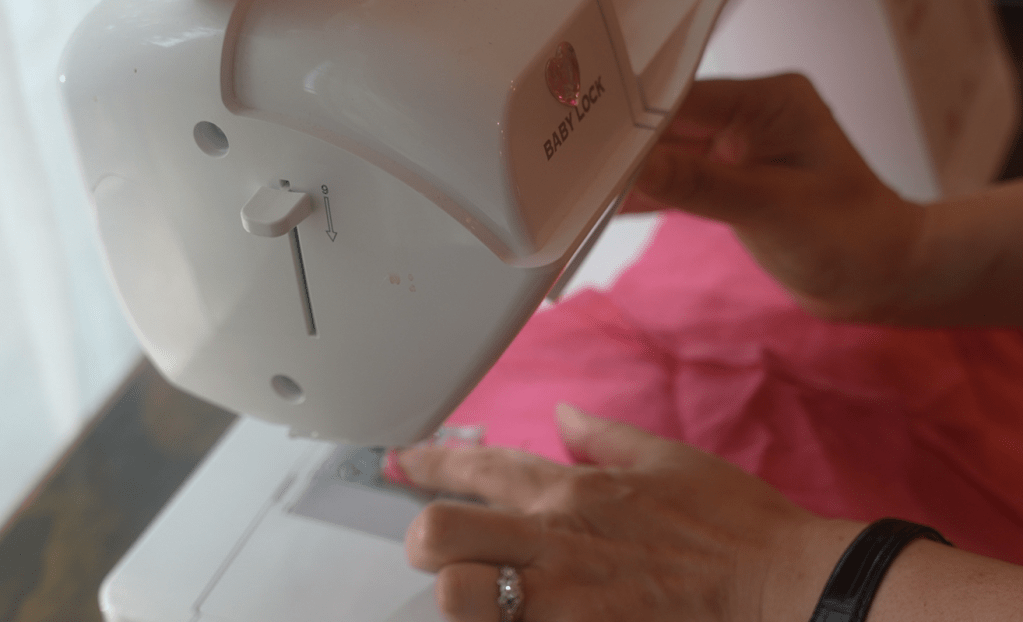
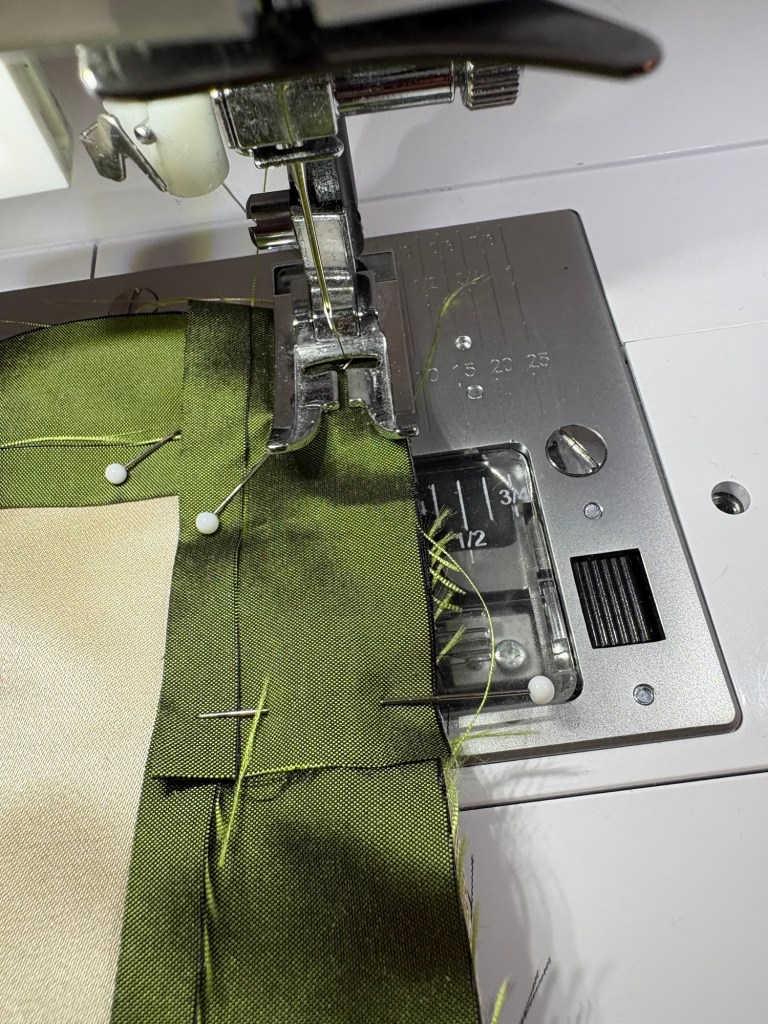
By machine or by hand, sew down the edges, starting ½” away from each corner and stopping ½” away from the next corner. Use a ⅜” seam allowance. This will result in four straight seams along the four edges of the rectangle. Be careful not to catch any of the mitered corner edges.
Step 7:
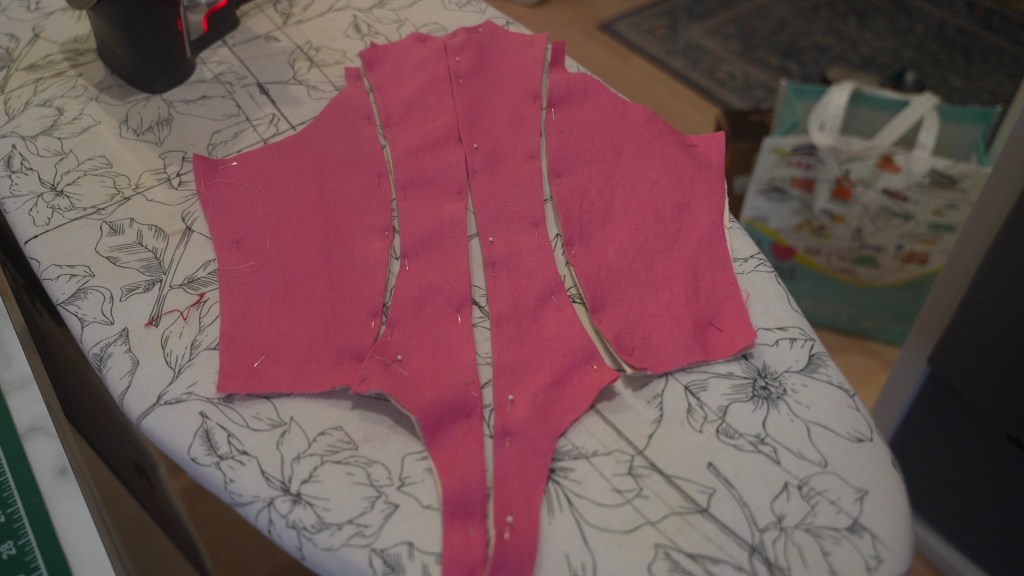
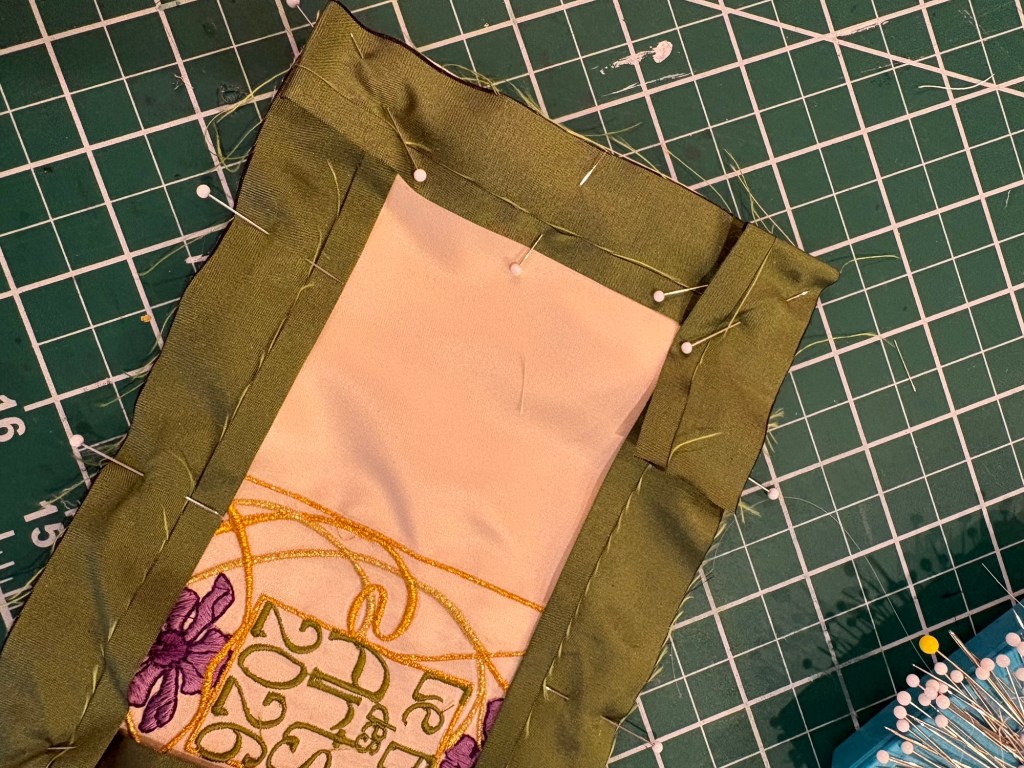
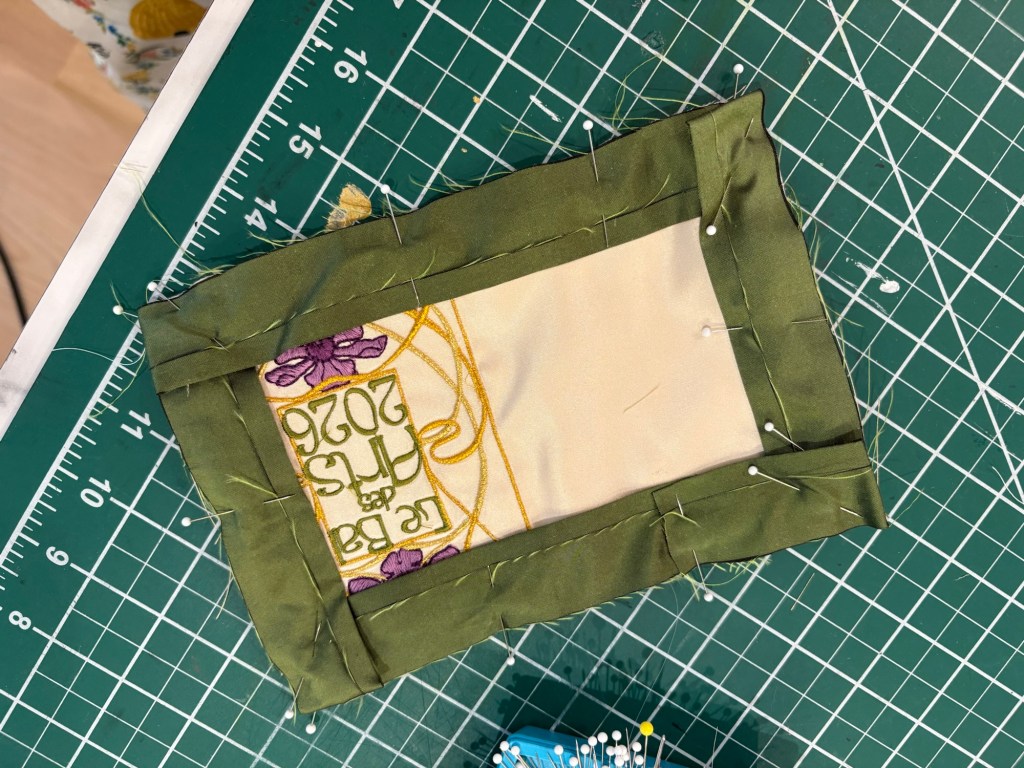
Iron this open, and then fold the silk around the edges, and be careful to carefully fold down the mitered corners to be neat (if you’d like). Pin this all down on the opposite side.
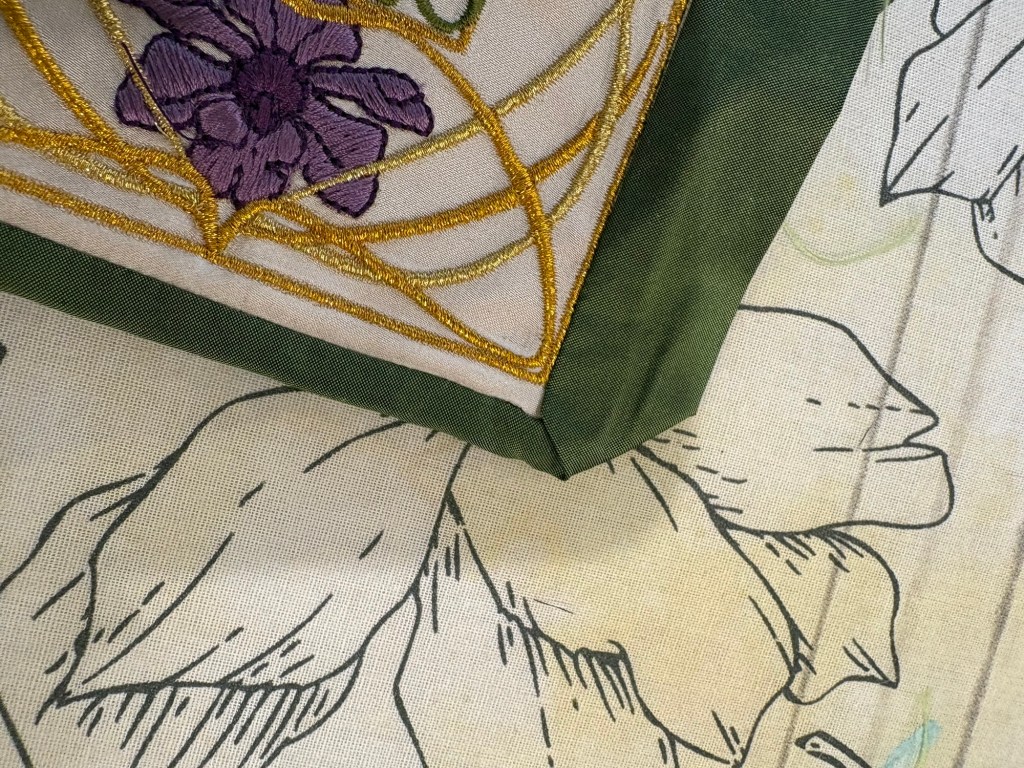
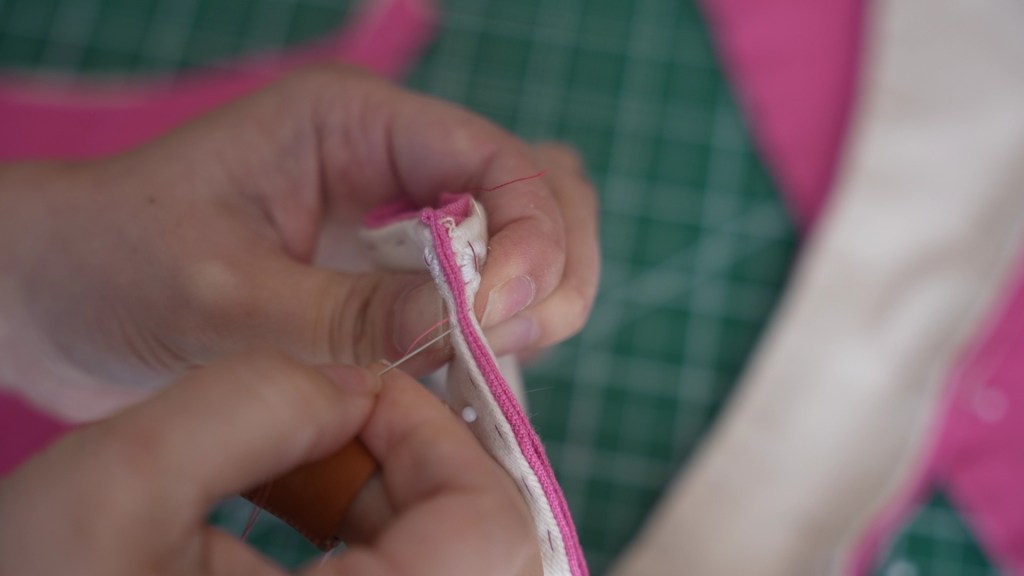
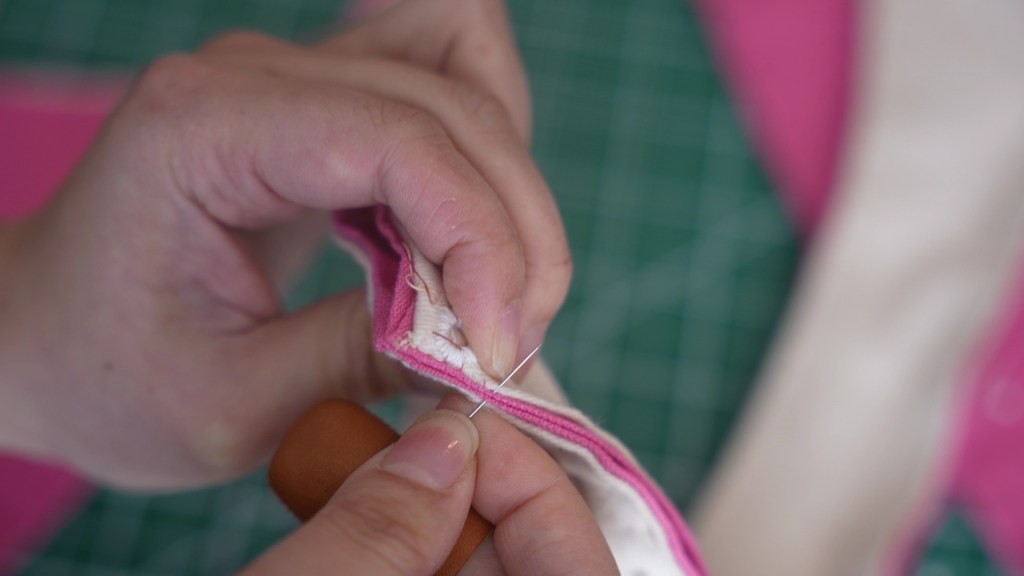
Step 8: Use whatever stitch you like to sew down the bindings.
Step 9: Put in elastics and the pocket as youd like inside, to make the huswiff as function as possible for you! Many things have been included, including fabric for a pocket, wool broadcloth for a needle book, elastic for your new scissors or seam rippers, but play around as you’d like. This is how I sew mine.
I used the Fiskar’s pocket sewing kit since the scissors for that one are TSA safe.
Step 10: Cut the ribbon in half and sew it onto the edge of the silk, encasing the raw edge in a fold. Sew this down with many stitches to make sure it holds well.
You’re done! You have your very own housewife! It’s terribly useful and since it’s so tiny! I personally have two and have one in my work bag and one in my handbag bag.
If you missed the files above, here are the links:
Click here to go to the Baby Lock blog for the downloadable files. They’re free and work on most machines!
Click here to download the PDF for the pattern! If you don’t want a pattern, just cut a rectangle that is 7.75″ by 5.25″.https://babylock.com/make-a-historical-sewing-kit