I think for the longest time, being able to get embroidery to work on a nigh flimsy fabric, like a thin muslin was the goal.
I tried to do this for my Regency dress in 2018, but for the most part, I ended up having to compromise on my vision heavily.
To make machine embroidery on flimsy fabric work, I came to realize I needed several ingredients:
- A machine that could handle the tension
- A flimsy transparent fabric that was still strong enough to handle the embroidery
- Interfacing that was heavy enough, but then would dissolve away to nothing.
In particular, I was very inspired by this fichu that was sold at Augusta auctions for a mere 430 dollars.
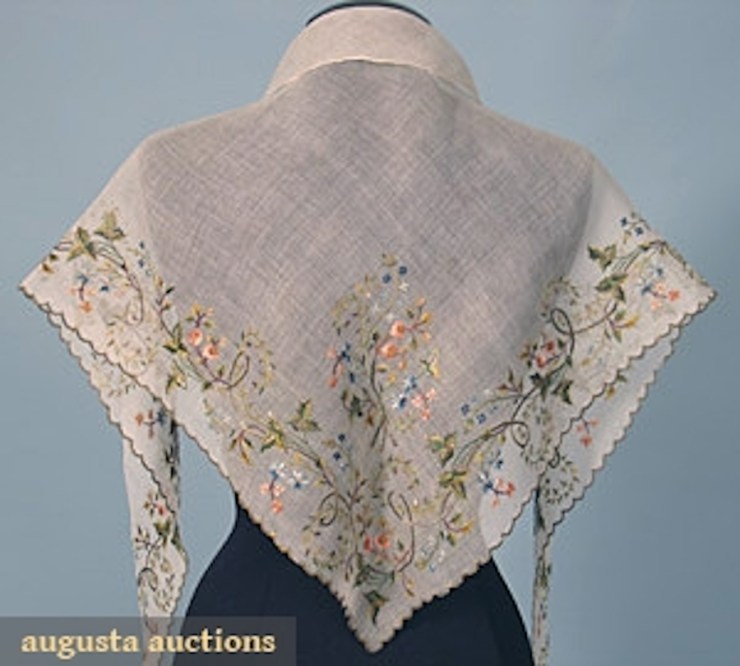
As beautiful as this is… the real inventiveness lay in the exquisite tiny embroidery.


There are some detail shots, but for the most part, I couldn’t get a good closeup of the complete embroidery, which is what I usually need in order to digitize. Part of the charm of this embroidery is the brilliant use of silver metallic embroidery, especially on the leaves.
I was utterly in love, and it honestly took me about 3 months to digitize this. So the way that I price my digital files is as such:
- 1-15 dollars: If it took me about 1-5 hours to digitize, test stitch, fix, test stitch again
- 15-50 dollars: If it took me 10-25 hours to digitize, test stitch, fix, test stitch again
- 60-120 dollars: If it took me 30-50 hours to digitize, test stitch, fix, test stitch again x 5 (ie: court suits take a LOT of time)
This was done on the Palette 11, and a lot of the time was spent trying to puzzle the design out, and find a way to make it repeatable. I actually ended up making parts of it up – but I can’t tell, and hopefully you can’t tell either.
So a couple of digitizing rules for this one:
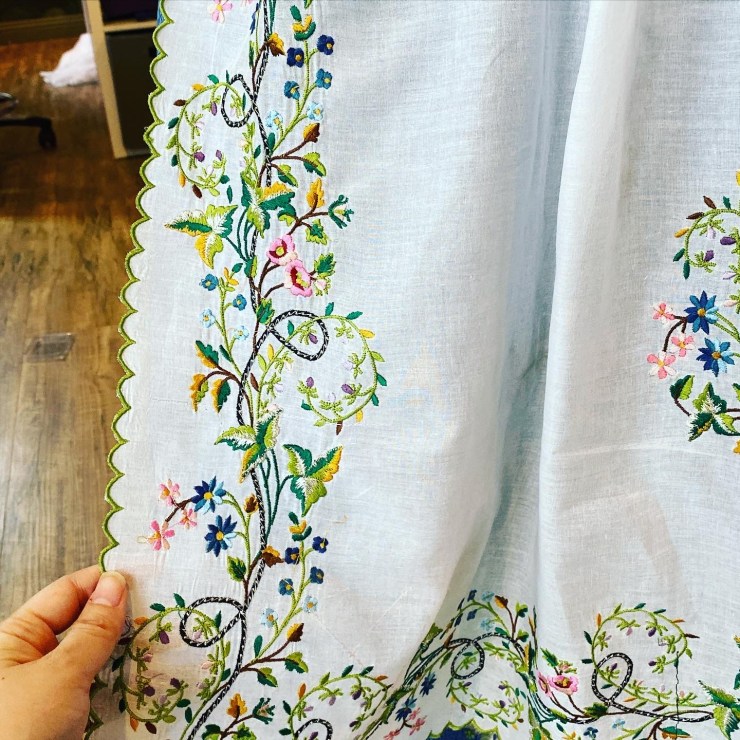
- Satin stitch is my go to stitch for the flowers and leaves. This is the stitch that looks most like historical stitching.
- For the stems, I use the stem stitch rather than the zig zag stitch.
- For the ribbon that extends all the way around, I used a zig zag stitch.
- I usually use 100-141 stitches/inch stitch density. This does increase or decrease depending on the thinness of the thread, the delicate constitution of the fabric, and the overall effect I’m going for. To put it simply – for thinner fabrics, I tend to use 115-120 stitches/inch. For thicker embroidery on silk duchesse (like court suits), I use 140 stitches/inch.
If you don’t want to digitize this yourself and would rather buy my files, I do sell these files.
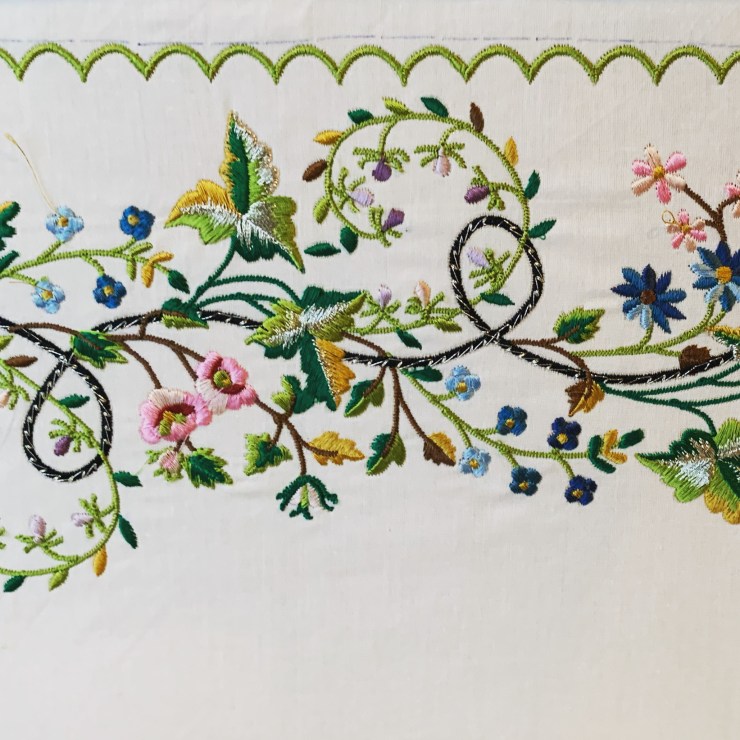
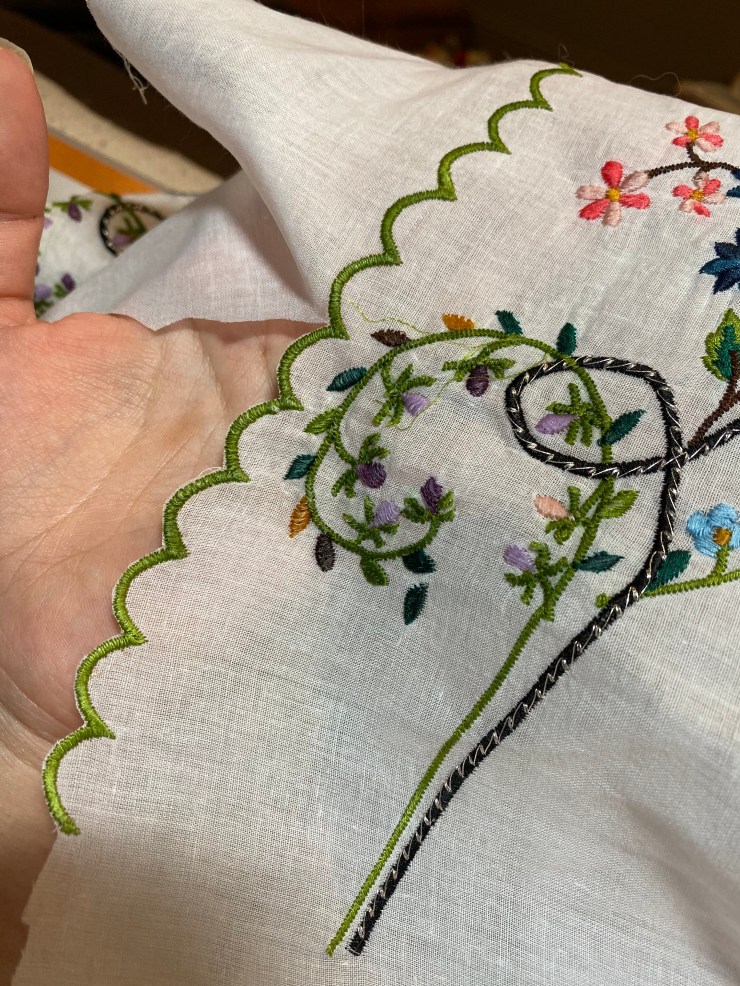
There also is no good scalloped edge instant border, so I ended up having to free hand that. I was extremely pleased with how it turned out, considering it was free handed.
For the fabric, I must have experimented with about 12 different voiles and batistes from multiple sources. I tried muslin, batiste, voiles, and organdies from many sellers. Generally, organdy and voiles were too thin. Batistes, poplins and muslins worked, but generally, they didn’t have that translucent filmy quality I was going for. Finally, I found a cotton mull from Burnley and Trowbridge that was perfect.
It really had the right weight, the correct feel, and the filminess I was looking for. I bought about 15 yards. (each fichu or apron takes about 2 yards).
Afterwards, I started embroidering.
These are the tools I used:
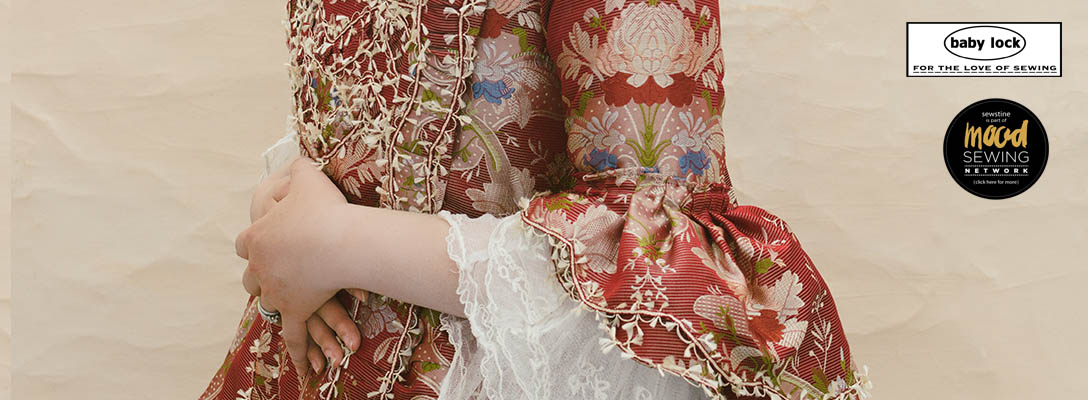
Machine: Baby Lock Valiant. There are somewhere between 15-17 colors in this (two shades of green, brown, black, metallic, two shades of pink, 2 shades of purple, three shades of blue, three shades of red…) – which in my opinion is integral to the charisma of this piece. There are 35-43 color changes per repeat – which may sound difficult on a one needle (though I have had customers who did this), but was fairly doable on my ten needle. I highly recommend turning the tension way down, and embroidering at a slightly lower speed (I did 700spm) for this project.
Thread: As usual, I used Tire Silk 50wt threads. They don’t sponsor me, but I wish they would. They’re really the only brand of silk thread I found strong enough, colorful enough, and silky enough to suit my silk thread needs – so you’ll find that (except for lace making), they’re my go to for silk thread. (Cotton threads and poly threads are a different matter, and I’ll discuss those at some other time).
Stabilizer: For my stabilizer, I chose to use Baby Lock brand dissolvable interfacing. It is quite thick and strong, so I was able to get away with only 2 layers. Another brand I like (if this one is hard to come by) is H2O brand, which is available on amazon. I am able to use this one, but for thinner projects like these, I usually have to use 3 layers of that one.
So for each hoop, I used one layer of my fabric, two layers of the Baby Lock Stabilizer, and then started embroidering.

You’ll notice that on the left, you see a straight vertical line. This is my positioning line – the next file will go right there. The apron is about 9 files to go around all three sides, and then afterwards, I put in the center motif as well as well.
The center motif is one I’m particularly fond of – all the different colors do so much to bring it to life:

After all the panels are embroidered, I suggest cutting off excess interfacing.
You can see how the interfacing has been cut, particularly around the center motif there.
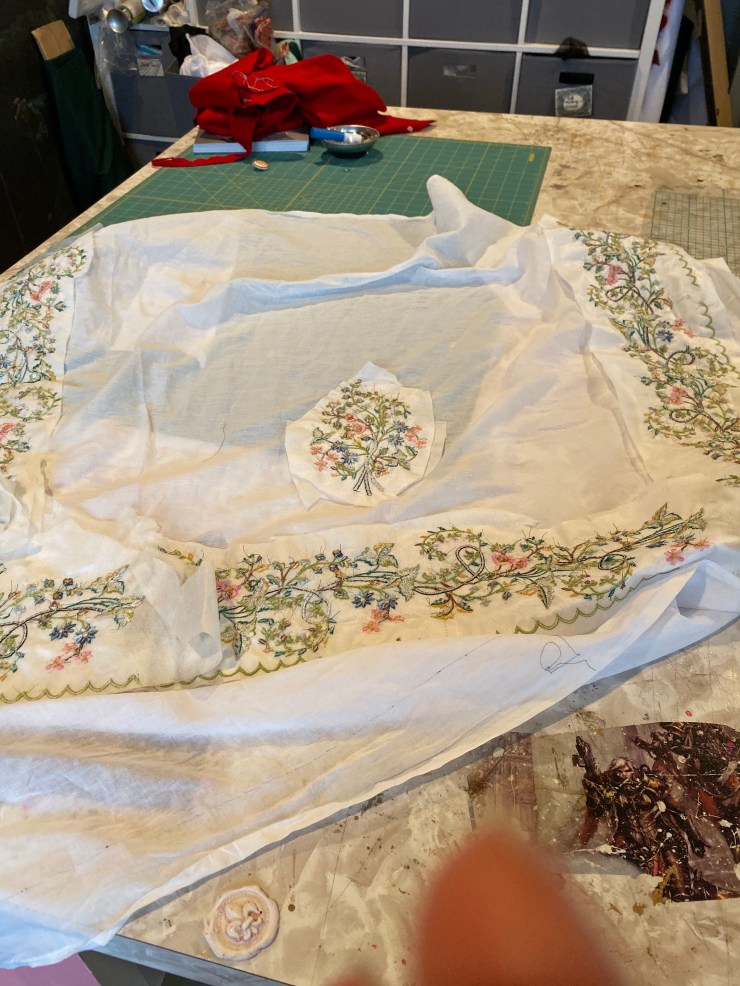
You can also see the different placement lines.
This is the time to remove them – BEFORE you wash the fabric. I highly recommend going in with a pair of tweezers and a tiny pair of embroidery scissors and cutting them off. Once you wash it, these tend to stick all together, so removing it BEFORE washing is key I find.
Once that’s been done, it’s time to wash away the interfacing!


Of note, I do want to say that washing it once with water and soap never seems to be enough. I usually wash it a good 2-3 times depending on how soft I want it to get. For somthing like a soft apron or fichu, I usually wash it three times by hand, and then let it air dry.
After this, I use a nice steamy iron to iron it flat, pulling at the embroidery as I do to remove all the wrinkles. The steam also does wonders to soften up the cotton fabric.
After this, I sit on my couch with a tiny pair of embroidery scissors by Gingher, and cut away the excess fabric at the green line, being very careful not to cut the green silk zig zag stiched edge. The interfacing acts as a glue so even if you do, it tends not to unravel.
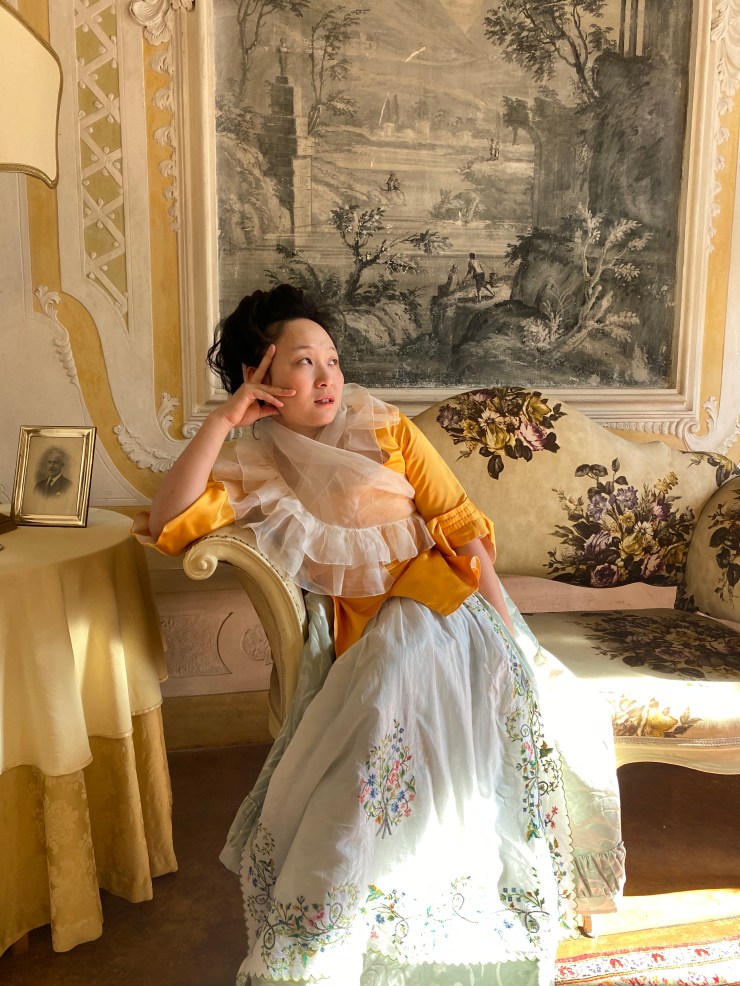
Once it’s all cut, I gather the top of the apron, and sew it to a piece of linen tape (a la the instructions from the American Duchess 18th century sewing book) and voila! Apron!
It’s really wonderful how due to the many colors in the apron, this tends to just go with everything. 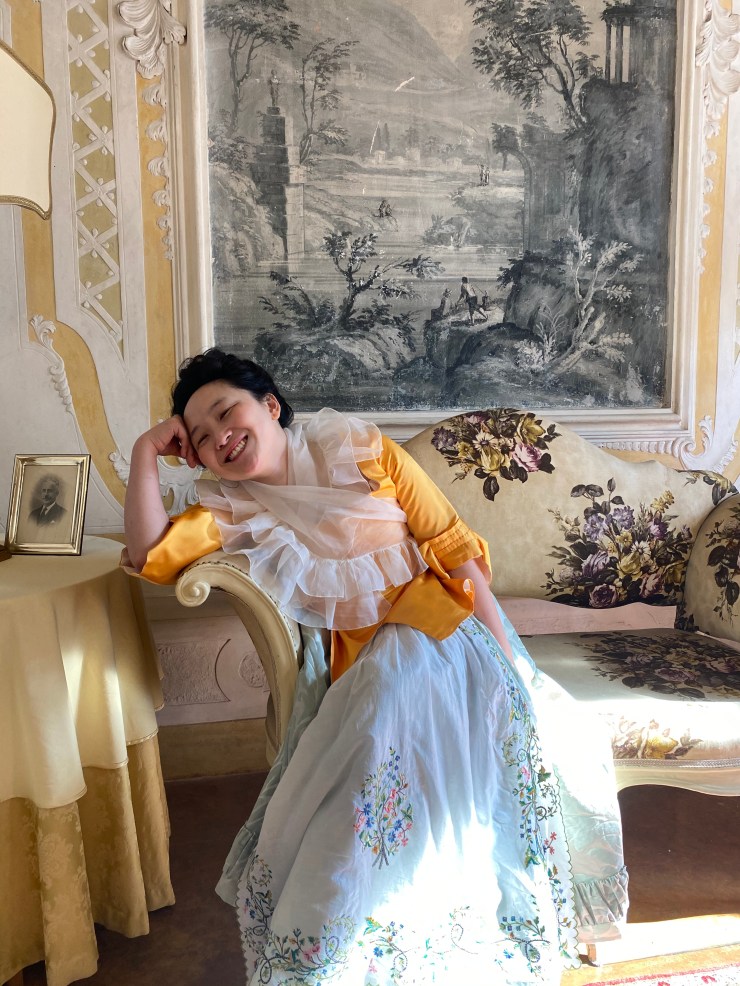

I would say that this is one of my faster projects. The digitization for this embroidery probably took about 25-30 hours. (I ended up redoing a lot of it, and there was a bunch of experimenting with different fabrics). However, once the whole thing was digitized, embroidering this takes about 30 hours for an apron, 23 hours for a fichu.
Washing, drying, times three, cutting out, and sewing was tedious but probably took about two hours total.
Overall, a fun project for a dedicated embroiderer who wants to make something really colorful and fun.
I hope this was helpful guys! 🙂

You did a great job with the apron. It is very lovely. Enjoy wearing it.
Marilyn and Marion
LikeLiked by 1 person
Ach! I can’t even begin to imagine doing this on a machine! It’s lovely to look at, though.
LikeLike