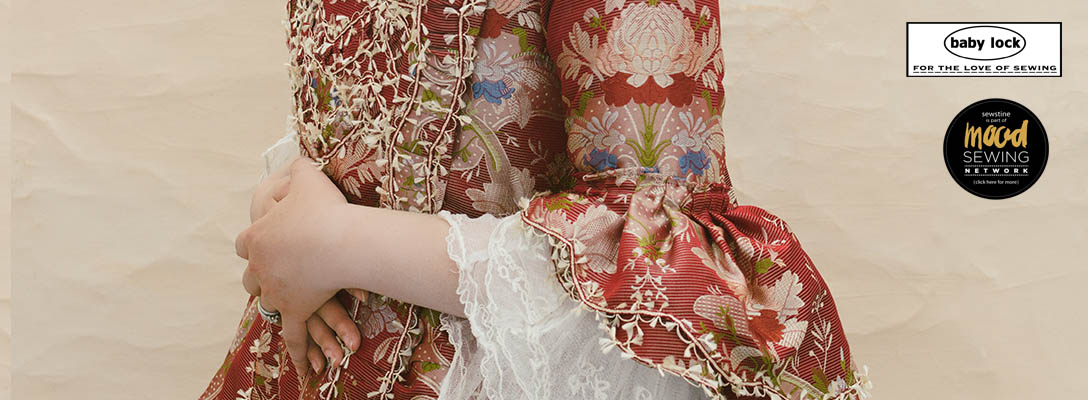
As much fun as Versailles was this year – as fun as it can be with your husband sick with a sinus infection, arriving an hour later thanks to Putin (he literally held up traffic in Paris) and flustered in 95 degree weather… – which was not surprisingly, a TON OF FUN. It really was a dream come true and was the prom party every girl has been after her entire life.

My only regret was that I rated my dress a 7/10.
So now the plan is to go again next year, this time in a dress I would rate much higher. 🙂
I found the most lovely Scalamandre fabric and after about 4 months of saving, purchased it.


Sadly, nowhere could I find appropriate trim for this. I looked everywhere for an appropriate passamenterie, but could not. I even had the help of some lovely shop owner of Vintage Passamenterie, who really does have the most incredible selection of silk ribbons.
However, I found myself drawn repeatedly to some beautiful fly trim, such as the ones found on this beautifully curated Pinterest board.
I then chose to make my own fly trim but was not quite sure how to do it. I got some excellent advice and help from Denise Hendrick of Romantic Recollection, and really can’t thank her enough for her support and know how.
For those of you interested in your own fly trim, I highly recommend the tutorial by Quaintrelle Life. I used 4-6 strands of JEC “flat silk thread”. This can be purchased at the Japanese Embroidery Company Store. As for the tool itself, I got a bone knotting shuttle from Burnley and Trowbridge. This one is quite lovely as it’s a little larger and has great hand feel. I highly recommend having more than one so you can work on different colors at the same time.
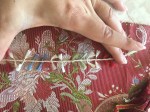
This is a picture of my early attempts.

Really quite pitiful, right? Took me hours for that little bit too!
So at that point, I tried to do more research and found that there was frequently used a crocheted or a woven center.


Still struck me as a little too weaksauce for this excellent fabric. This fabric deserved the best at this wasn’t it.
So I attempted to weave my own center. I will NOT show these attempts since they truly were pitiful. My only suggestion is, DO NOT BUY A TYPICAL WEAVING LOOM.
After more research, I came to realize you need a special Inkle Loom.
Yes….
INKLE LOOM.
There are a lot of places to get it; I personally love sitting on the couch after a long day of work at the hospital, doing some sort of craft with my husband gaming on one side and a fluffy American Eskimo (such an HA dog!) on the other. So I got myself a lap one from ebay.
How to use an inkle loom is quite beyond the scope of this post, so I’ll post the video that I leraned from. It’s fairly simple and I’m quite sure you too would figure it out in 9 minutes and 26 seconds.
In any case, after much experimentation, and failures, I came to make these trims:


I found all of these lovely on the red silk but couldn’t decide among them! After getting some excellent advice on the Historically Accurate 18th century Sewing group, I finally ended up choosing this one:

Of note, the center weave is done with soie ovale thread. I used 2 rows of red, (one dark, one bright), 5 rows of white (or “corn”, as this one is called) and then 2 more rows of red.
In any case, I have woven about 1.5 yards of it so far, but considering three hours results in about 1 feet of trim, it’s slow going. Good thing I have 7 seasons of Poirot to work through! It’s jolly good fun, and I highly recommend it for the seamstress who enjoys having a little craft to work on at night, every night. 🙂
