I feel like any movie made in the 1990’s and early 2000’s set in the Victorian/Edwardian era had to have the female lead character in a red dress.
This defined her as our central female, and she stood out so beautifully in the film. You can see this in Mina Murray’s dress in Bram Stoker’s Dracula, Satine in Moulin Rouge (my personal favorite), and Countess Olenska in The Age of Innocence.


It was my dream to wear a Victorian red dress for prom. Sadly, my mother refused to sew me one and I didn’t have the skills back then. I ended up with a cute but not nearly dramatic number from BCBG.
So when I found out about the Prior Attire Ball in Bath in May 2020, I absolutely decided this was THE time to make this gown. (FYI: The ball was canceled due to COVID-19. Hope is to go next year)
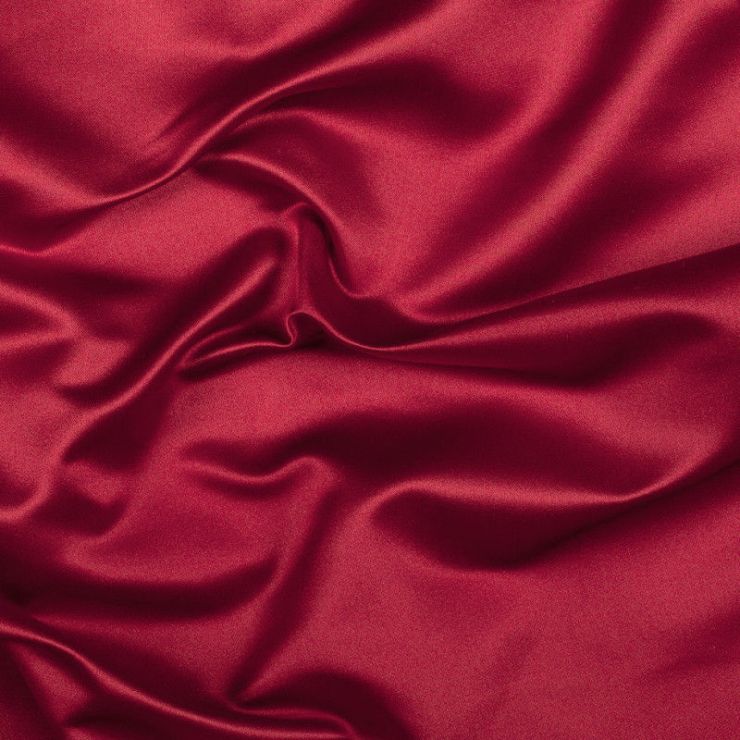
The best part was – I already had the perfect fabric in mind. For months now, I had been collecting samples of red silk satins from different shops – NYDesigner Fabrics, Mood, Silk Baron… but Mood won out. They had THE PERFECT red – called “Roja Red”, and it was a gorgeous Silk Duchesse.
I bought 11 yards of this.

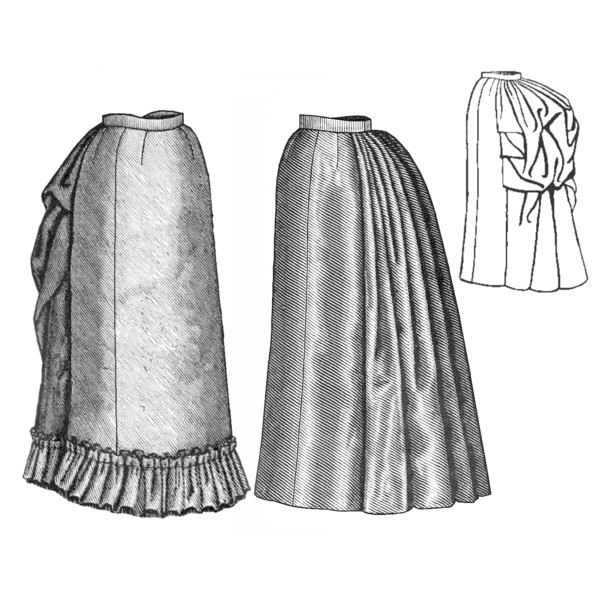
The goal was an 1880’s bustle dress, based on this particular fashion plate from 1887:
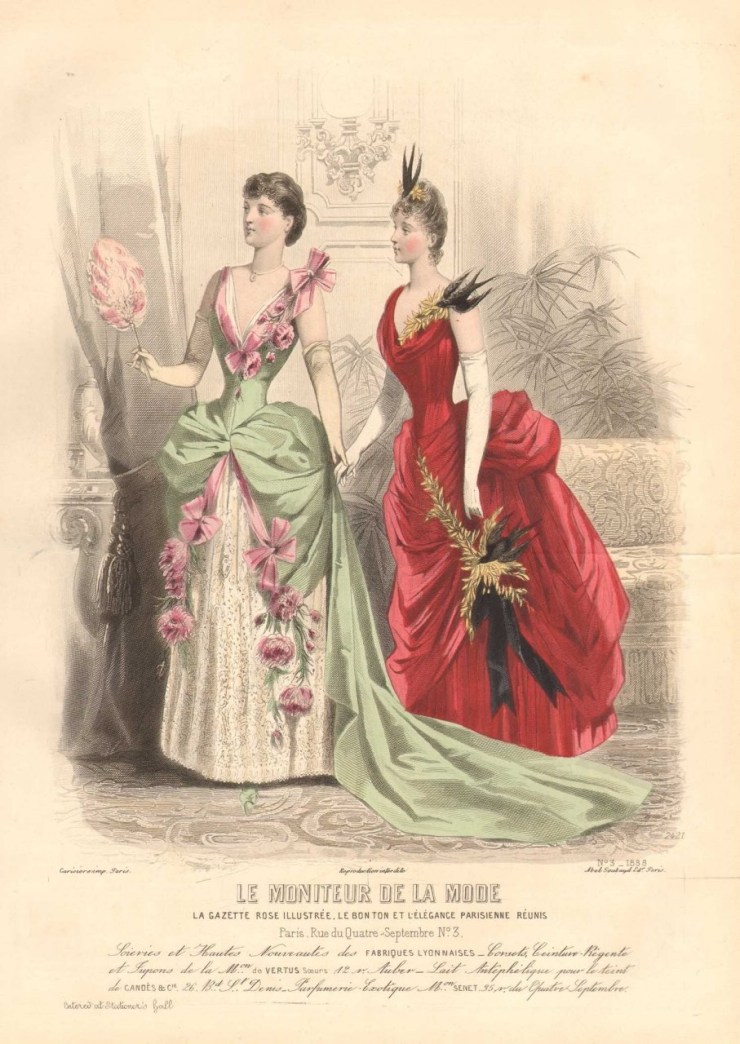
I loved it! The black birds, (or are they crows?), the pleated underskirt, the draping…
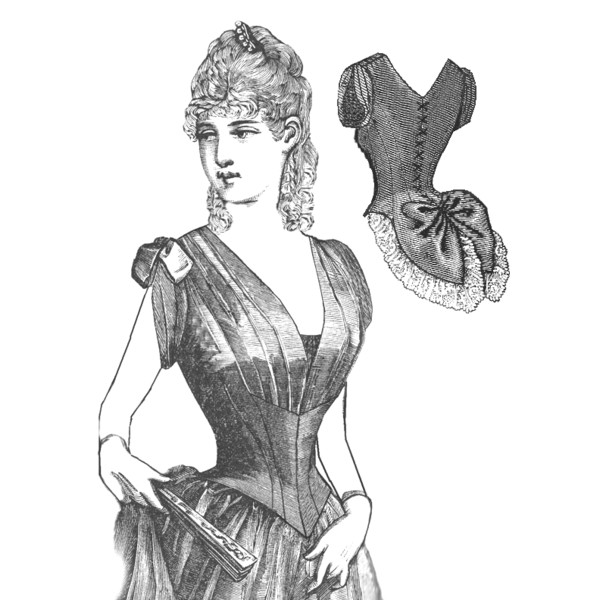
So for the bodice, there was no perfect pattern so I used theTruly Victorian 1886 bodice.
For the underskirt, I used my go to: the Truly VictorianFour Gore underskirt.
For the overskirt, I thought this oneby Ageless Patterns looked quite similar so I went with that one.

For the most part, the construction of the dress was very similar to my Black and White striped gown, but there were also differences. I highly recommend also reading thatblog postif you’re interested in this era.So I’ll disc
uss each one here.
Bodice:
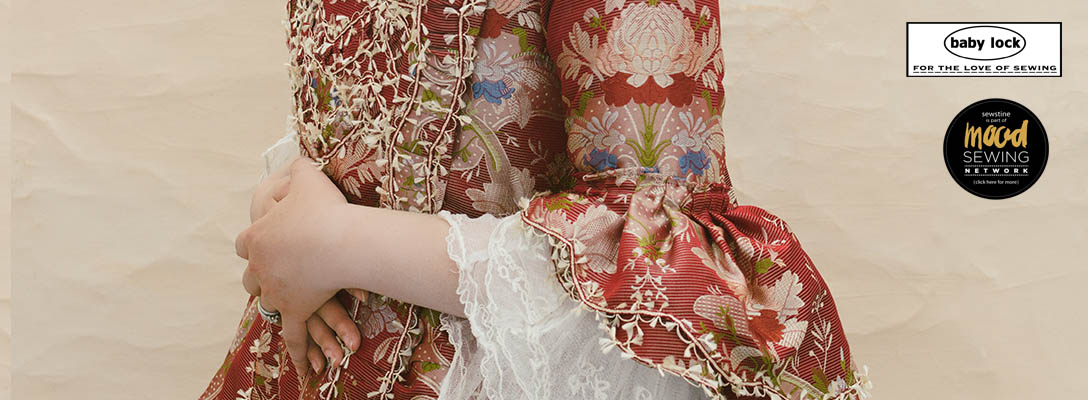
I used the lining pieces of the Truly Victorian pattern to make a basic muslin. I then sewed it up using cotton twill for the final. Please note that the back pieces, I flat lined with the silk duchesse. So at this point, it looked like a V neck with a lining only front (I used black lining) and red silk duchesse back.


Then I cut out a large piece of red silk fabric, and just pleated it onto the lining, putting the pleats similarly to the original fashion plate. Then I hand sewed it down using tiny stitches. I do wish I pulled at the fabric more as I did this step as the bodice is still rather wrinkled.


Once I did this, I put this on and drew out the shape of the cutout I wanted on the left (please note the original drawing above is assymetic with a spagetti strap on the left).
After doing this, I cleaned up the edge using a tiny piping I made from silk bias tape. After the piping was done along the edge, I turned in the edge underneath, and sewed it onto the lining.


Once all this was done, I sewed in pieces of boning onto each seam inside. This took forever – I think there were 11 pieces of boning that went into this. Then I tried it on.


The gown has a back closure with eyelets, so I had sewed the eyelets onto the back at some point in all of this.
After this, I had to wait for some silk georgette to come in- finding a matching silk georgette was difficult but I did find some. I cut some wide silk georgette about 24 inches wide on the bias, sewed it as a 12″ wide sash, and sewed it by hand onto the gown neckline, draping it in a way that I thought was pretty.
At this point, I put in hooks and bars at the waist so the back bow could hang at the waist properly.
Now for the black birds, procuring appropriate blackbirds was difficult. I had some foam ones in mind but the shop closed temporarily due to COVID-19, and I after waiting a month, I ended up purchasing them from another place.
The new birds were perfect, but they were a little too wide. I ended up dremeling the bird in half, drilling in some holes into the bird, and then sewing them in place by hand.
FINALLY, the top was done. Please note I don’t have any photos of this process. 😦
Underskirt:
To do the pleated underskirt, I made the base of the skirt out of cotton twill and finished it to the best of my ability according to the instructions.

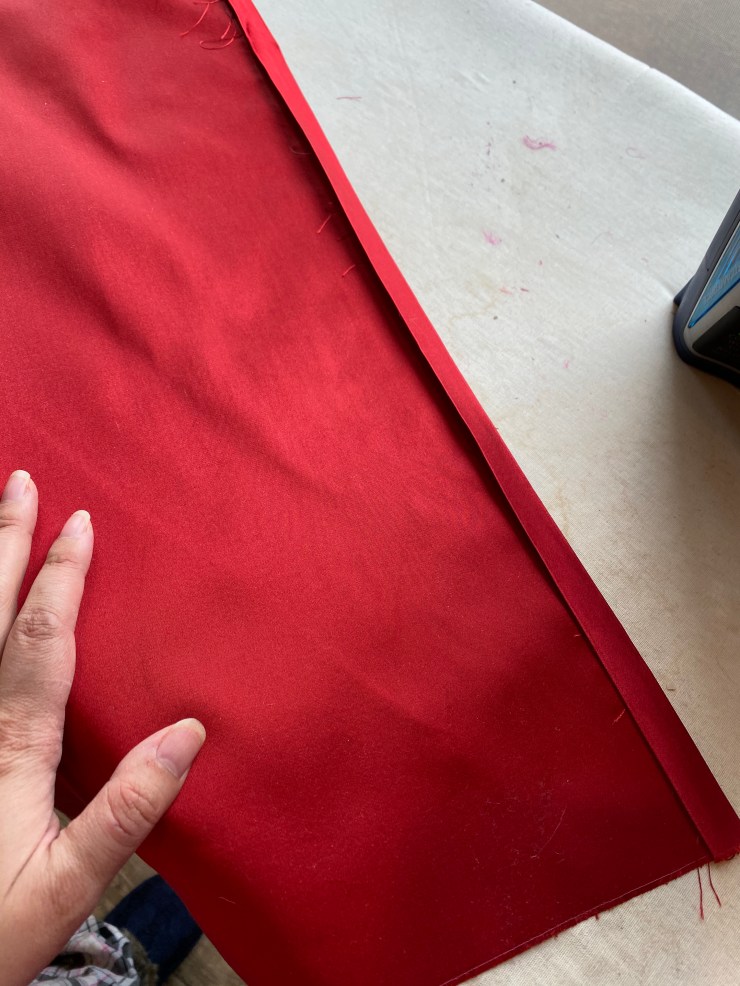
To do the pleats, I got the silk fabric, and cut a piece that was the correct height, but wide to about 150″. I hand hemmed the bottom using tiny stitches, then pleated and starched the pleats on my ironing board.
After everything was pleated, I then sewed in a piece of linen tape to the back of the pleats, giving about an inch and a half of leeway with the tape for each pleat (to allow movement for the pleat), sewing down each pleat with a few stitches and a few knots. This took quite some time but three hours in a zoom meeting with friends made this go much faster!


After this, I sewed this in place at the waist, gathering up the pleats as needed to fit the waist to the waistband, and making sure that the length was correct.

Overskirt:
The pattern I used came with three pieces for the overskirt – two for the front, and one for the back. The back was simple – I just pleated it and added it to the waist. However, the front two pieces took actually quite a bit of playing – nothing seemed to be correct!
I actually ended up doing this about four five times, and eventually, I managed to find a draping I loved.

Once I had a design I liked, I cut out the pieces. I flatlined all the silk pieces in thick muslin. FOr the back of the skirt, I faced any visible portions with black silk taffeta so the white of the muslin would not be visible. Instead, you’d see beautiful black silk!


For the front portion of the skirt, I faced it with black silk duchesse so that the texture of the fabric would not be visible.
Finally, I finished this all off with hook and eye bars at the waist, buttons to close up the sides of the overskirt, loops so I could bustle up the overskirt… and… if this sounds unclear to you, please wait for my next post where I describe how to put this on. 🙂


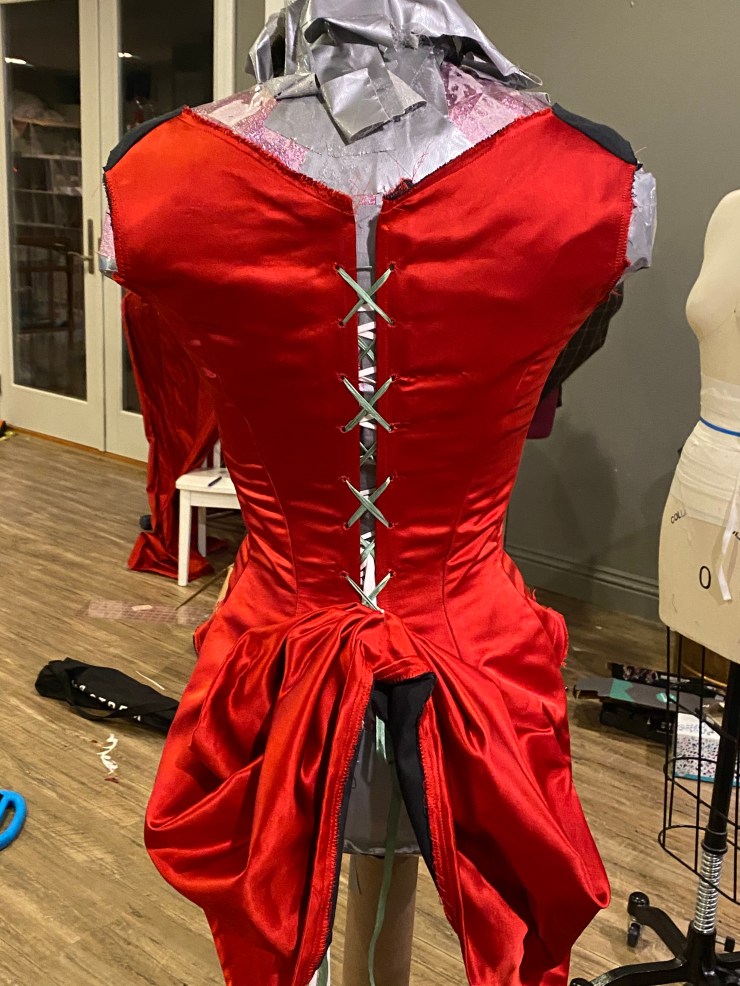
Please note the version above shows white silk organza instead of the red silk georgette. This was during the peak of the first wave when shipping was wretchedly slow and I couldn’t get my hands on the crows as well as the silk georgette.
It’s crazy how big a difference the crows make:


And voila! All done! I will be doing a photoshoot in mid July with the incomparable Lindsey Hinderer so I’m holding off on final photos til then… but… I’ll keep you posted!
