Last month, I put up a post about making Felicity Merriman’s pink dress. The original dress that Felicity wore would probably have been a back lacing gown called a faux gown that was made for children.
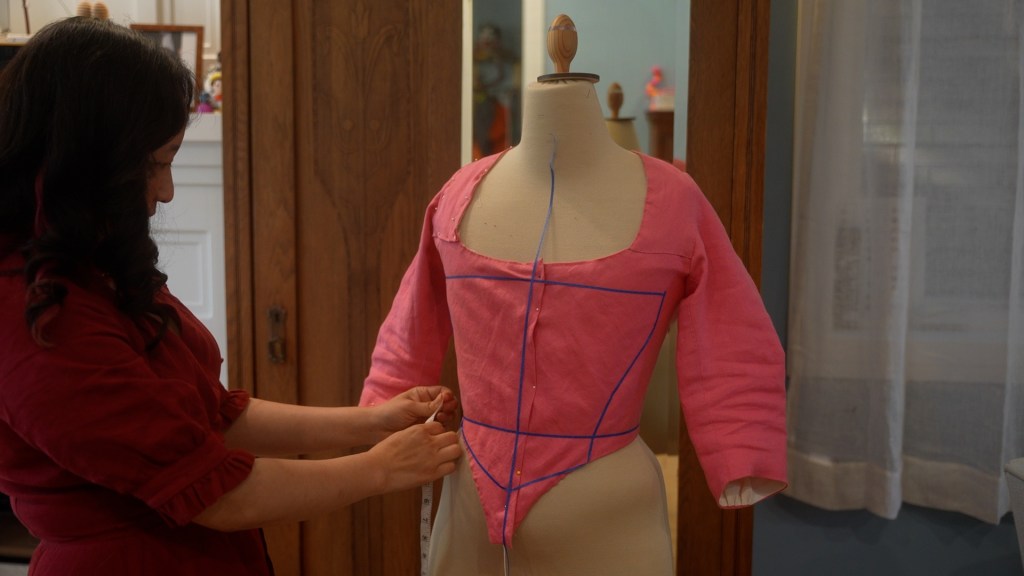
However, since I’m a grown woman, I thought it would be far more appropriate to make an 18th century gown for a grown up. In my case, I chose an Italian gown, (or a 18th century gown that has a single front closure and a split top and skirt sewn together, worn atop a petticoat) as my base. Just keep scrolling down if you’d like to read my blog on making it. Today, we’re going to talk about the apron!
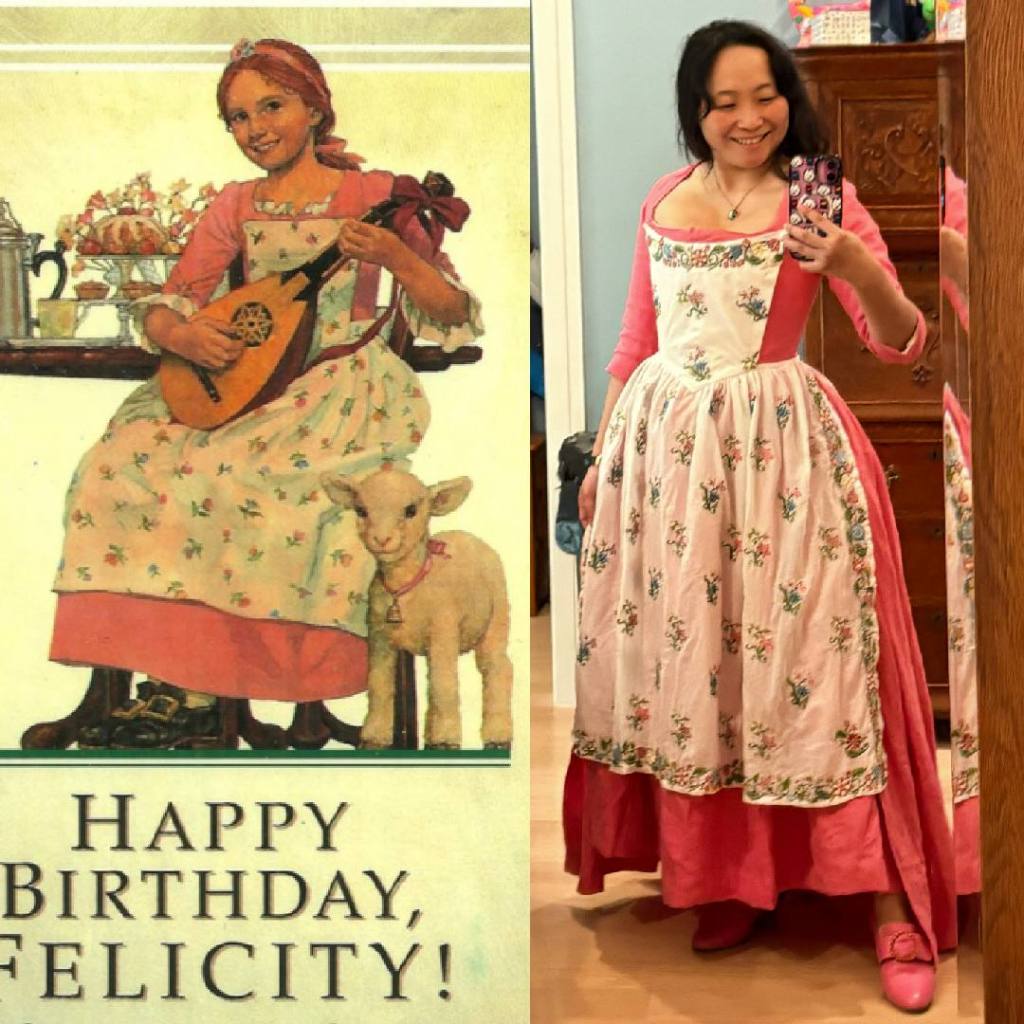
Felicty Merriman, the doll, wears a beautiful printed cotton apron on top of her pink dress. This apron type, in the doll description is described as a “pinner apron”, since the top of the apron is pinned to her dress. This is quite accurate as far as anyone can tell, (though the term pinner apron really is an 1800s term – I’m not quite sure if they called it anything other than an apron) and the doll version even came with little pins to pin it with. Now while pinning aprons to dresses sounds quite unsafe (as we’re talking straight needle pins as safety pins hadn’t been invented yet), this would have been totally ok because the boning of the stays would have prevented the pins from sticking you while you wore it.
In my opinion, Felicity’s apron was probably a remake of this particular apron in the collection of Williamsburg, since most of her wardrobe was researched from that collection. (Also she lived in Williamsburg and one thing that Pleasant Company did right was research.):
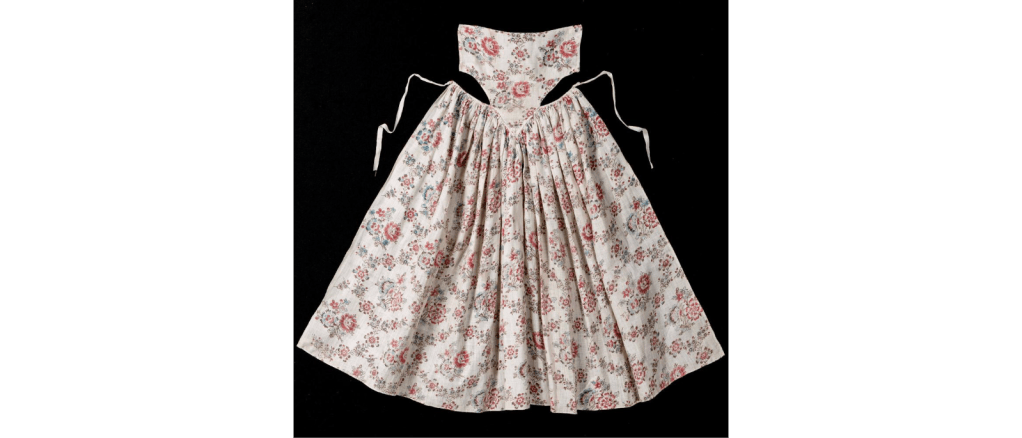
It’s a printed cotton, it’s a pinner type and the shape is quite full and pretty!
Now aprons weren’t just things that you wore to protect you – though they did that too. They were also often made of silks, decorated with lace, embroidery and other fine things – if they were a decorative apron. This particular apron – and thus, also Felicity’s – was probably a mix of both decorative and useful.
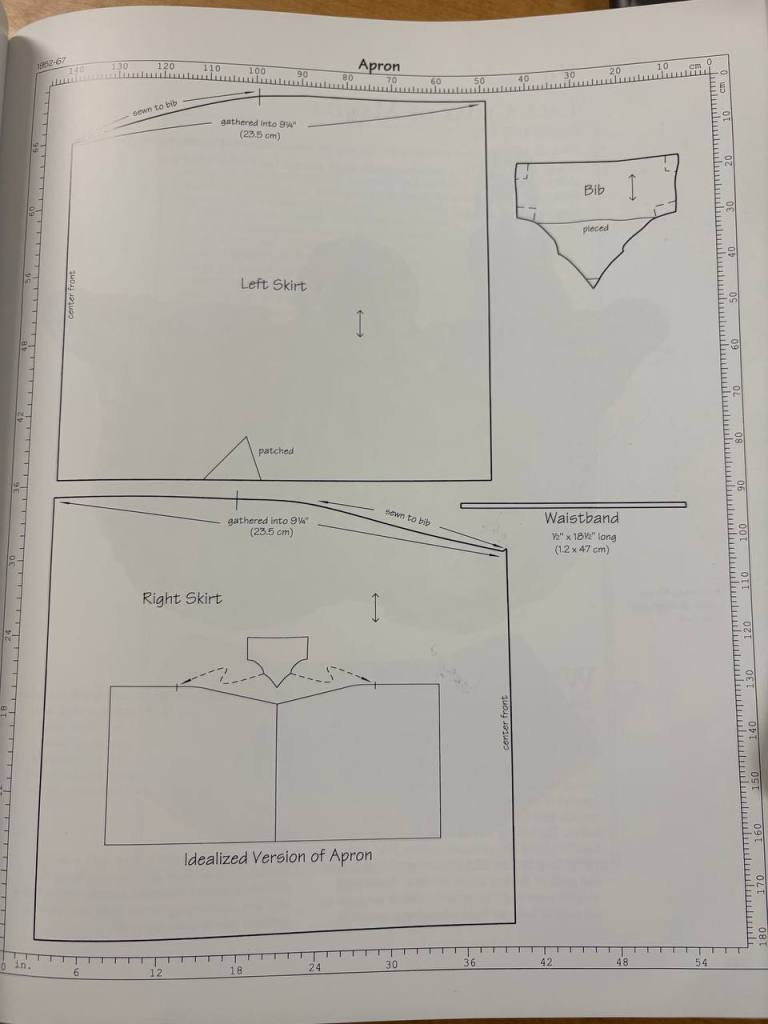
So… fun fact! The pattern for this apron is actually available IN the book “Costume Close-Up: Clothing Construction and pattern 1750-1790” by Linda Baumgarten and John Watson with Florine Carr.

This book is still available for sale, and more information about the apron can be found on page 46 (along with what I think is probably the jacket that inspired the Felicity Learns a Lesson Jacket on page 39. yes. I am also making that next.).
In any case, the pattern for the apron was REALLY cool. What was interesting to me is that the apron had a ton of piecing on the bodice. It’s when you don’t have a single piece large enough, so you sew two smaller pieces together to make it. Secondly, the apron skirt was VERY full. Like 74″ wide! Which explained why it looked so nice and full on the mannequin.

In any case, I recommend picking up the book but here is their pattern:
And it makes a lot of sense.
For my apron, I didn’t want a printed cotton. I wanted an EMBROIDERED cotton. Because it’s me.
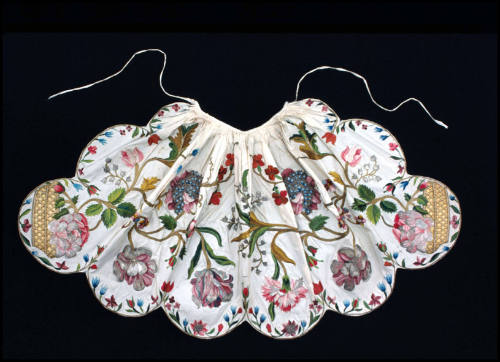
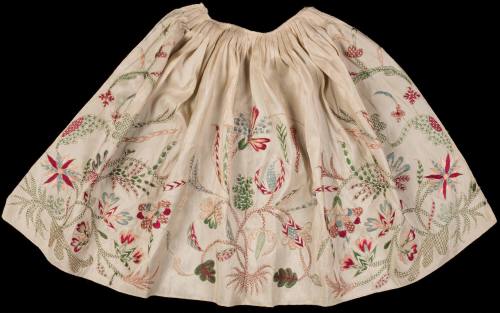
To be fair, there are a lot of examples of embroidered aprons! Here are just a few.
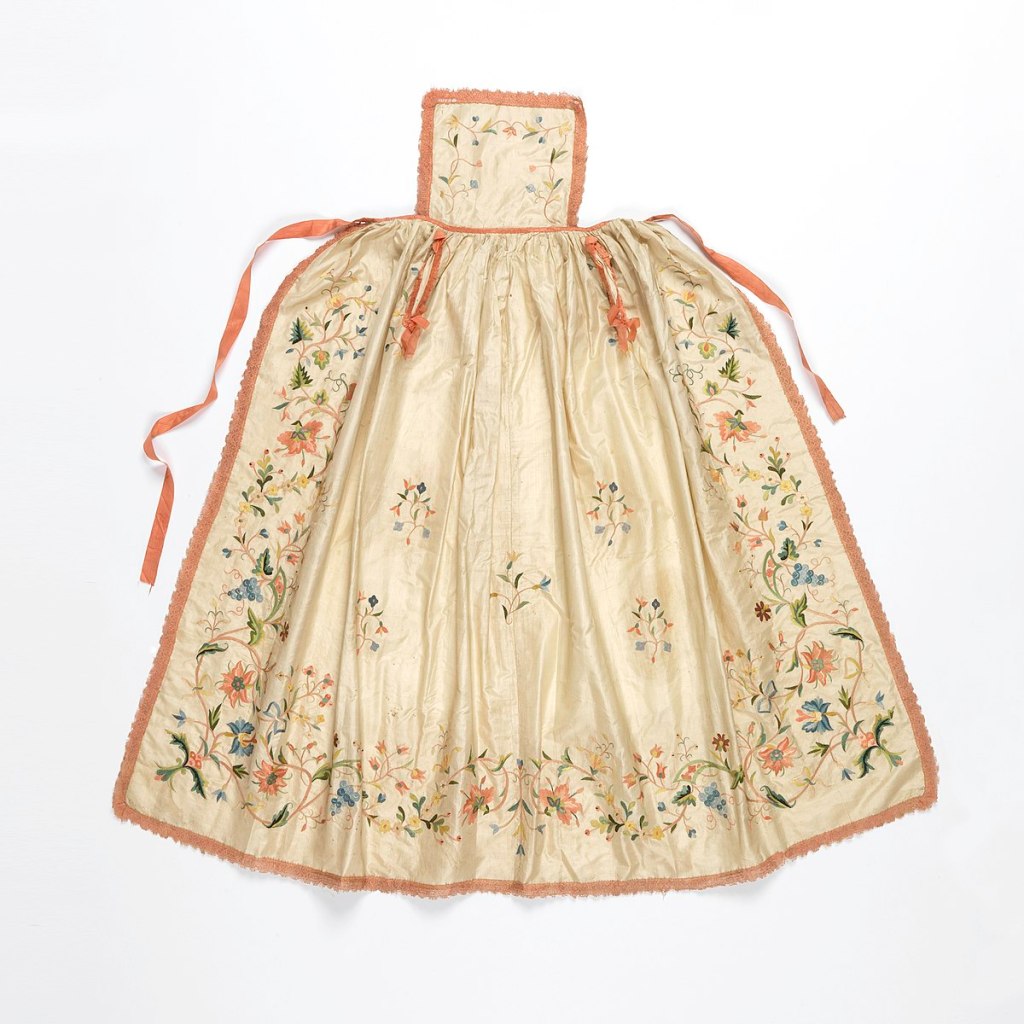


But in particular, there was one apron that I thought was perfect for Felicity’s apron the moment I saw it.
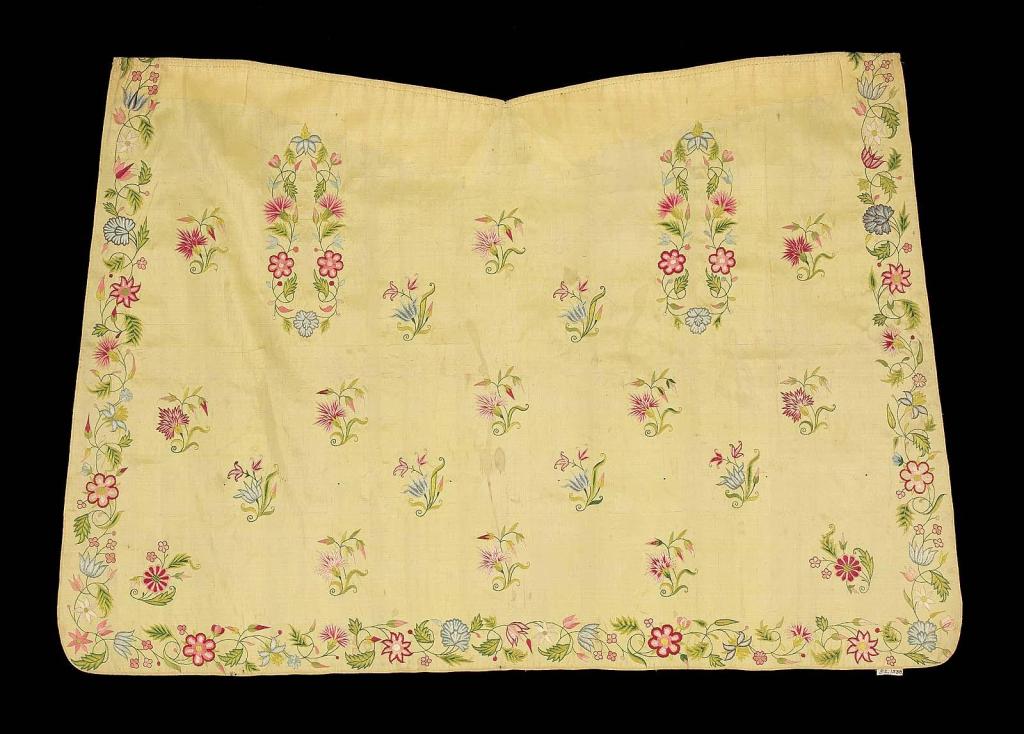
This one! This is an embroiddered apron with room to add pockets in the front, (hence those designs that look like ti could handle a slit), and I just thought that the embroidery was just wonderfully whimsical.
So I went ahead and digitized it all on Palette 11. Honestly, digitizing is a ton of fun – it always feels like just drawing except with thread, and the software makes it easy that if I have a touchscreen (which I do), I can literally just draw what I want.

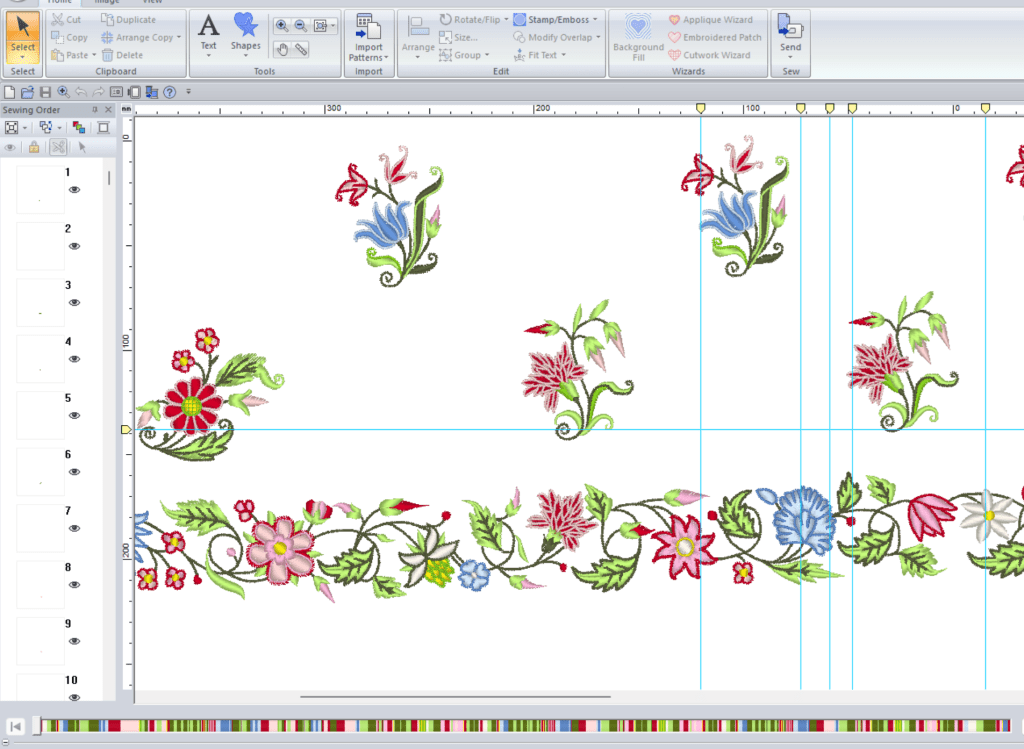
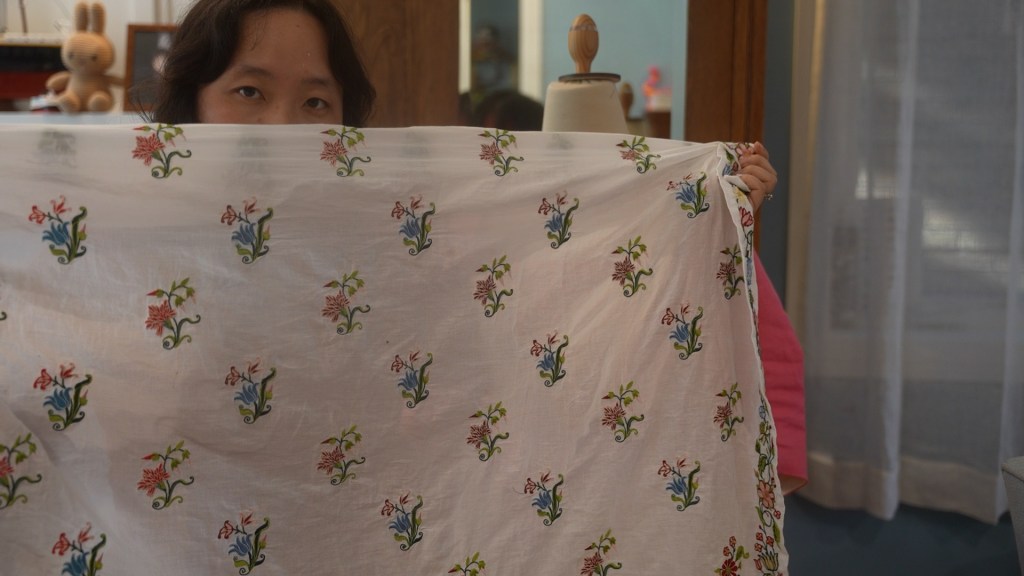
I digitized the entire apron, and really loved how colorful and whimsical the embroidery is.
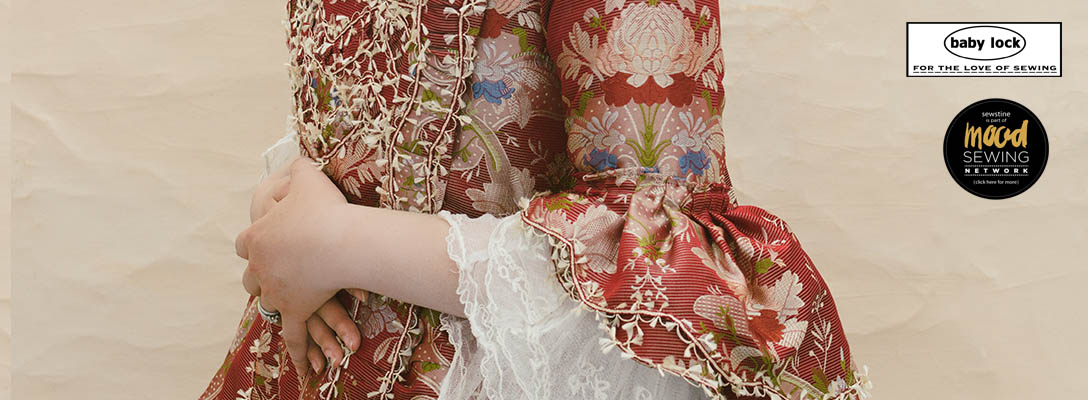
I then started stitching this out on my Baby Lock Venture – a ten needle machine with incredible durability. I think each of my machines are close to 10 mill stitches? Each flower was about 45 min of embroidery, and all in all, it took me around 40 hours of embroidery. All done with Tire Silk 50wt embroidery thread. I did use cotton as a base – in particular, I find the cotton mull from Burnley and Trowbridge to be without equal when it comes to embroidery. It was around 8 repeats for the border and then 12 to do the fill. But with 2 layers of Baby Lock dissolvable interfacing, it was all done!
Now confession, I made a mistake with the placement on the apron halfway through, so I started again. But this was fine since this meant that I had some pieces that I could use for the top of the apron.
I then threw it in the machine to wash out with an extra rinse cycle.
Then after air drying, I steam ironed it which made it nice and flexible.
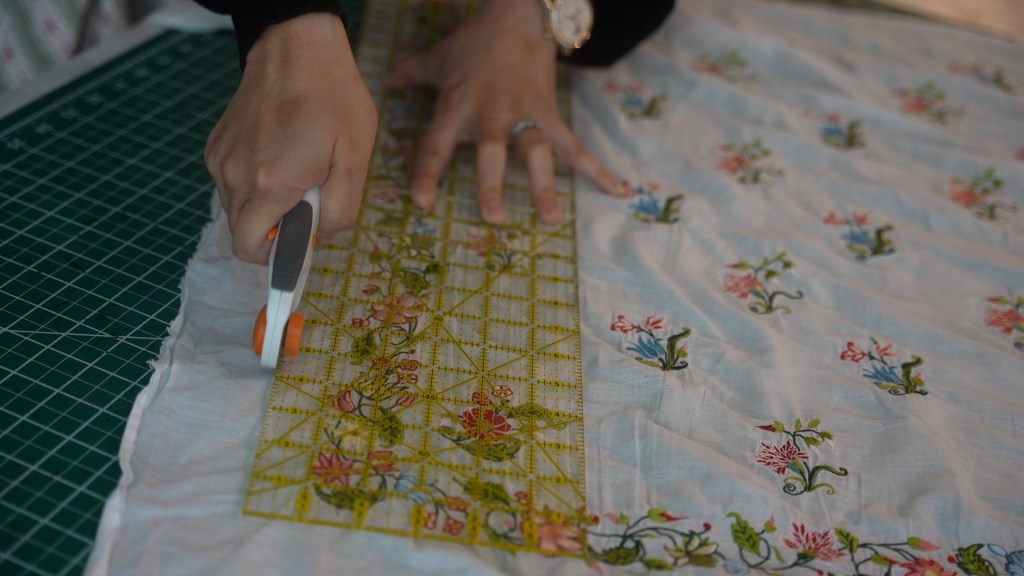
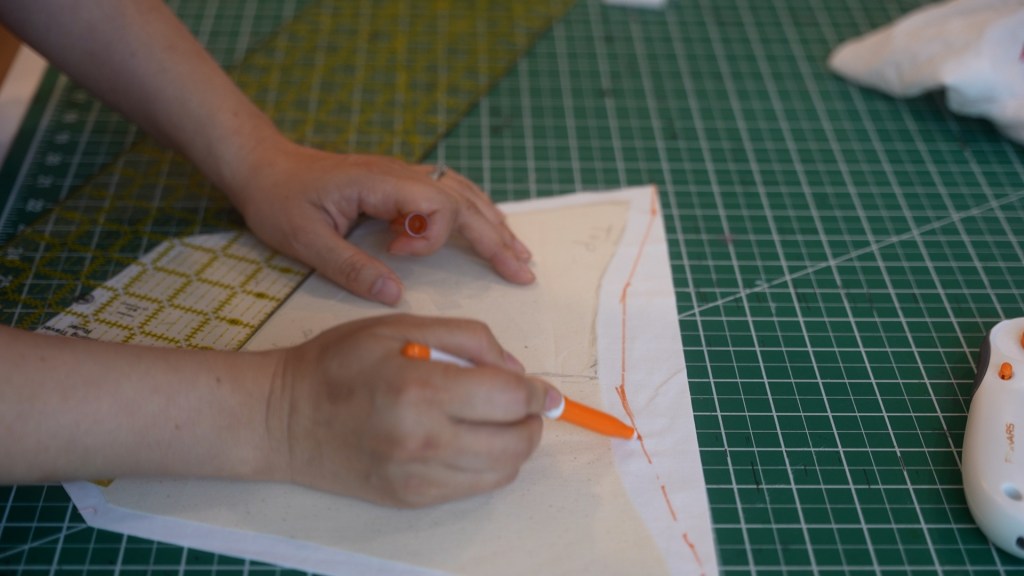
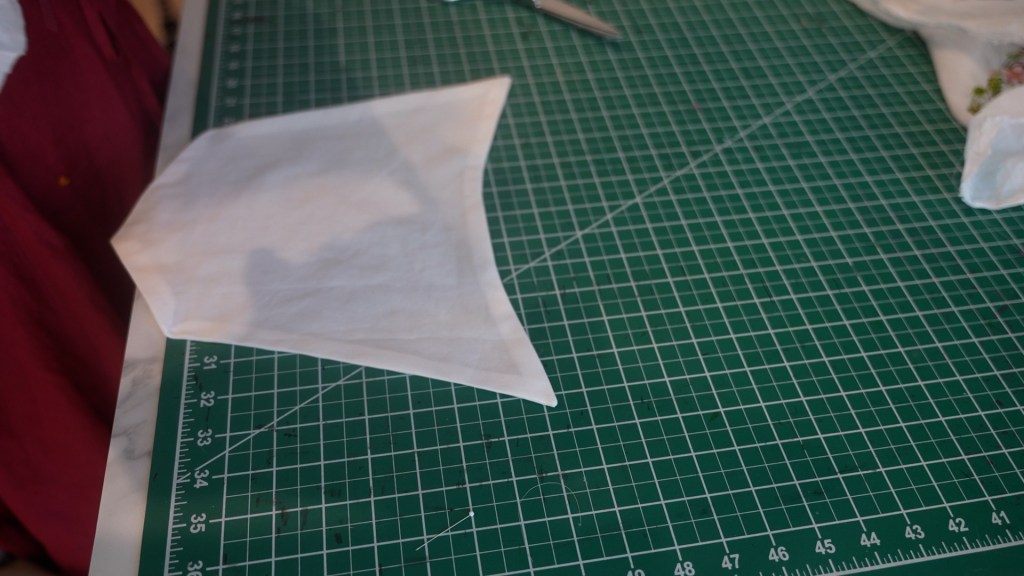
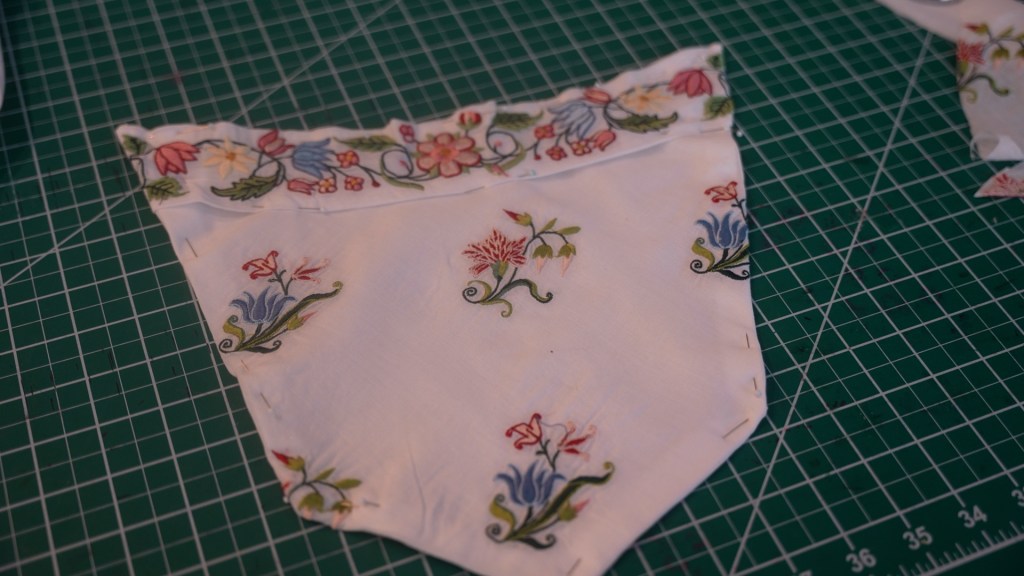
I then cut the apron out and started stitching it. For the apron skirt, all I had to do was just hem the three sides.


I then gathered up the top using a whip stitch. I then covered it with some white cotton mull (1″ x 20″) that I turned into a bias tape by ironing up the sides by a quarter of an inch. I gathered up the top to 18″ and then used a prick stitch to cover it with the bias tape.
I then used some tape to add apron strings on each side.
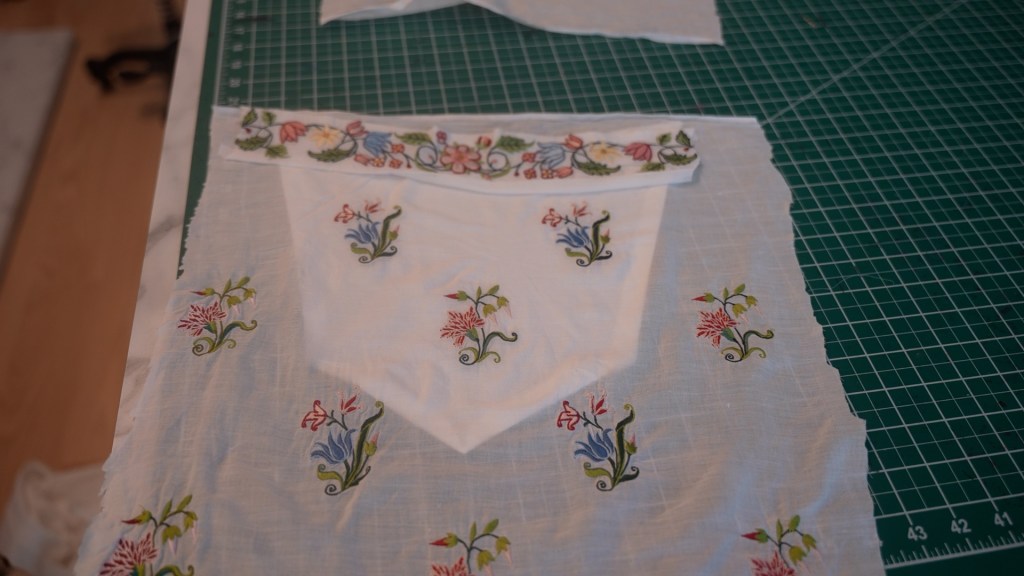
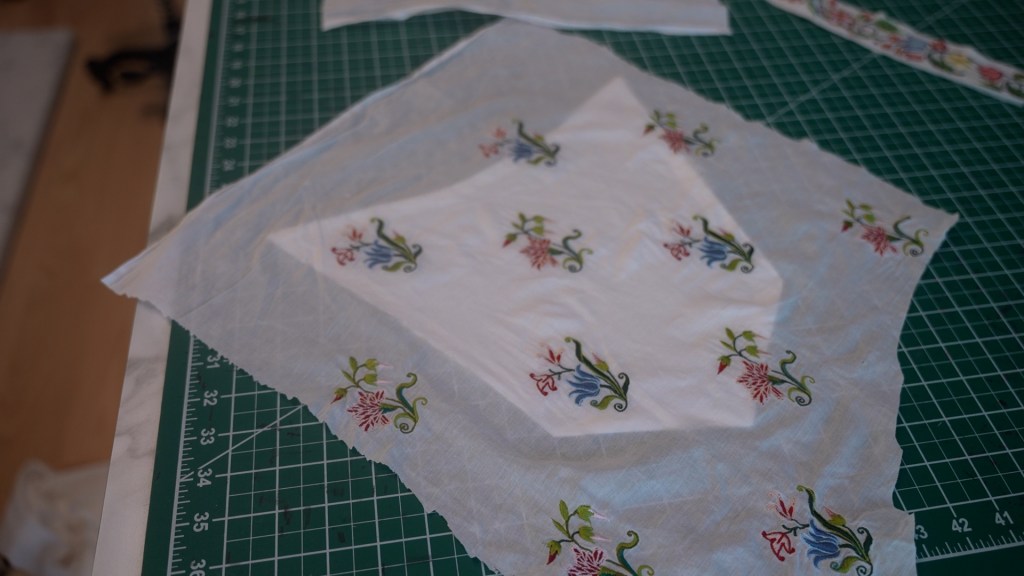
However, for this apron top, I wanted it to have a top portion as well.
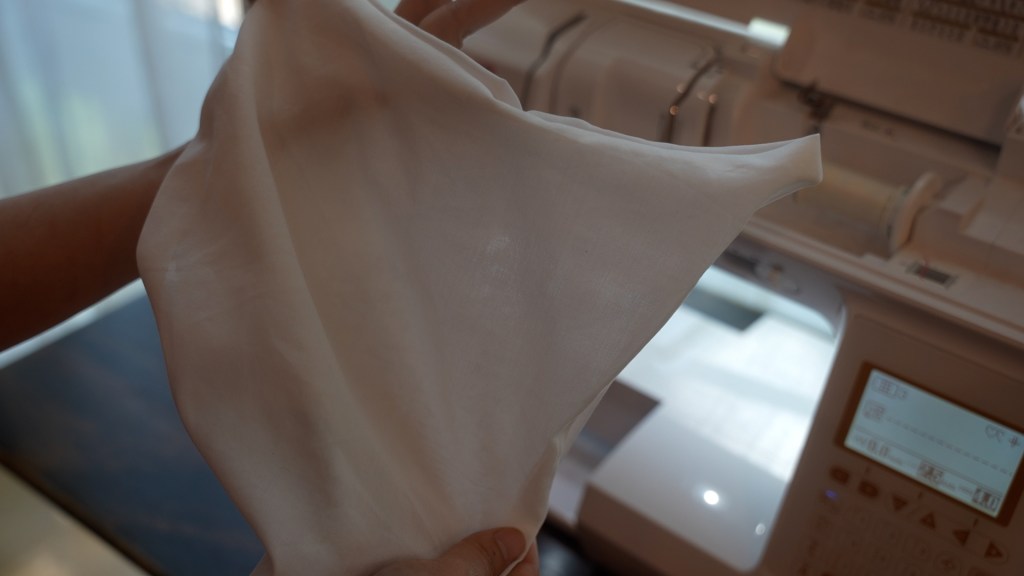
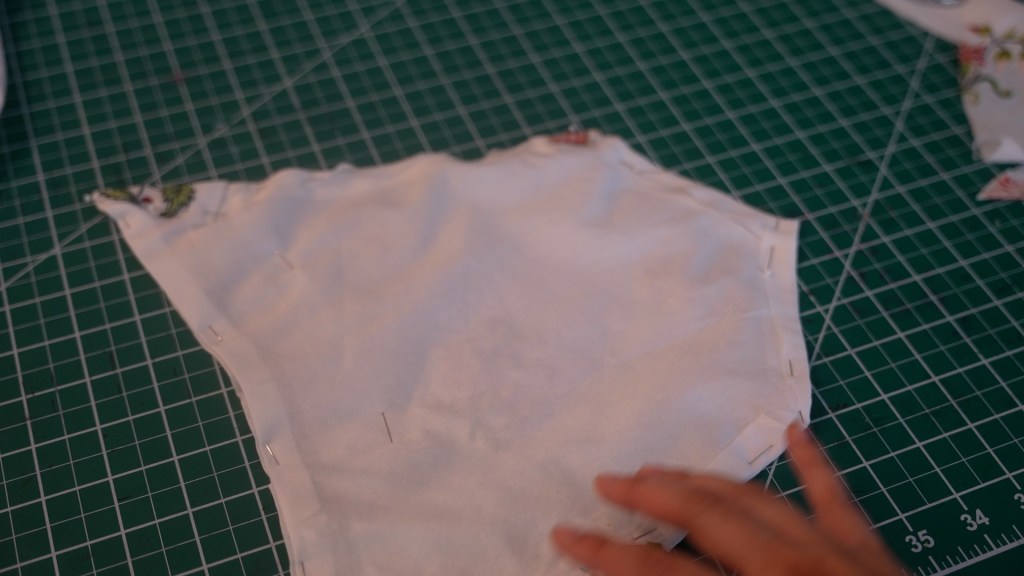
I drafted an apron top in one piece on my dress form, and then cut out some cotton batiste as a backer. The embroidered mull is so thin I wanted something to give it some stabilization.

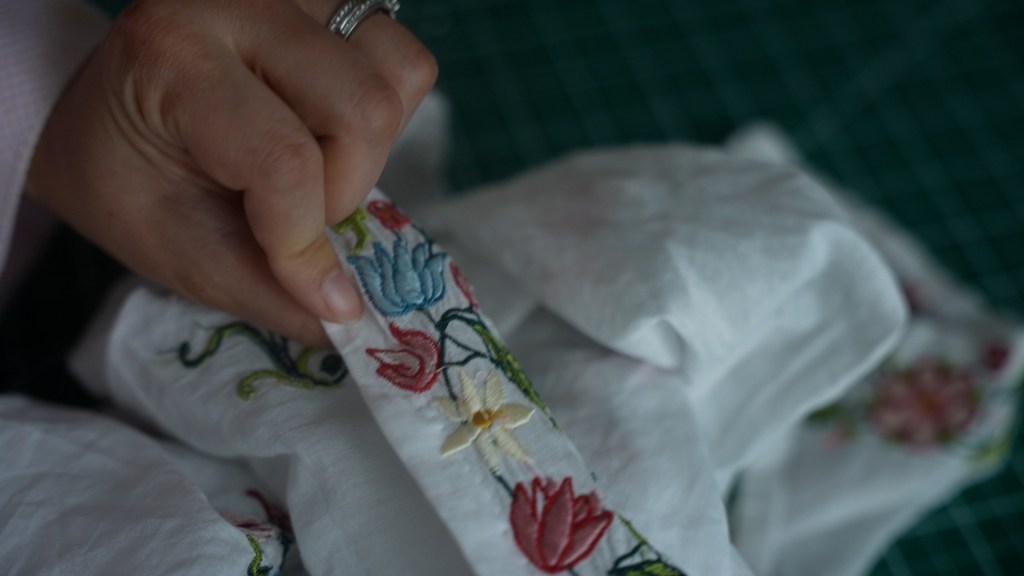
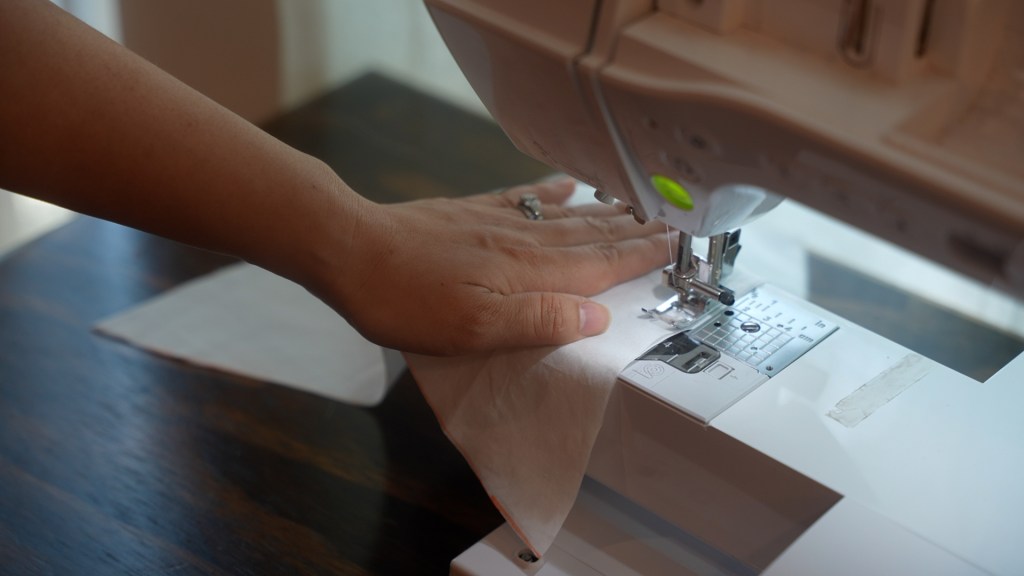
To do this I cut out two layers of cotton batiste, sewed it on three of the sides, and then flipped it inside out. I ironed it out, and sewed one edge closed by hand. I then covered it with pieces of the apron that I had made an error on until I had a configuration that I liked. I liked having the border on the top of the apron, to mirror the bottom, so I sewed the two down by hand using very tiny prick stitches.
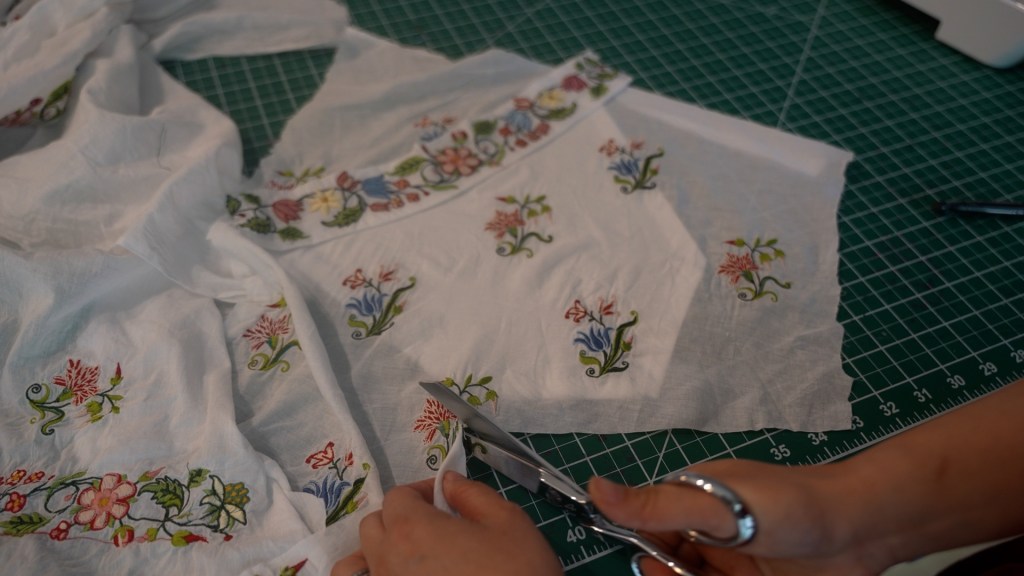


However, I wasn’t done. This would have been finished by historical metrics but I wanted to add in a section in the back to pin it to the dress, and thus the pins wouldn’t have to tear through the embroidery. So I added in some cotton tape in the back and made some tabs. I also sewed cotton tape all the way around to cover up the raw edges of the cotton mull.
Once that was done, I sewed the top of the apron to the skirt of the apron by hand.
And the apron was done!
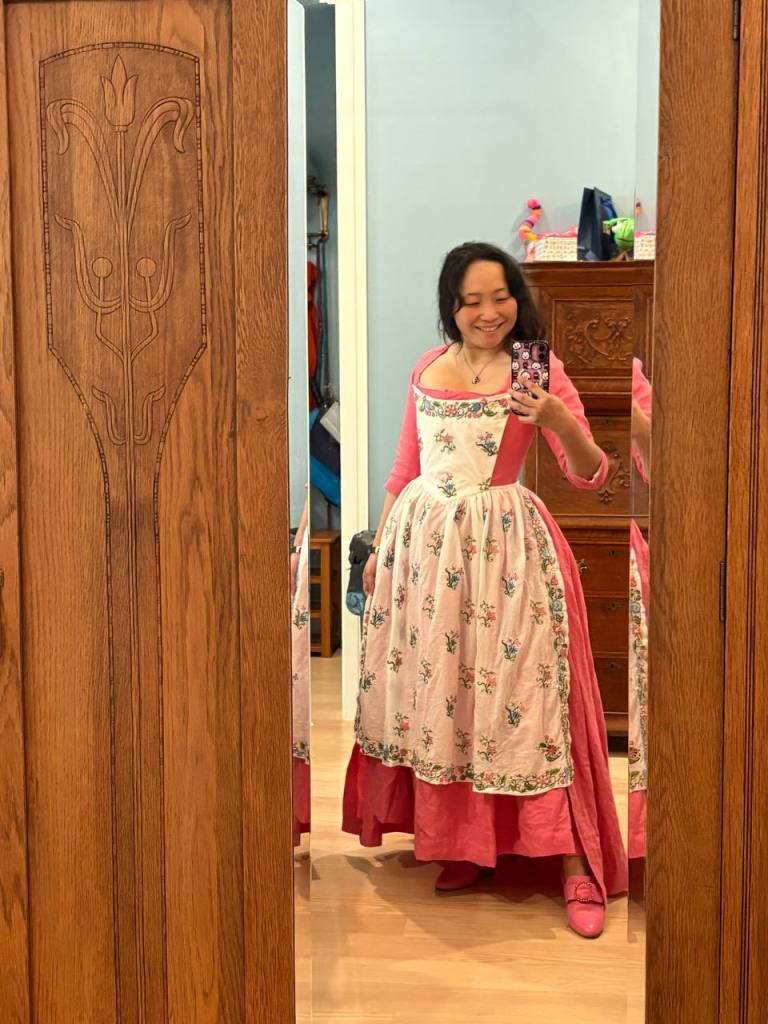
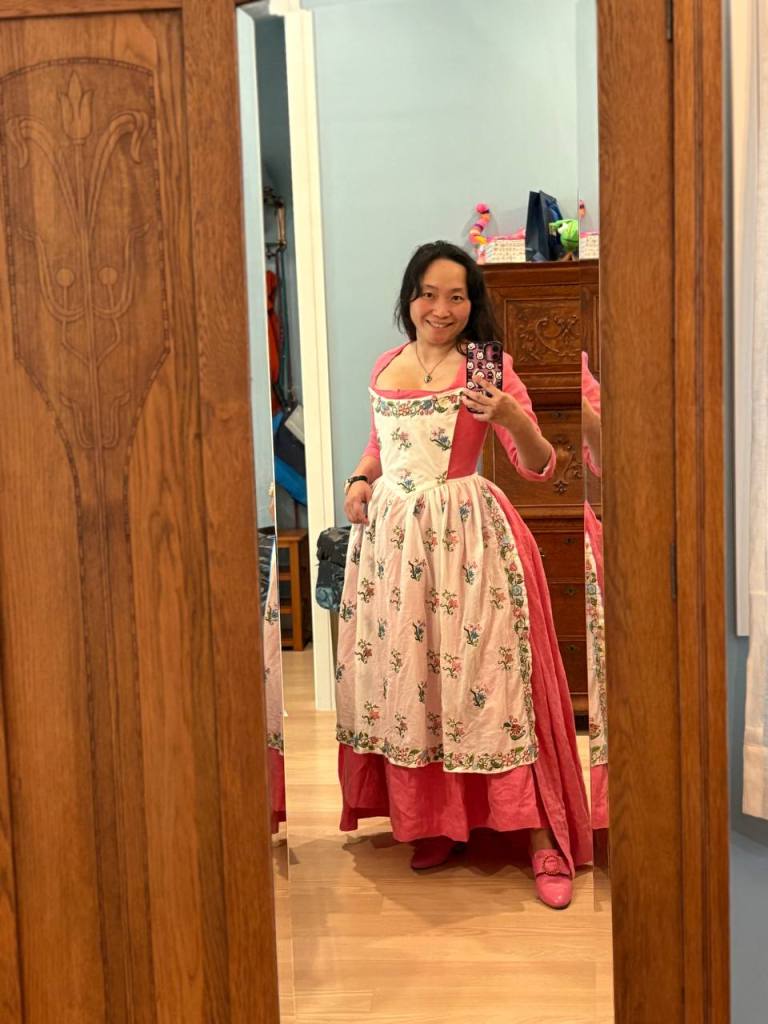
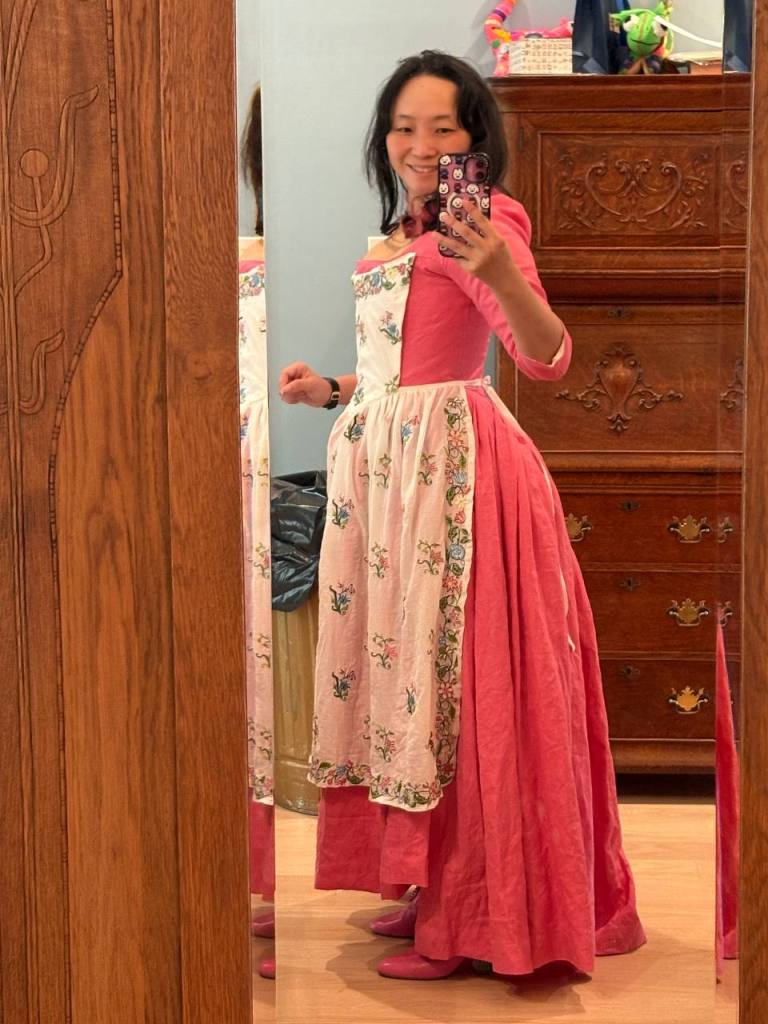
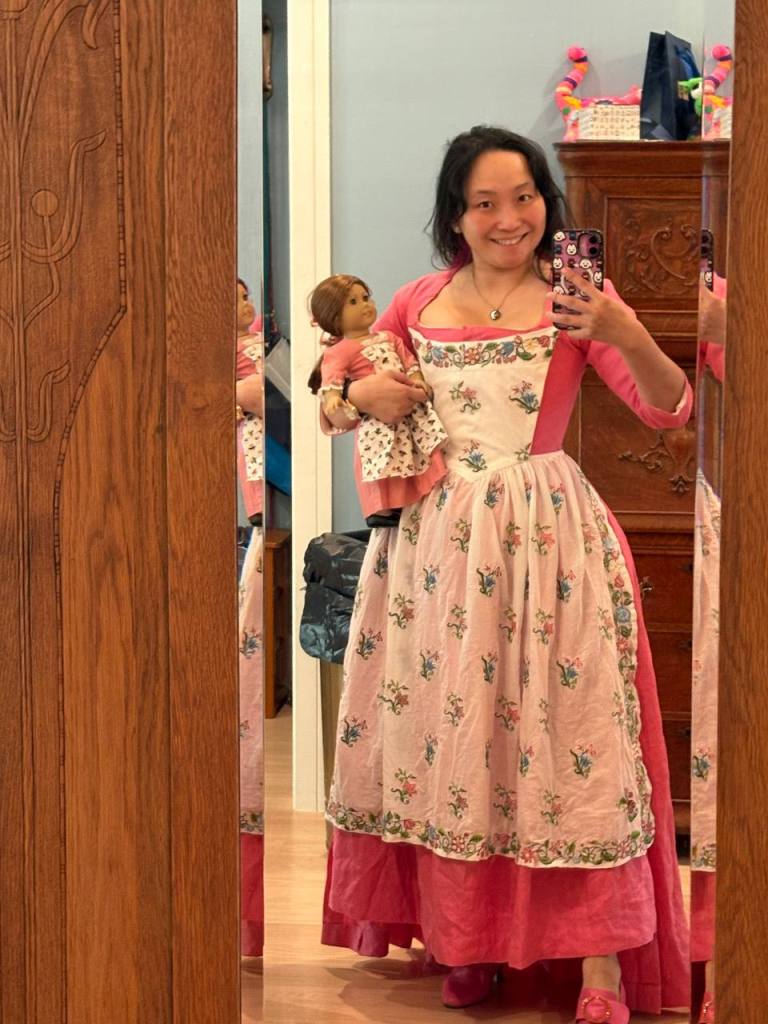
Honestly, I think the outfit with the apron is a million times prettier than without the apron and I loved it! I wore it to a friend’s birthday party where the theme was “dress as your favorite literary character”.
Now for those of you who want to make your own, I have partnered up with Baby Lock to bring you the embroidery files for free! Here is the link for anyone who wants it!
